
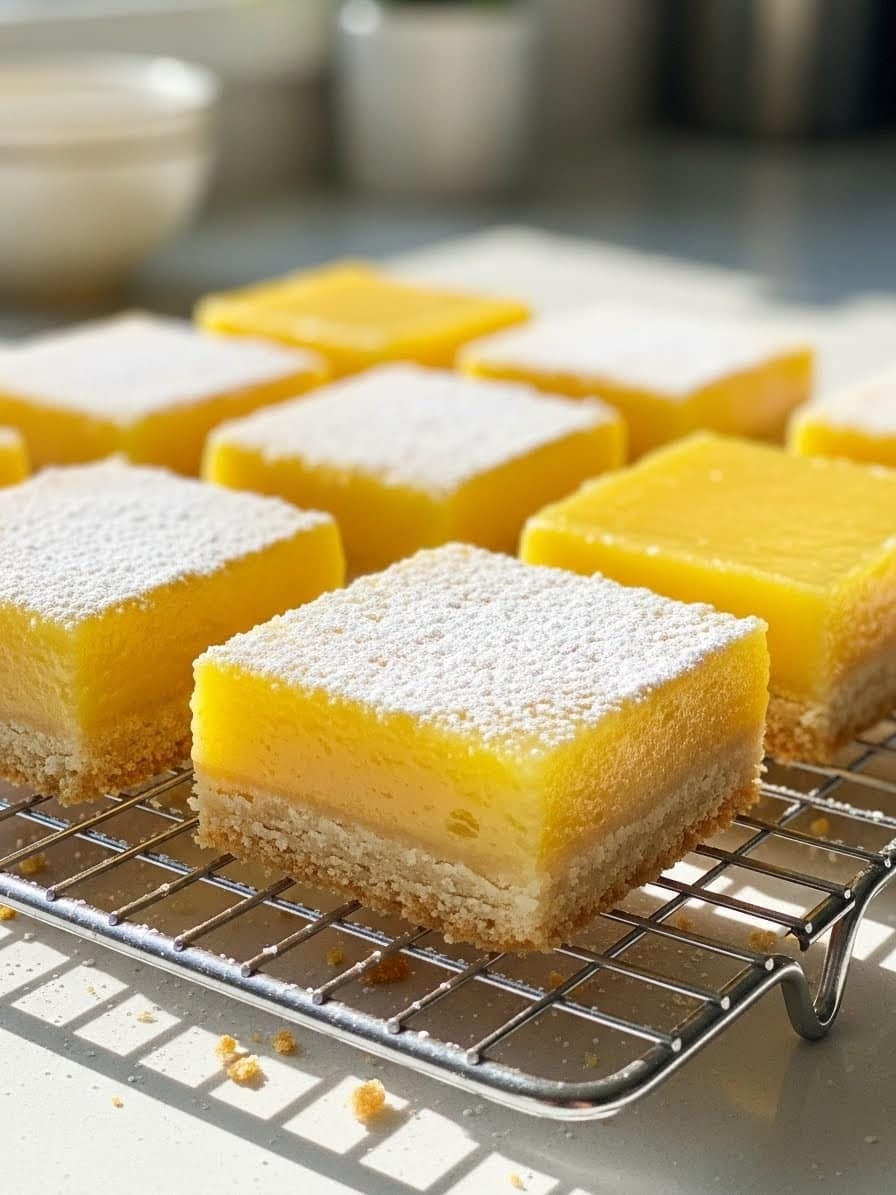
The first time I baked lemon bars, I wasn’t chasing perfection — I was chasing comfort. It was one of those gray Los Angeles mornings when the house felt quiet, and I needed something bright to lift the mood. So I grabbed a few lemons from our backyard tree, turned up the oven, and let the scent of butter and citrus fill the kitchen.
By the time Daniel walked in from work, the whole place smelled like sunshine. He cut into the pan before it even cooled — and that first bite? Pure happiness. Hannah and Jessica were right behind him, little hands dusted in powdered sugar, laughing over crumbs on the counter.
Those moments turned lemon bars into a family ritual. Every batch since has been a small reminder that good food doesn’t have to be fancy — just honest, bright, and made with love. They’re the kind of dessert that fits any moment: simple enough for a weeknight, yet special enough for company.
Table of Contents
Table of Contents
What You’ll Need for This Recipe
When it comes to making lemon bars, having the right tools and fresh ingredients makes all the difference. I’ve learned through dozens of batches that a sturdy pan, zesty lemons, and a little patience are the secret to that golden crust and silky filling. Here’s everything you’ll need to bring these sunshine-squares to life.
Equipment and Tools
You don’t need anything fancy for this recipe, just the basics:
- A 9×13 baking pan (lined with parchment for easy removal)
- A food processor or stand mixer
- Whisk, mixing bowls, and a spatula
- Fine mesh sifter for powdered sugar
Ingredients Breakdown
Each ingredient plays an important role — the butter gives richness, the sugar balances the tartness, and the lemon zest brightens every bite. Use fresh lemons if possible; bottled juice just can’t match the flavor.
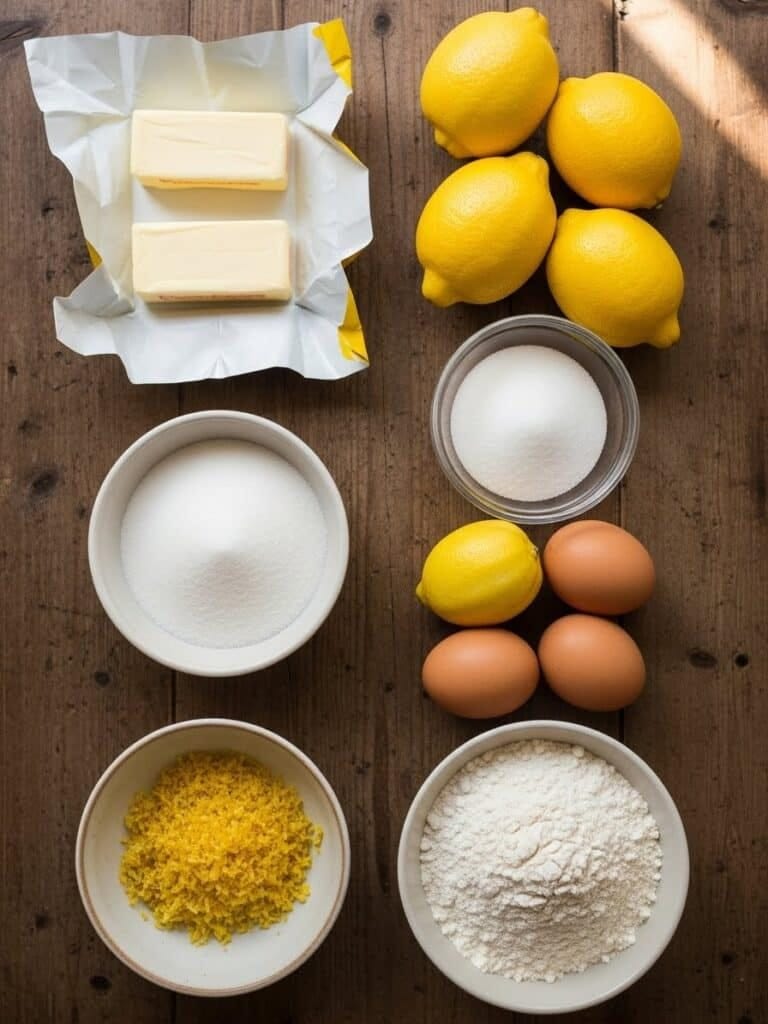
Here’s the complete list you’ll need for perfect lemon bars every time:
| Ingredient | Quantity | Purpose |
|---|---|---|
| All-purpose flour | 3 cups (360g) | Gives structure to crust and filling |
| Powdered sugar | ⅔ cup (66g) | Adds sweetness and dusting finish |
| Salt | ½ tsp | Balances flavors |
| Unsalted butter (melted) | 12 tbsp (170g) | Creates the crumbly shortbread base |
| Lemon zest | Zest of 3 lemons | Infuses aromatic citrus flavor |
| Granulated sugar | 3 cups (600g) | Sweetens and thickens the filling |
| Eggs | 8 large (room temperature) | Creates a smooth, custard-like filling |
| Fresh lemon juice | 1 cup (240mL) | Delivers bright, tangy flavor |
Once your ingredients are ready, preheat that oven and prepare for a sweet, citrusy reward.
How to Make Lemon Bars
If you’ve gathered your ingredients, it’s time to turn that citrus and butter into something unforgettable. The secret to great lemon bars is balance — crisp, buttery shortbread under a silky, tangy filling. Here’s exactly how to make them at home.
Once your crust is baked to a light golden color, it’s ready for that tangy filling. If you enjoy buttery layers like this, you’ll love my Millionaire’s Shortbread
Step 1: Prepare the Crust
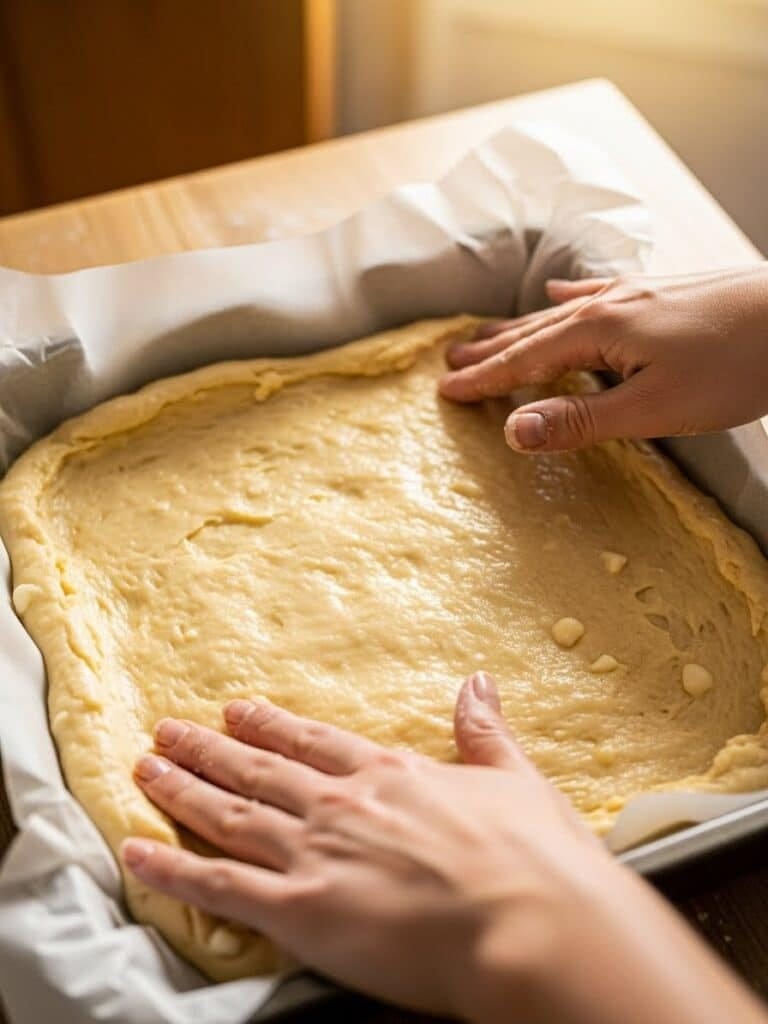
Heat your oven to 350°F (175°C) and line a 9×13-inch baking pan with parchment paper, leaving some overhang for easy lifting later.
In a large bowl, whisk together 2 ½ cups of flour, powdered sugar, and salt. Pour in the melted butter and mix until everything looks like damp sand — you can also use a food processor or stand mixer. Press this dough evenly into the pan, making sure it reaches every corner.
Bake the crust for 20 minutes, or until lightly golden. This base creates that melt-in-your-mouth texture everyone loves.
Step 2: Make the Lemon Filling
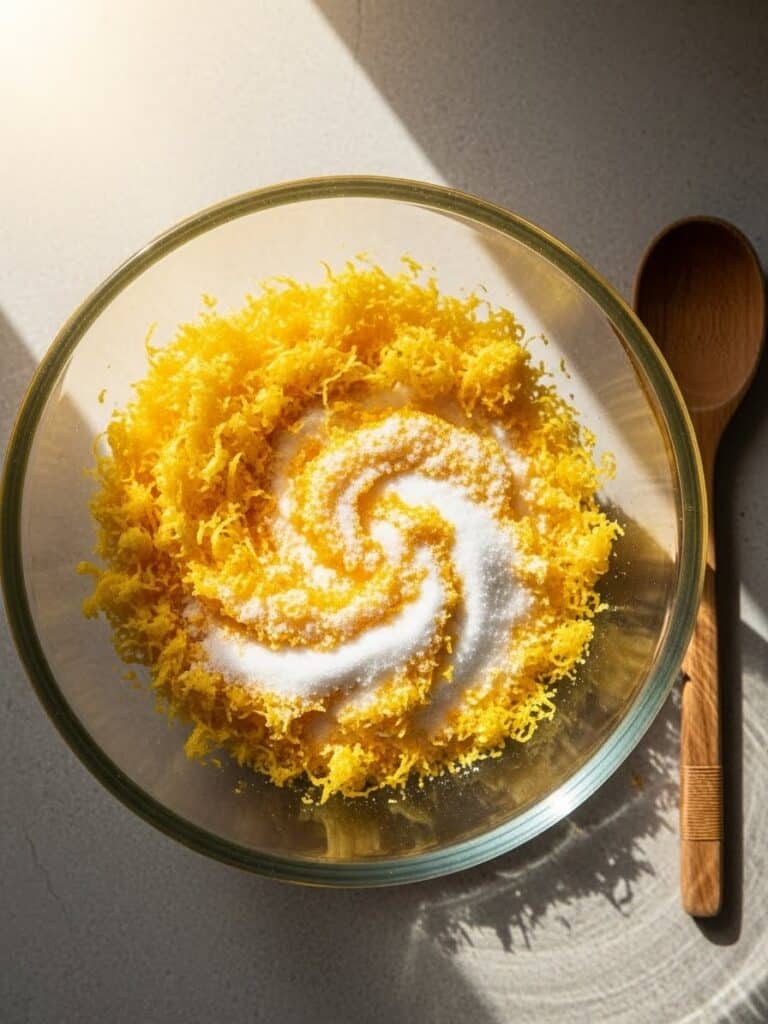
While the crust bakes, add 3 cups of sugar and the zest of three lemons to your food processor. Pulse until the zest releases its oils and the sugar turns pale yellow. (No food processor? Just rub the zest into the sugar with your fingers — that’s how I used to do it in my early days as a pastry chef.)
Transfer the mixture to a large bowl. Whisk in the remaining ½ cup of flour, then add 8 eggs and 1 cup of fresh lemon juice. Mix until smooth and well-blended, making sure there are no streaks of egg left.
Step 3: Bake and Cool
Pour the lemon mixture directly over the warm crust — this helps the layers bond perfectly. Return the pan to the oven and bake for 25 minutes, turning halfway through to ensure even cooking. The filling should look set with a slight jiggle in the center when done.
Remove from the oven and let cool completely at room temperature for at least an hour, then chill in the fridge for two more hours before slicing.
Dust the top with powdered sugar, slice into neat squares, and wipe your knife between cuts for that clean bakery-style finish.
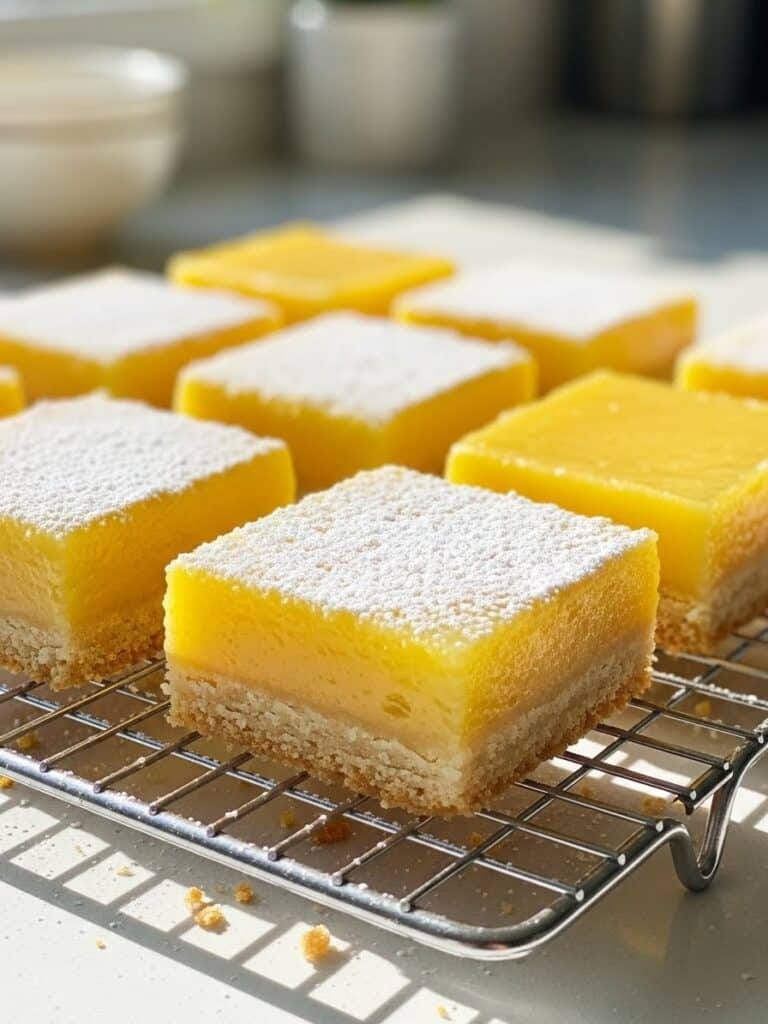
Pro Tips for This Recipe
Every pastry chef has a few secrets up their sleeve, and when it comes to lemon bars, the magic is in the small details. These tips guarantee buttery crusts, smooth fillings, and that perfect balance between tart and sweet — every single time.
These lemon bars keep beautifully in the fridge, just like my Brookies — both taste even better the next day once the flavors settle
Getting the Texture Just Right
If you’ve ever bitten into a soggy crust or runny filling, you know how disappointing that can be. The solution is all about timing and temperature. Always pour your lemon mixture over a warm crust — it helps the filling “set” as it bakes. When they come out of the oven, the filling should be firm around the edges and slightly jiggly in the center. That’s your cue to stop baking.
Use a clean, damp knife for slicing once chilled; it glides right through without tearing the top layer. And don’t skip the powdered sugar dusting — it gives the bars that bakery-fresh look everyone loves.
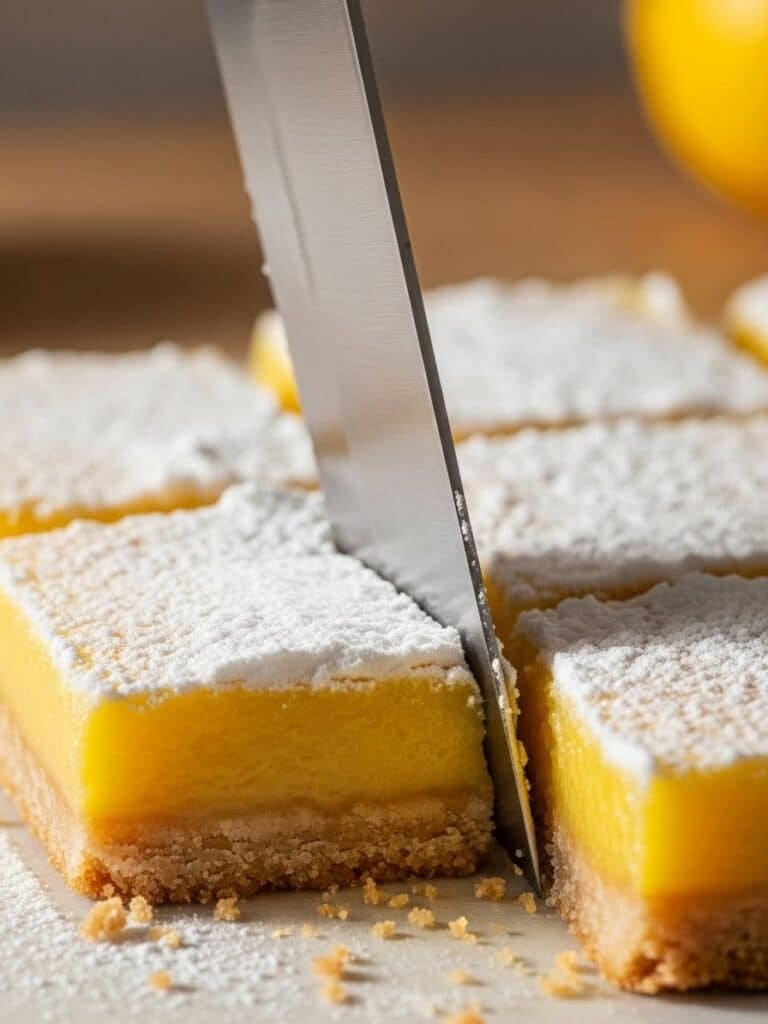
Storage, Freezing, and Serving
Once cooled, store your lemon bars in an airtight container in the refrigerator for up to five days. I like to layer them between pieces of parchment paper to prevent sticking. For longer storage, freeze them individually wrapped in plastic wrap, then place them in a freezer-safe container for up to three months.
To thaw, simply move them from the freezer to the refrigerator overnight. The texture stays buttery, and the flavor remains just as bright.
When serving, dust the bars with powdered sugar right before plating. They’re perfect with coffee, tea, or a scoop of vanilla ice cream for something extra special.

Conclusion
There’s something timeless about a pan of freshly baked lemon bars cooling on the counter. Every batch still reminds me of those early mornings in my Los Angeles kitchen, when I’d mix sugar and lemon zest while the house slowly filled with that unmistakable citrus aroma.
These bars are simple, bright, and full of heart — a perfect reminder that baking doesn’t have to be complicated to be memorable. Whether you’re sharing them at a summer picnic, adding them to a brunch spread, or just craving something sweet on a quiet afternoon, these lemon bars always deliver sunshine in every bite.
Frequently Asked Questions
Even with a simple recipe like lemon bars, a few common questions always pop up. Here are the answers I share most often with readers who’ve baked this recipe in their own kitchens.
1. Why do my lemon bars have a runny filling?
A runny filling usually means your lemon bars needed a few more minutes in the oven. The filling should look slightly set with a soft jiggle in the center before removing them. Another reason could be cold ingredients — make sure your eggs are room temperature so the mixture sets evenly. If you’re ever unsure, let the bars rest in the oven (door cracked open) for five extra minutes.
2. Why did my lemon bars turn brown on top?
Brown spots often appear from overbaking or trapped air bubbles. Try tapping the pan gently before baking to release excess air. If your oven runs hot, reduce the temperature by 10°F next time. And don’t worry — a light golden hue around the edges is completely normal.
3. Do lemon bars need to be refrigerated?
Yes, absolutely. Since lemon bars contain eggs and a moist filling, they should be refrigerated once cooled. Store them in an airtight container and enjoy within five days. I like to dust mine with powdered sugar just before serving so they look fresh and crisp every time.
4. Can lemon bars be frozen?
Definitely. Lemon bars freeze beautifully for up to three months. Wrap each piece tightly in plastic wrap, then place them in a freezer-safe container. When you’re ready to serve, thaw them overnight in the fridge. They’ll taste just as buttery and bright as the day you baked them.
Lemon Bars

Bright, buttery, and irresistibly tangy — these homemade Lemon Bars feature a crisp shortbread crust and a creamy lemon filling. Perfect for any occasion, from brunch to bake sales.
- Prep Time: 20 minutes
- Cook Time: 45 minutes
- Total Time: 1 hour 5 minutes
- Yield: 16 bars 1x
- Category: Dessert
- Method: Baked
- Cuisine: American
- Diet: Vegetarian
Ingredients
3 cups all-purpose flour (360g), divided — 2½ cups for crust and ½ cup for filling
⅔ cup powdered sugar (66g) — for the crust plus more for dusting
½ tsp salt
12 tbsp unsalted butter (170g), melted
3 tbsp lemon zest (zest of 3 lemons)
3 cups sugar (600g)
8 large eggs, room temperature
1 cup fresh lemon juice (240mL)
Instructions
1. Preheat oven to 350°F (175°C). Line a 9×13-inch baking pan with parchment paper.
2. Whisk together 2½ cups of flour, powdered sugar, and salt. Add melted butter and mix until combined.
3. Press dough evenly into the pan and bake for 20 minutes or until lightly golden.
4. In a food processor, pulse sugar and lemon zest until fragrant and pale yellow.
5. Add remaining ½ cup flour, eggs, and lemon juice. Whisk until completely smooth.
6. Pour the mixture over the warm crust and bake for 25 minutes, turning halfway through.
7. Remove from oven, let cool for 1 hour, then refrigerate for 2 hours.
8. Dust with powdered sugar before slicing with a clean, damp knife.
Notes
For the cleanest cuts, chill bars completely before slicing.
Use freshly squeezed lemon juice for best flavor.
Store refrigerated up to 5 days or freeze up to 3 months.
Nutrition
- Serving Size: 1 bar
- Calories: 220
- Sugar: 28g
- Sodium: 90mg
- Fat: 9g
- Saturated Fat: 5g
- Unsaturated Fat: 3g
- Trans Fat: 0g
- Carbohydrates: 31g
- Fiber: 1g
- Protein: 3g
- Cholesterol: 60mg
Keywords: lemon bars, classic lemon bars, easy lemon dessert, homemade lemon squares