
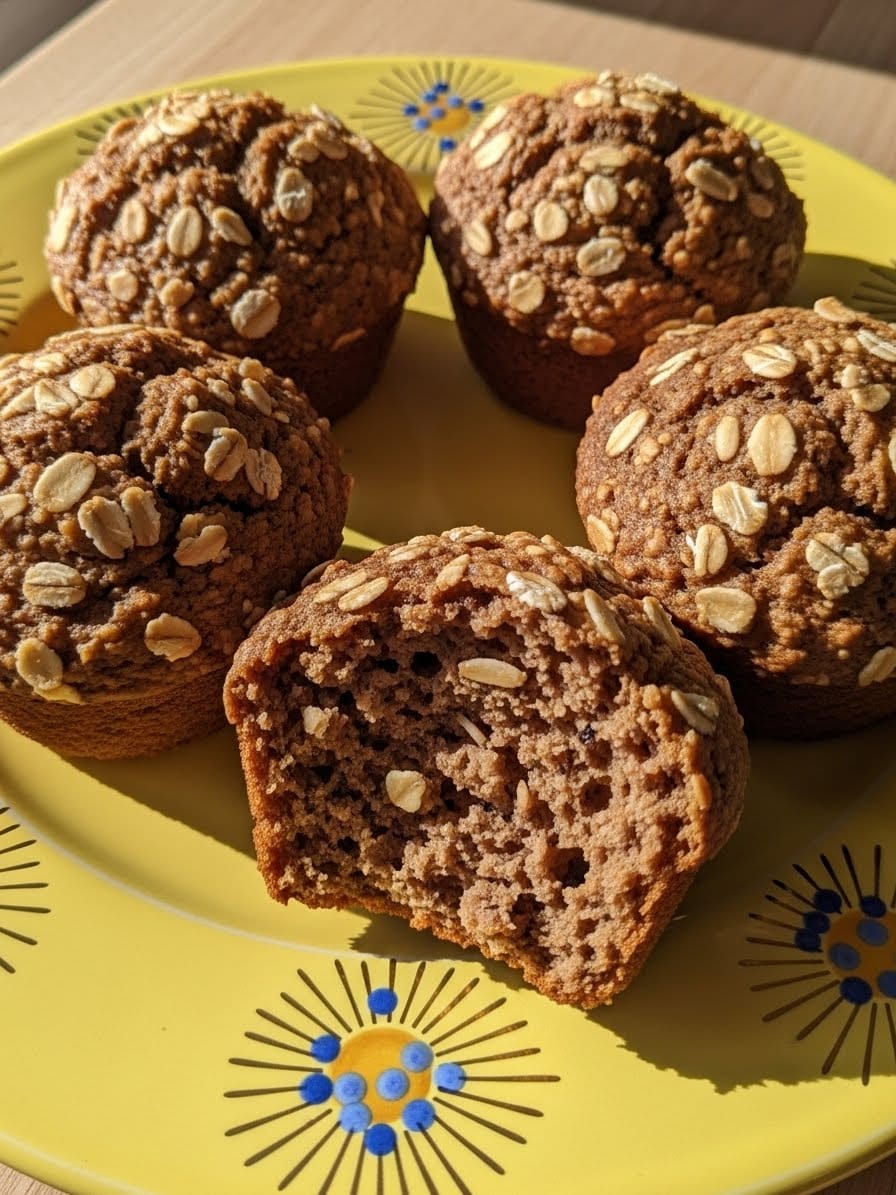
Bran muffins have always been one of my favorite ways to start a cozy morning in my Los Angeles kitchen. When I was a kid, my mom used to bake them every Sunday. The smell of warm, nutty wheat bran filled the house, mixing with the sound of my dad humming over his coffee pot. Now, as a pastry chef and mom of two, I still find comfort in that simple ritual.
These bran muffins are moist, hearty, and packed with wholesome flavor — a far cry from the dry, heavy ones you might remember from old bakery counters. The secret? Soaking the bran cereal in buttermilk before baking. It softens the texture and makes every bite light yet filling. I bake a batch every Monday morning before Hannah and Jessica wake up, so the kitchen smells like home.
If you’re looking for a recipe that’s as healthy as it is satisfying, this one’s a keeper. Bran muffins are high in fiber, subtly sweet, and stay fresh for days. Whether you’re new to baking or just craving a nostalgic breakfast treat, you’ll love how easy these are to make.
Table of Contents
What You Need to Make This Recipe
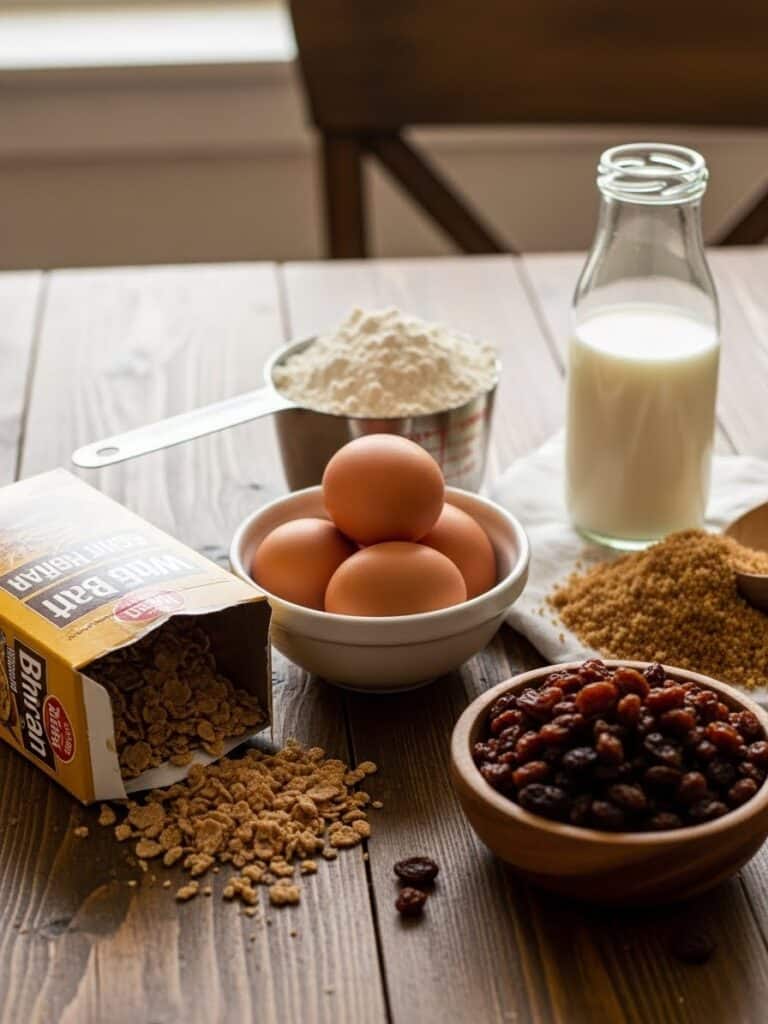
Before you preheat the oven, let’s talk about what goes into making the best bran muffins. Every ingredient serves a purpose in creating that perfect balance between hearty and tender.
Equipment
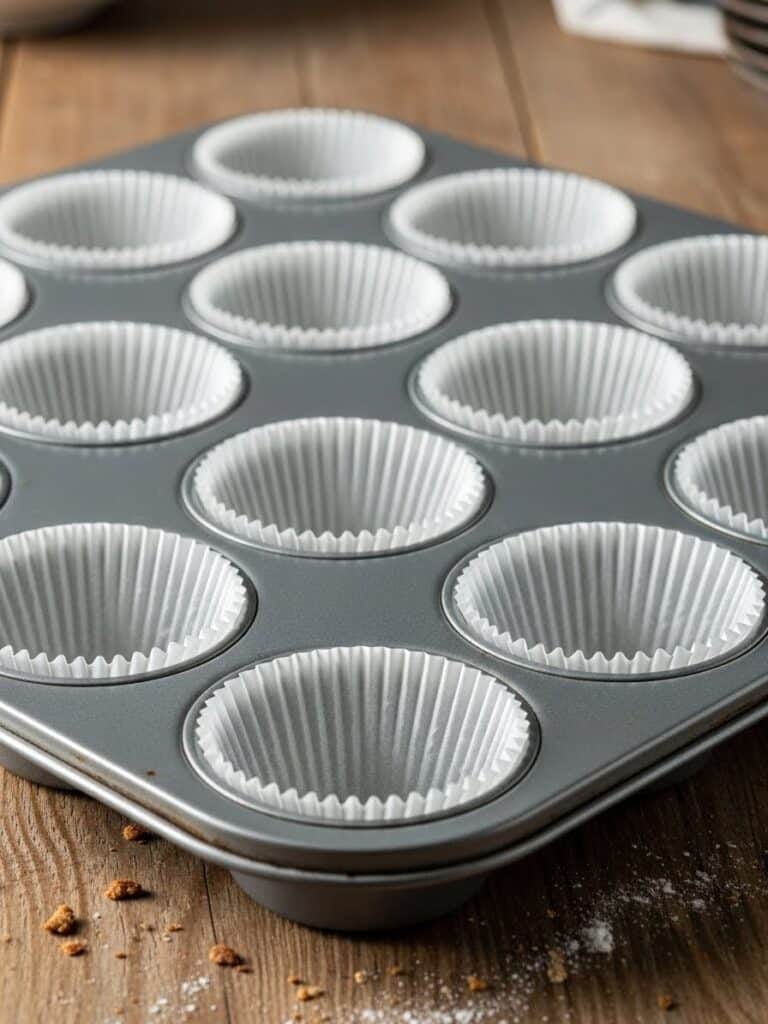
- Muffin pan (12-cup)
- Paper liners (optional)
- Mixing bowls (one large, one medium)
- Whisk or wooden spoon
Ingredients
- 1½ cups wheat bran cereal (not flakes) (100g)
- 1½ cups buttermilk (360ml)
- 1 cup all-purpose flour (120g)
- 1½ teaspoons baking powder
- ½ teaspoon baking soda
- ½ teaspoon salt
- ½ cup raisins (80g)
- ½ cup packed brown sugar (110g)
- ⅓ cup vegetable oil (80ml)
- 1 large egg
- 2 teaspoons vanilla extract
These simple ingredients come together to make muffins that are perfectly tender, slightly sweet, and bursting with raisin flavor. The buttermilk keeps them moist, the wheat bran adds structure and fiber, and the brown sugar lends that comforting, caramel-like sweetness.
Here’s a quick tip: use fresh baking powder and baking soda for the best rise. Bran muffins don’t rely on heavy fats like butter, so freshness really matters when it comes to lift and texture.
If you’re new to baking with bran, don’t worry — it’s easy to handle once it’s been soaked in liquid. That’s where the magic happens, giving your muffins that soft crumb everyone loves.
How to Make Bran Muffins
Making bran muffins from scratch is easy and satisfying. The process only takes about 30 minutes from start to finish, and you’ll end up with a dozen perfectly moist, golden-brown muffins. Follow these steps to make them right every time.
Step 1: Preheat and Prepare
Start by preheating your oven to 375°F (190°C). Grease a 12-cup muffin tin or line it with paper liners if you prefer an easy cleanup. This temperature is ideal — it allows the muffins to bake evenly, producing a tender crumb inside and a lightly crisp top.
Step 2: Soak the Bran
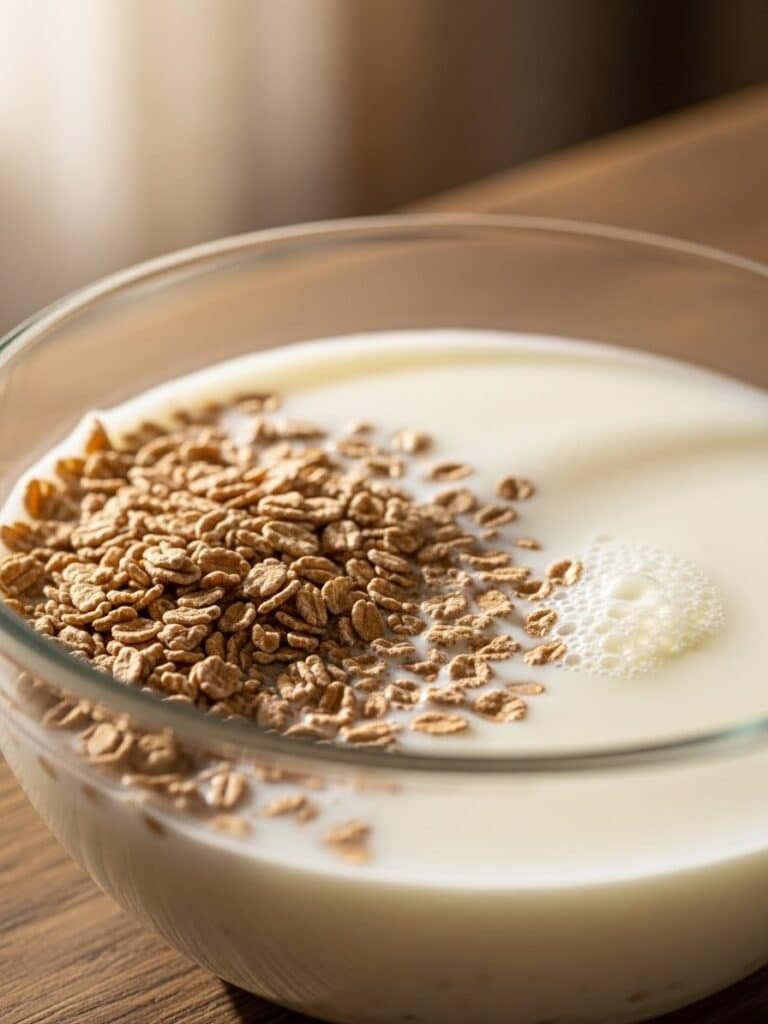
In a large mixing bowl, stir together 1½ cups of wheat bran cereal and 1½ cups of buttermilk. Let this mixture sit for 10 minutes. Soaking softens the bran and helps it blend smoothly into the batter, preventing a gritty texture. This step is crucial for achieving the signature moistness that sets great bran muffins apart.
Step 3: Combine Dry Ingredients
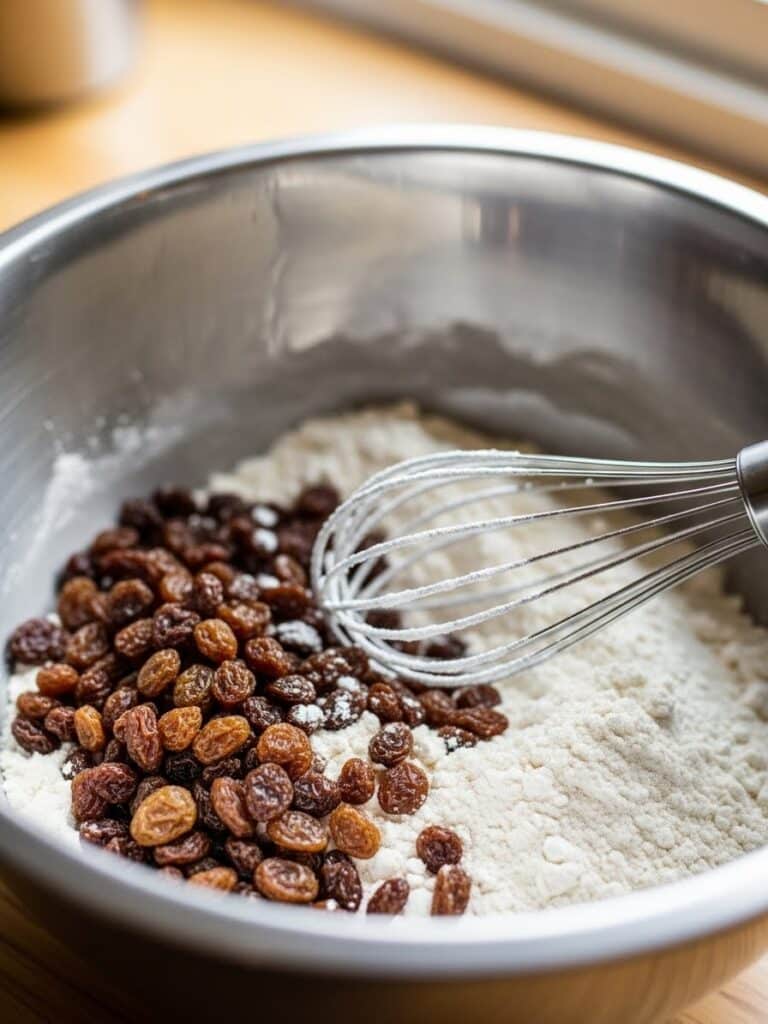
In a separate bowl, whisk together 1 cup of all-purpose flour, 1½ teaspoons of baking powder, ½ teaspoon of baking soda, and ½ teaspoon of salt. Stir in ½ cup of raisins. Coating the raisins in flour keeps them from sinking to the bottom of your muffins during baking.
Step 4: Mix Wet Ingredients
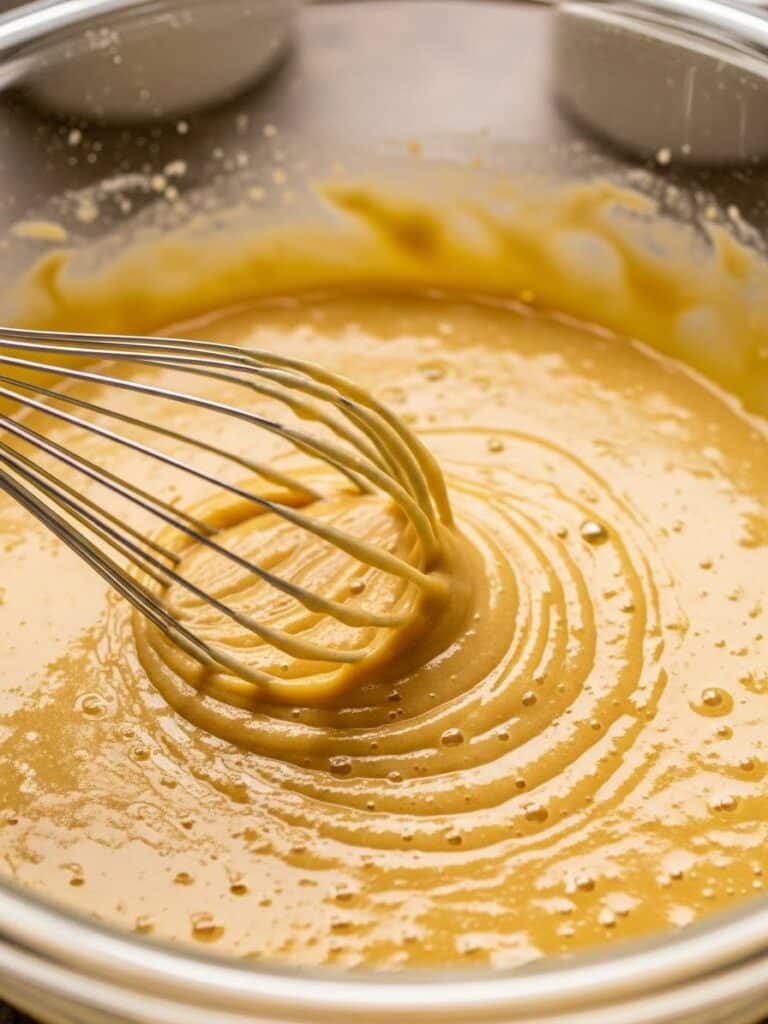
After your bran mixture has soaked, whisk in ½ cup of packed brown sugar, ⅓ cup of vegetable oil, 1 large egg, and 2 teaspoons of vanilla extract. Mix gently until everything is smooth and glossy.
Step 5: Combine and Fill
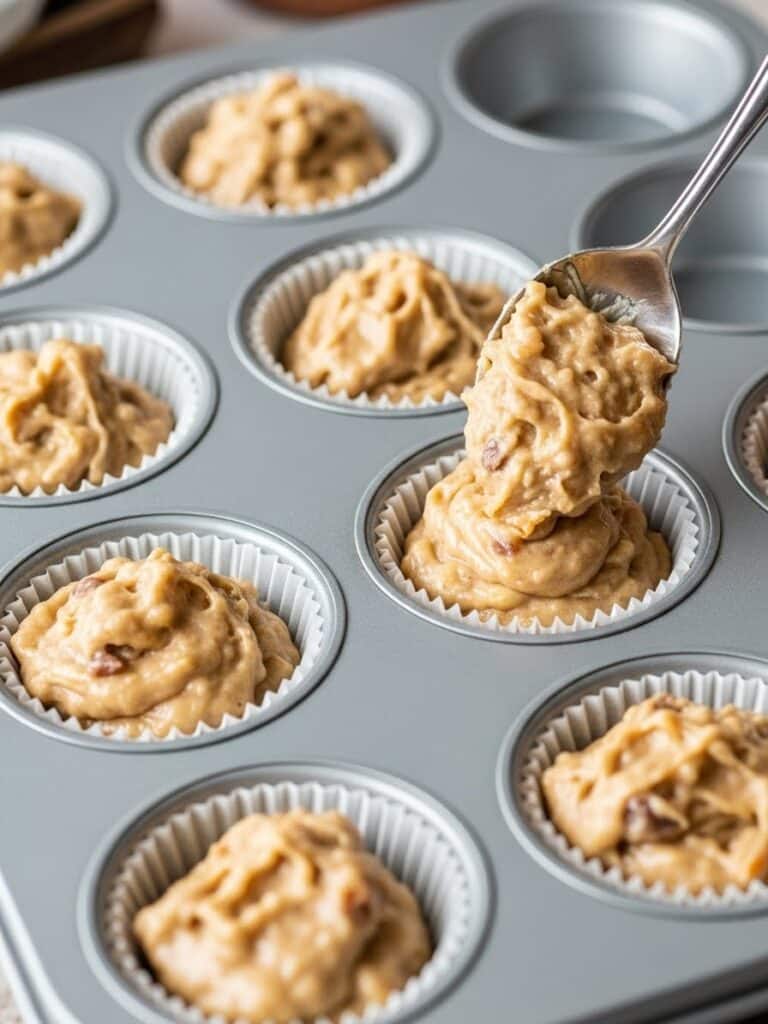
Pour the dry ingredients into the bran mixture and stir just until everything comes together. Don’t overmix — a few small lumps are fine. Overmixing can make the muffins dense instead of tender. Divide the batter evenly among the muffin cups, about ¼ cup per muffin.
Step 6: Bake and Cool
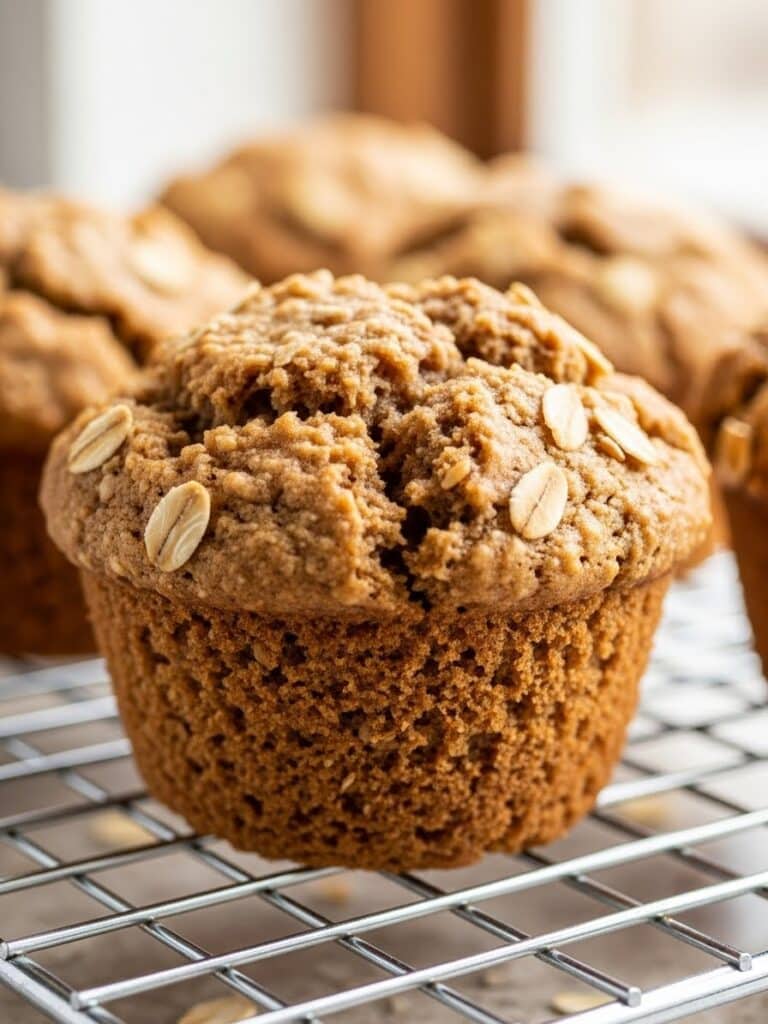
Bake for 20 minutes, or until a toothpick inserted into the center of a muffin comes out clean. Let them cool in the pan for 10 minutes, then transfer to a wire rack to finish cooling. You’ll notice the tops stay beautifully domed — that’s the reward of a properly balanced batter.
Optional Add-Ins
For a twist, you can fold in a handful of chopped nuts, shredded coconut, or even orange zest to add depth to your muffins. If you enjoy more sweetness, substitute part of the raisins with chopped dates or cranberries.
Pro Tips for Making This Recipe
Bran muffins may seem simple, but small details make all the difference between light, moist muffins and dense, heavy ones. Follow these tried-and-true tips from my test kitchen to get perfect results every time.
1. Measure with Precision
Baking is science, and the ratio of bran to liquid affects both texture and rise. Use a kitchen scale if possible to measure your ingredients accurately. Too much flour or bran can make the muffins dense and dry.
2. Don’t Skip the Soak
Soaking the wheat bran cereal in buttermilk softens the texture and hydrates the bran, allowing the muffins to bake up tender. This step also helps the batter blend evenly and prevents overmixing later on.
3. Mix Gently
Overmixing is the number-one cause of tough muffins. Stir the wet and dry ingredients only until they combine. A few streaks of flour are okay; they’ll disappear as the muffins bake.
4. Room Temperature Ingredients
Using room-temperature eggs helps them mix more easily into the batter. Cold ingredients can cause the oil to seize and lead to uneven texture.
5. Use an Ice Cream Scoop
A scoop ensures each muffin is the same size, which means they’ll bake evenly and look uniform. It’s a small trick professional bakers swear by.
6. Test for Doneness
A toothpick inserted in the center should come out clean. If the tops are golden but the centers are still wet, give them two more minutes and retest.
Quick Reference Table
| Tip | Why It Matters |
|---|---|
| Weigh your ingredients | Prevents dry or dense texture |
| Soak the bran | Creates a soft, tender crumb |
| Avoid overmixing | Keeps muffins light and airy |
| Use an ice cream scoop | Ensures even baking |
| Cool before serving | Prevents soggy bottoms |
Whether you’re baking for breakfast, brunch, or snack time, our muffin collection has something for every taste. Enjoy moist and flavorful classics like Carrot Muffins Recipe, rich Chocolate Muffins, and bright Lemon Poppy Seed Muffins. Healthier options include hearty Bran Muffins and nourishing Morning Glory Muffins, while fruity favorites like Banana Chocolate Chip Muffins, Blueberry Muffins, Cranberry Orange Muffins, and Lemon Blueberry Muffins offer bursts of flavor. Don’t forget savory and comforting options like Cornbread Muffins or veggie-packed Zucchini Muffins.
Frequently Asked Questions
1. Are bran muffins actually healthy?
Yes, bran muffins are a wholesome choice when made with simple ingredients. Wheat bran is packed with fiber, which supports digestion and helps you feel full longer. To keep them healthy, limit added sugars and use whole grains where possible. These bran muffins use heart-friendly oil and just the right amount of brown sugar for natural sweetness.
2. Why are my bran muffins dry or dense?
Dry or dense bran muffins usually come from overmixing the batter or using too much flour. Always measure ingredients accurately, soak the bran in buttermilk, and stir just until combined. Overmixing can toughen the gluten and make the texture heavy.
3. Can I use All-Bran cereal instead of wheat bran?
You can, but the texture will change slightly. All-Bran cereal absorbs liquid differently than pure wheat bran, which may yield a denser crumb. If substituting, reduce the soaking time slightly and check your batter’s consistency before baking.
4. How do you store bran muffins to keep them fresh?
Keep cooled muffins in an airtight container at room temperature for up to three days. For longer storage, refrigerate for up to a week or freeze for up to two months. Reheat them briefly in the microwave or oven for that fresh-from-the-oven taste.
Bran Muffins

Moist, wholesome bran muffins made with wheat bran, buttermilk, brown sugar, and raisins. Perfectly tender, naturally sweet, and full of fiber — a comforting breakfast favorite.
- Prep Time: 10 minutes
- Cook Time: 20 minutes
- Total Time: 30 minutes
- Yield: 12 muffins 1x
- Category: Breakfast, Snack
- Method: Baking
- Cuisine: American
- Diet: Vegetarian
Ingredients
1½ cups wheat bran cereal (100g)
1½ cups buttermilk (360ml)
1 cup all-purpose flour (120g)
1½ teaspoons baking powder
½ teaspoon baking soda
½ teaspoon salt
½ cup raisins (80g)
½ cup packed brown sugar (110g)
⅓ cup vegetable oil (80ml)
1 large egg
2 teaspoons vanilla extract
Instructions
1. Preheat oven to 375°F (190°C). Grease or line a 12-cup muffin tin.
2. In a large bowl, stir together the wheat bran and buttermilk. Let stand for 10 minutes.
3. In another bowl, whisk together flour, baking powder, baking soda, salt, and raisins.
4. Whisk brown sugar, oil, egg, and vanilla into the bran mixture until smooth.
5. Add the dry ingredients to the wet ingredients and stir until just combined. Don’t overmix.
6. Divide batter evenly into muffin cups and bake for 20 minutes, or until a toothpick inserted in the center comes out clean.
7. Cool for 10 minutes before removing muffins from the pan. Serve warm or store in an airtight container.
Notes
Use a kitchen scale to measure accurately — too much flour or bran can make muffins dense.
Don’t skip soaking the bran; it ensures a soft and tender crumb.
Avoid overmixing to prevent a heavy texture.
Bring your egg to room temperature before mixing.
Muffins stay fresh for 3 days at room temperature or up to 2 months frozen.
Nutrition
- Serving Size: 1 muffin
- Calories: 180
- Sugar: 12g
- Sodium: 140mg
- Fat: 6g
- Saturated Fat: 1g
- Unsaturated Fat: 4g
- Trans Fat: 0g
- Carbohydrates: 28g
- Fiber: 5g
- Protein: 4g
- Cholesterol: 20mg
Keywords: bran muffins, healthy breakfast, fiber muffins, wheat bran muffins