
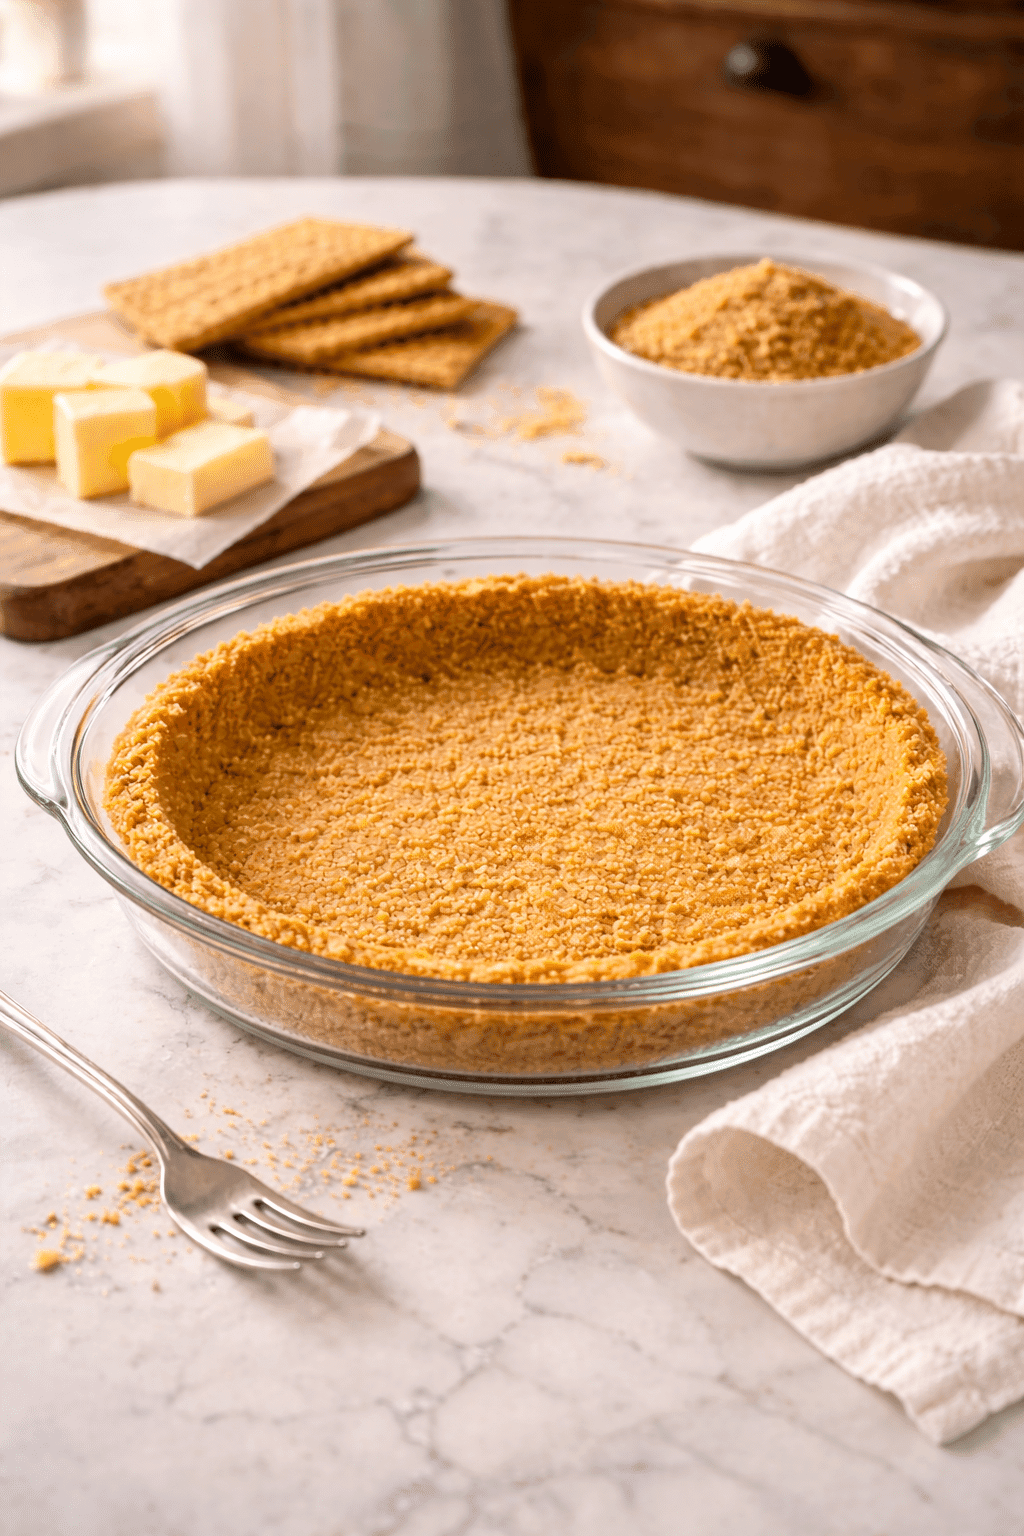
The first time I made a graham cracker crust, I was twelve, helping my mom prep a lemon meringue pie in our Los Angeles kitchen. I still remember how the buttery crumbs felt between my fingers—soft yet sandy—and how the sweet, toasty smell filled the room as it baked.
That simple crust taught me something important: good desserts start with good foundations. Today, when I make this crust for cheesecakes or holiday pies, it’s the same comforting ritual. It’s quick, foolproof, and always golden brown with just the right crunch.
Whether you’re baking for family or experimenting with no-bake fillings, this recipe is my go-to for reliability, texture, and buttery flavor. It’s the base of so many favorites, and I promise—it’s a skill worth mastering.
You’ll love this graham cracker crust because it’s made with only three simple ingredients and zero fancy tools. Every bite is buttery, crisp, and never soggy—just the right balance of sweetness and crunch.
It works perfectly for baked cheesecakes or no-bake pies and keeps its shape beautifully after chilling. Try pairing it with our rich Pecan Pie Bars for a dessert that’s pure comfort and flavor.
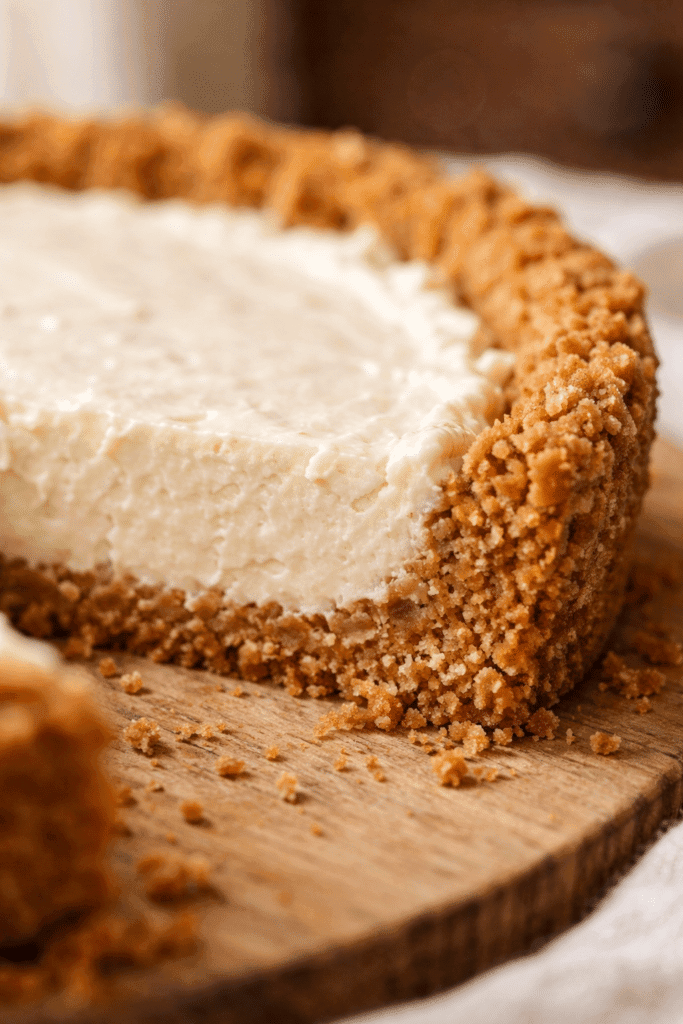
Table of Contents
Key Ingredients
The beauty of a graham cracker crust is how simple yet essential its ingredients are. Each one plays a key role in creating that golden, melt-in-your-mouth texture that supports any pie or cheesecake.
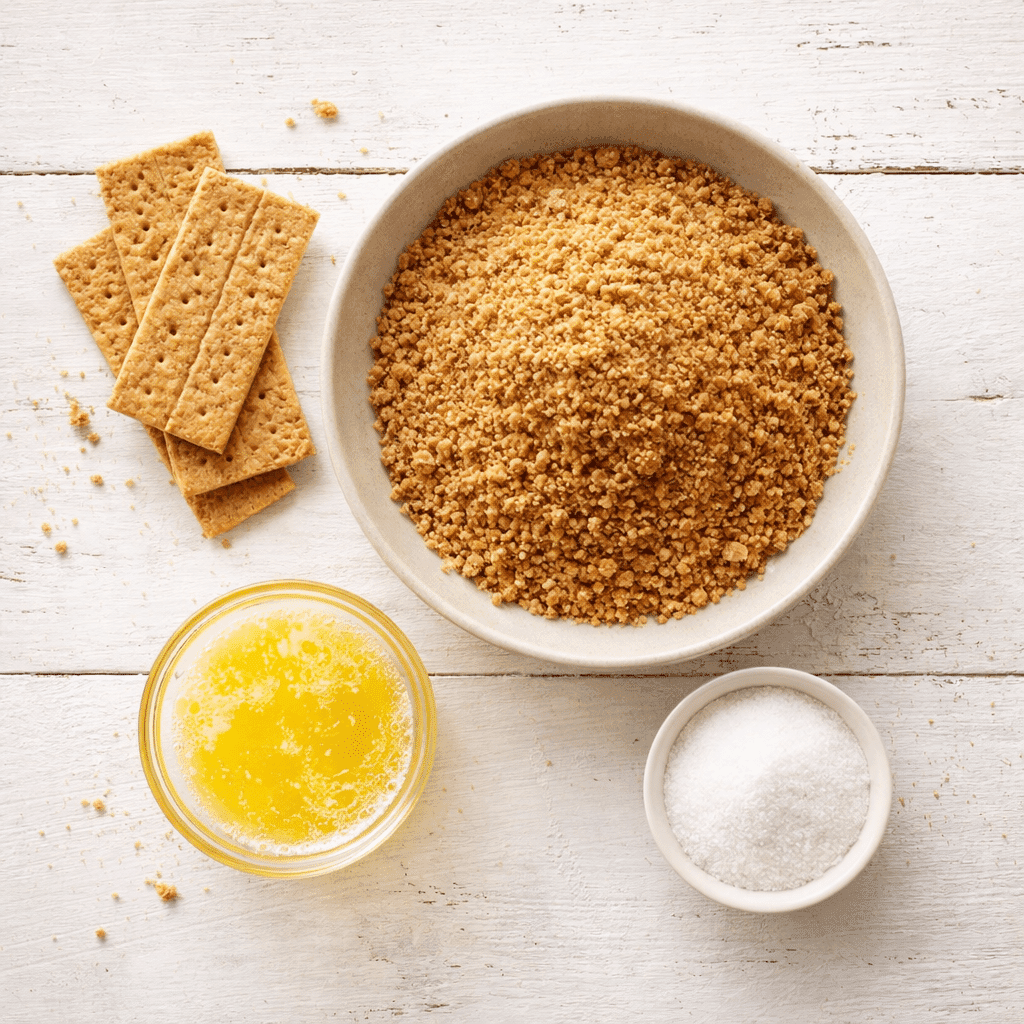
Graham Crackers: The base of the crust. They add that signature honeyed flavor and slightly grainy crunch that bakes up beautifully. Crush them finely for a compact, even layer. You can use honey, cinnamon, or even chocolate-flavored graham crackers depending on your dessert.
Butter: Melted unsalted butter binds the crumbs together and gives the crust its rich, buttery taste. It’s the secret to achieving that perfect crisp edge without cracking once cooled.
Sugar: A small amount of granulated sugar sweetens the crust while helping it caramelize as it bakes. This ensures your crust browns evenly and holds its shape.
For seasonal pies like Pumpkin Pie, this crust adds a cozy, buttery base that balances warm spices beautifully. It’s also perfect under creamy fillings like No-Bake Cheesecake, giving each bite a mix of texture and flavor that feels homemade in every sense. Once you learn this balance, you can easily adapt it for any pie or dessert bar in your collection.
Why Does My Graham Cracker Crust Fall Apart?
If your graham cracker crust falls apart, it usually means the mixture didn’t have enough butter or wasn’t packed firmly enough into the pan. The crumbs should hold together when you pinch them—moist but not greasy. Use a flat-bottomed cup to press the crust evenly without packing it too tightly. Overbaking can also cause dryness, so stick to 8–10 minutes max. For creamy pies like Sweet Potato Pie, that tender, buttery crust makes all the difference.
Pro Tips for Success
Crush finely, not coarsely: The finer your crumbs, the tighter and smoother your graham cracker crust will bake. Large, uneven pieces prevent the butter from coating everything evenly, leading to crumbly edges or soft spots. A food processor works best, but a zip-top bag and rolling pin do the job, too.
Use the right butter ratio: Start with six tablespoons of melted butter and adjust as needed. If the mixture feels dry or sandy, add one tablespoon at a time until it sticks when pinched. The goal is moist, cohesive crumbs that don’t fall apart when pressed.
Press gently but firmly: Use the flat bottom of a measuring cup to spread the mixture evenly across the pan. Apply light but steady pressure—firm enough to compact, yet gentle enough to keep air pockets. Pressing too hard can make the crust overly dense.
Pre-bake for structure: Bake for 8–10 minutes until lightly golden and aromatic. This step sets the butter and sugar, locking in the crust’s shape and crisp texture.
Cool completely before filling: Let the crust rest at room temperature before adding your filling. This prevents sogginess and helps maintain that perfect crunch.
Pair it smartly: Serve it under creamy pies like Chocolate Cream Pie or seasonal favorites such as Apple Pie for crisp, consistent, bakery-quality results every time.
How to Make Graham Cracker Crust
Making a homemade graham cracker crust is one of the simplest yet most rewarding steps in baking. Follow these clear steps for a buttery, crisp, and reliable crust that works for nearly any pie.
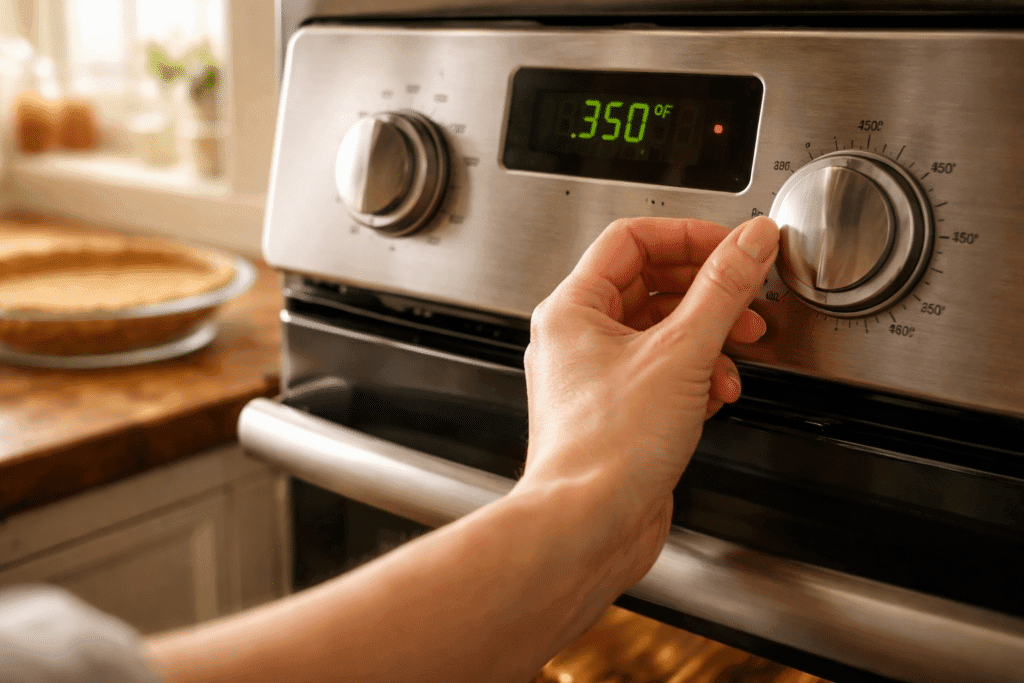
1. Preheat your oven.
Set your oven to 350°F (177°C). This ensures even heating, helping the butter and sugar meld perfectly with the crumbs. A properly preheated oven makes the crust golden and aromatic without overbaking.
2. Crush the graham crackers.
Place about twelve full graham crackers into a food processor or zip-top bag. Pulse or crush until the crumbs are fine and sandy—avoid large chunks, which can make the crust fall apart. You’re aiming for roughly 1½ cups of crumbs (180g).
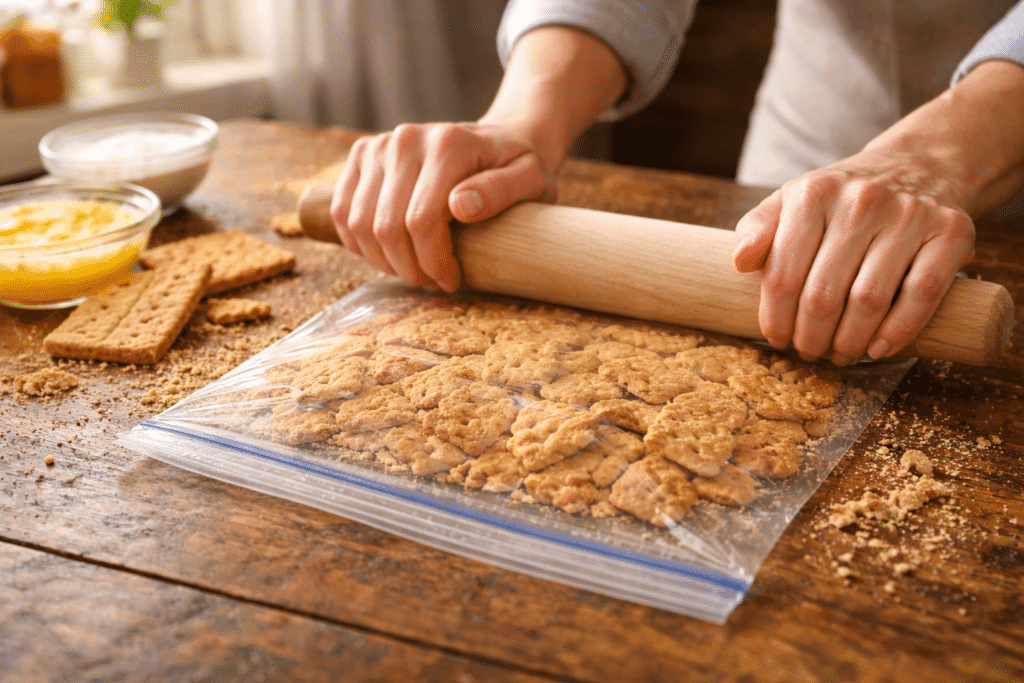
3. Mix with sugar and butter.
In a medium bowl, combine the graham cracker crumbs and ¼ cup of granulated sugar. Then pour in 6 tablespoons of melted unsalted butter. Stir until the mixture is evenly moistened. The crumbs should hold together when you pinch them, forming a soft, buttery clump that doesn’t crumble apart.
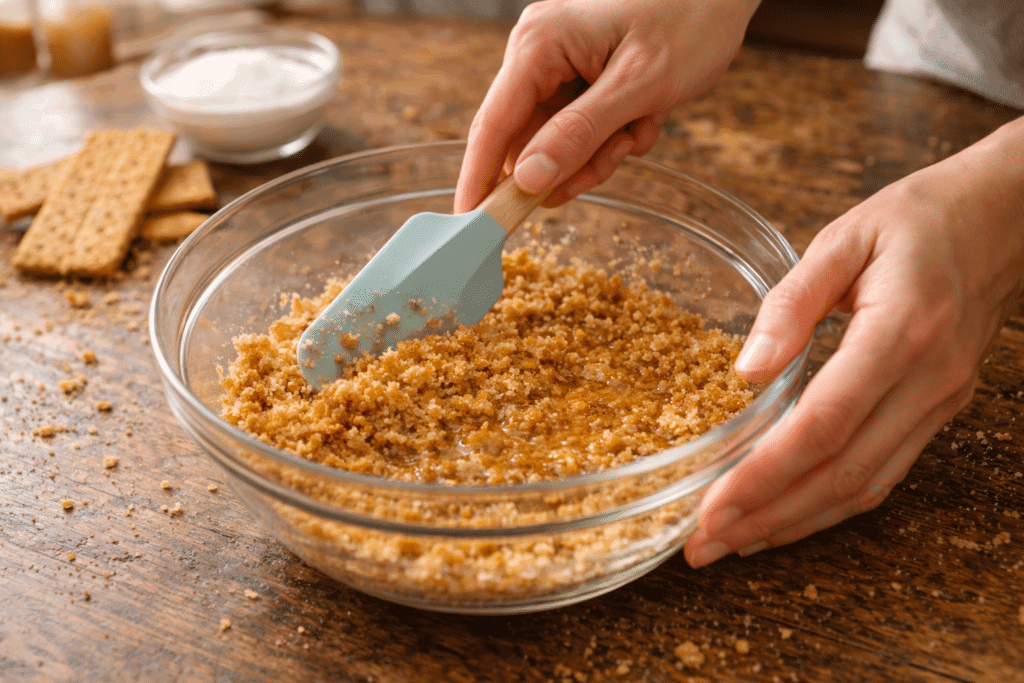
4. Test and adjust the texture.
If your mixture feels too dry, add melted butter, one tablespoon at a time, until it holds its shape when pressed. This step ensures your crust stays cohesive and slices cleanly later.
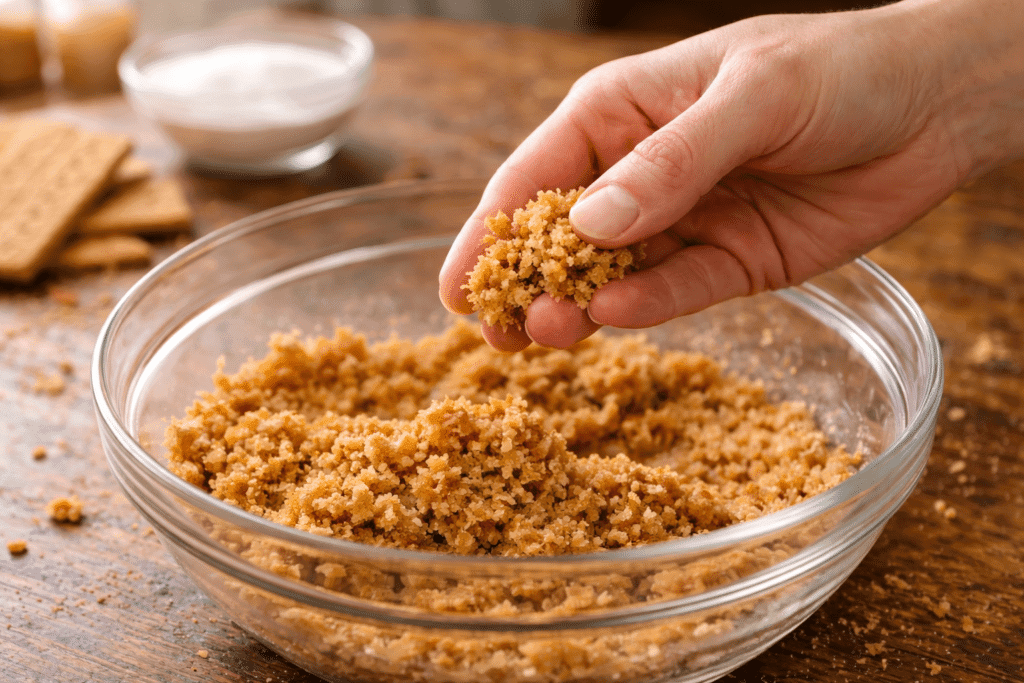
5. Press the crust into the pan.
Pour the mixture into a 9-inch pie plate. Use the flat bottom of a measuring cup or glass to firmly press the crumbs into the bottom and up the sides of the pan. Apply steady, even pressure—firm enough to compact, but not so hard that it becomes dense or greasy.
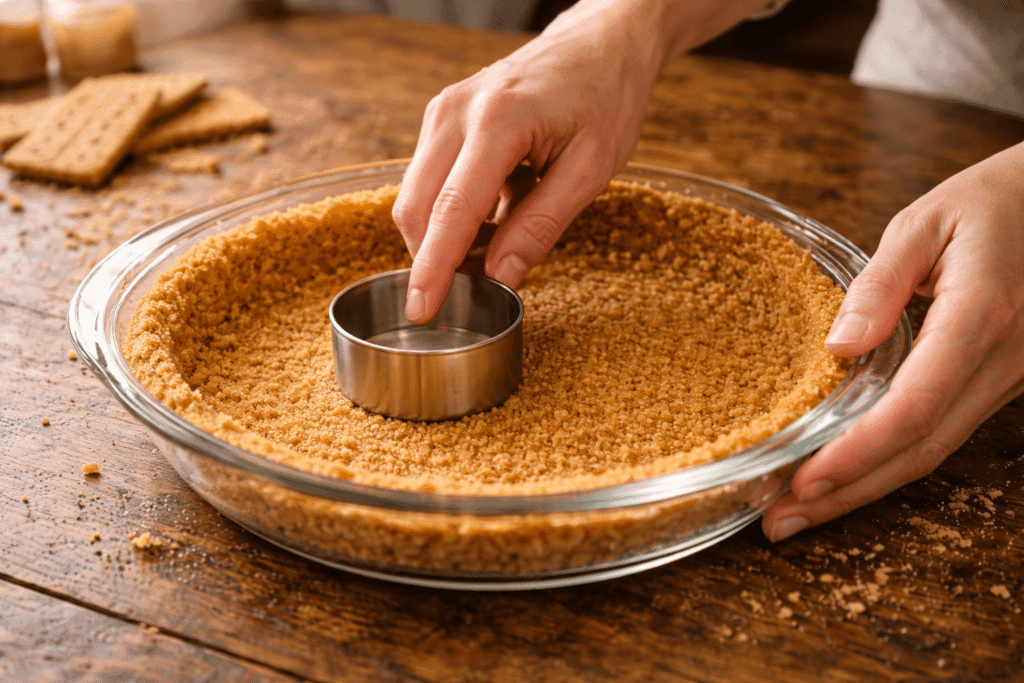
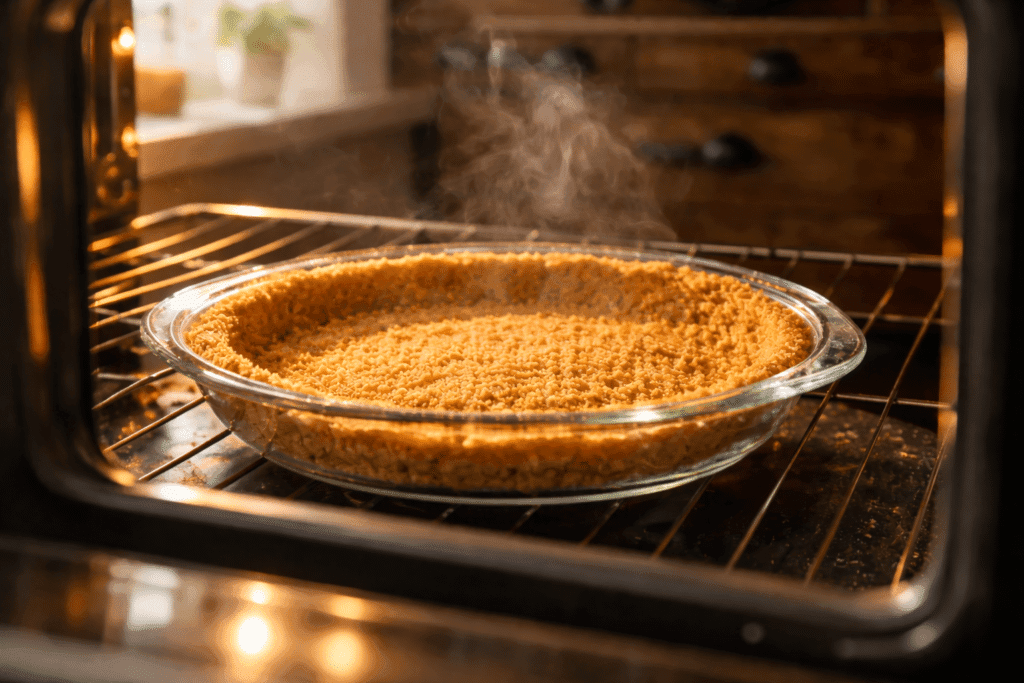
6. Bake until golden.
Bake the crust for 8–10 minutes until it turns light golden brown and smells toasty. Remove it from the oven and allow it to cool completely before adding your filling.
7. Fill and chill (or bake again).
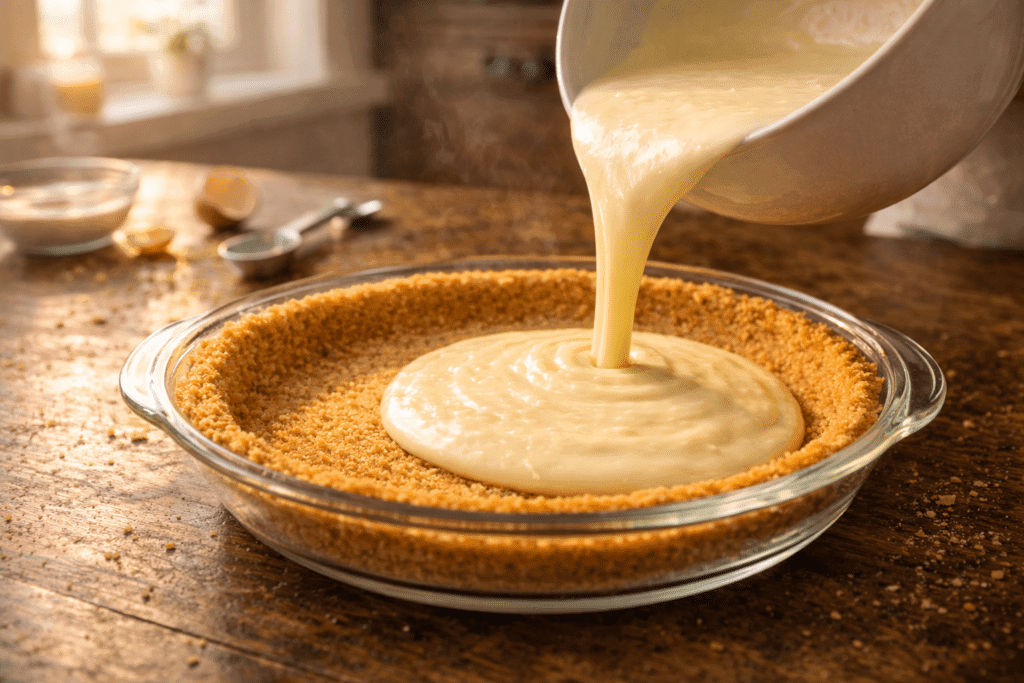
Once cooled, fill your crust with your favorite pie filling. It’s perfect for creamy desserts like Coconut Cream Pie or any custard-based recipe. If you prefer a traditional pastry crust, see our Pie Crust Recipe for comparison.
This foolproof graham cracker crust is buttery, slightly sweet, and beautifully crisp—an essential skill for every baker who loves the satisfaction of homemade pie.
Serving Suggestions
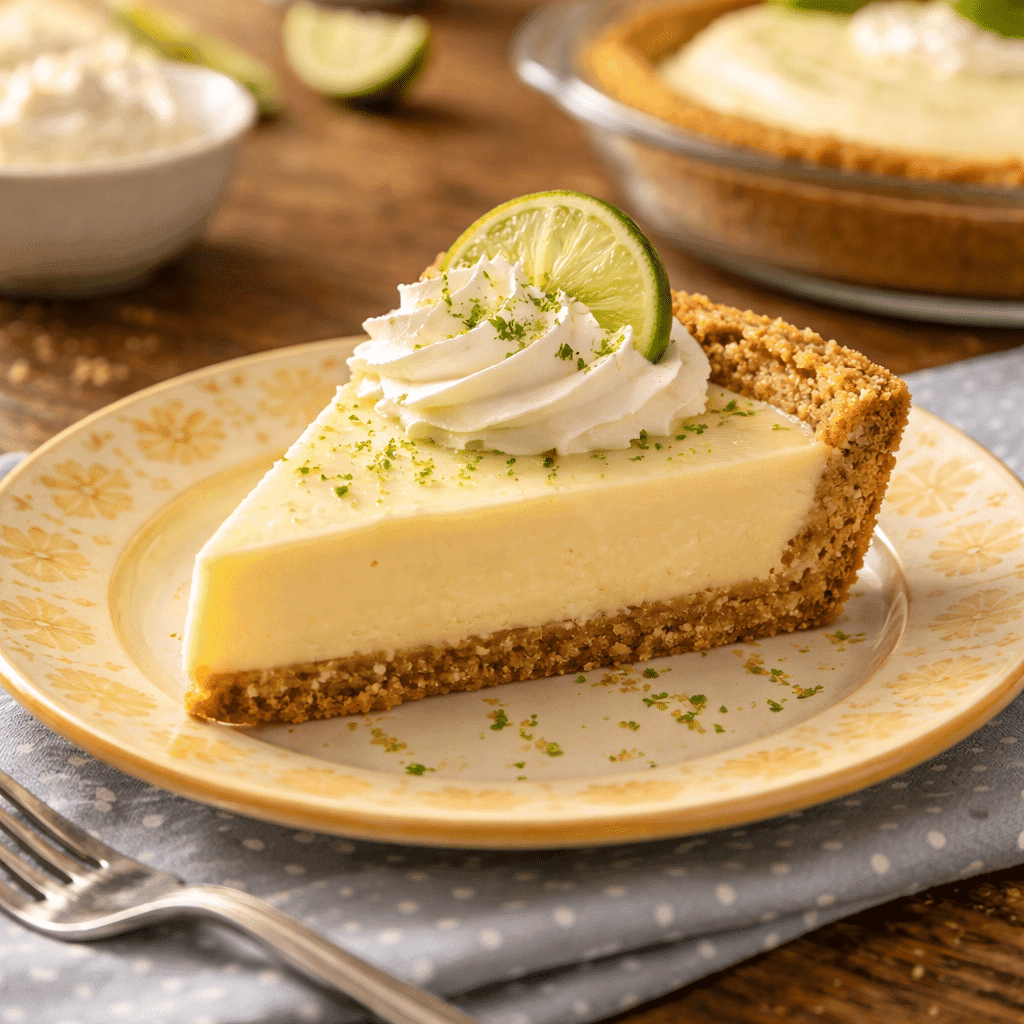
The beauty of a graham cracker crust is its versatility—it pairs effortlessly with nearly any pie filling. For something refreshing and tart, try it with a classic Key Lime Pie; the buttery crumbs perfectly balance the citrusy tang. It also complements rich, creamy textures like chocolate mousse or silky banana pudding. Top your pie with fresh whipped cream, toasted coconut, or crushed nuts for an extra layer of flavor and crunch. Serve chilled for a clean, crisp finish every time.
Storage & Make-Ahead Tips
Your graham cracker crust can be easily made ahead for stress-free baking days. After baking and cooling, wrap it tightly in plastic wrap or foil and refrigerate for up to 3 days. For longer storage, freeze the baked crust for up to 3 months; just thaw it at room temperature before filling. You can also prepare the unbaked crust and freeze it directly in the pan, then bake straight from frozen for a few extra minutes. It’s the perfect time-saver for holidays or busy weeknights.
Sienna’s Touch
Every time I bake a graham cracker crust, I’m reminded of quiet Sunday mornings in my family’s kitchen, where dessert always started with the smell of melted butter and toasted crumbs. I hope this recipe brings that same comfort to your home. Share your creations and tag us—I love seeing every beautiful pie you make.
Frequently Asked Questions
1. Does graham cracker crust need to be baked?
Usually, yes. Baking your graham cracker crust for 8–10 minutes helps the butter and sugar set, giving it a firmer, crisp texture. For no-bake desserts, chill the crust for at least 2 hours to achieve the same stability.
2. Why does my graham cracker crust fall apart?
If the crust crumbles, it’s likely too dry or under-pressed. The crumbs should hold their shape when pinched. Add an extra tablespoon of melted butter or press the crust more evenly into the pan for a smooth finish.
3. Can I make graham cracker crust ahead of time?
Absolutely! Bake and cool the crust, then refrigerate for up to 3 days or freeze for up to 3 months. Thaw it at room temperature before filling for best results.
4. Can I use something other than graham crackers?
Yes! Try digestive biscuits, vanilla wafers, or even Oreos for flavor variety. Adjust sugar slightly if your substitute is sweeter or less sweet than graham crackers.
Graham Cracker Crust Recipe
A buttery, crisp graham cracker crust perfect for pies, cheesecakes, and no-bake desserts.
- Prep Time: PT10M
- Cook Time: PT10M
- Total Time: PT20M
- Yield: 1 9-inch crust 1x
- Category: Dessert
- Method: Baking
- Cuisine: American
- Diet: Vegetarian
Ingredients
1½ cups graham cracker crumbs
6 to 8 tablespoons unsalted butter, melted
¼ cup granulated sugar
Instructions
Step 1: Preheat oven to 350°F.
Step 2: Combine crumbs, sugar, and butter in a bowl until moistened.
Step 3: Press into a 9-inch pie plate evenly across bottom and sides.
Step 4: Bake 8–10 minutes until golden and aromatic.
Step 5: Cool completely before filling.
Notes
For a no-bake crust, chill for 2 hours instead of baking. Freeze baked crusts up to 3 months.
Nutrition
- Serving Size: 1 slice
- Calories: 140
- Sugar: 8
- Sodium: 60
- Fat: 7
- Saturated Fat: 4
- Unsaturated Fat: 3
- Carbohydrates: 16
- Protein: 1
- Cholesterol: 15
Keywords: graham cracker crust, pie base, cheesecake crust