
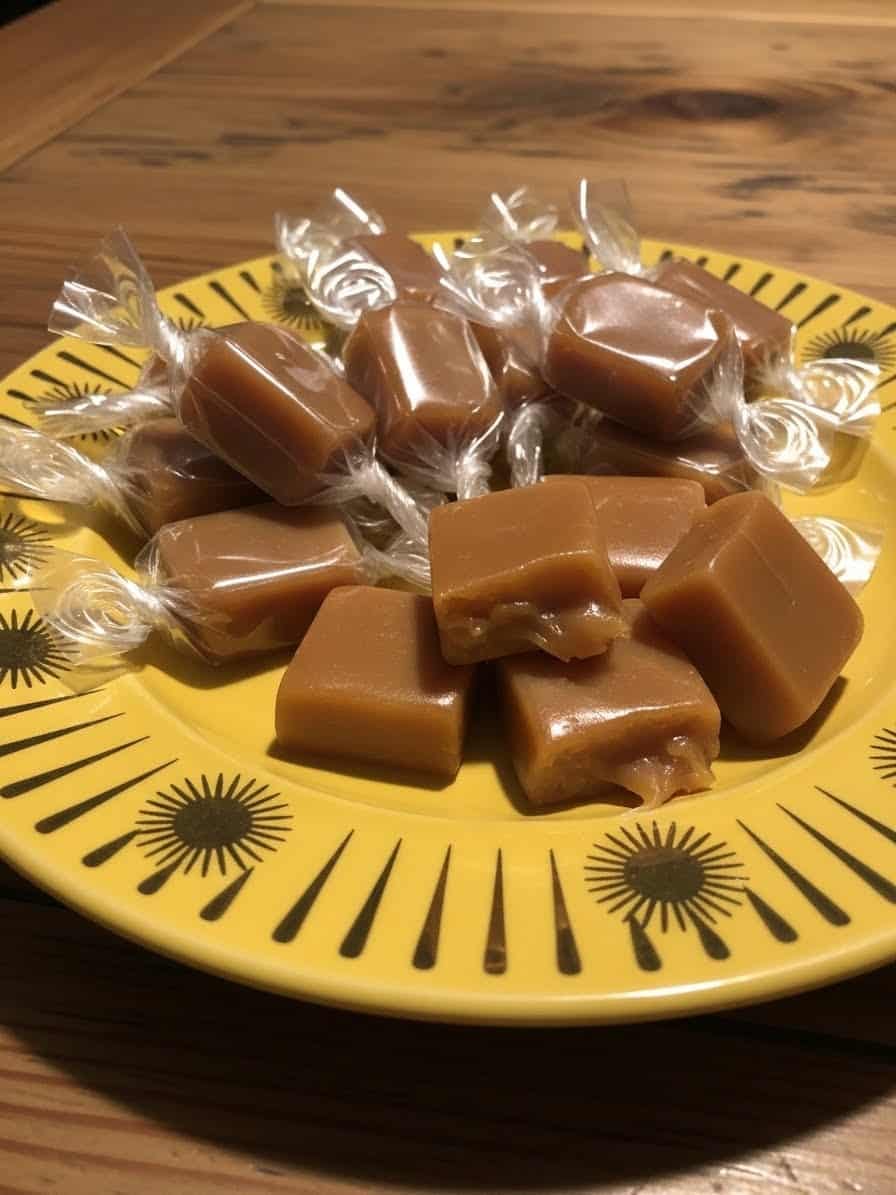
Homemade caramels are a staple in my kitchen around the holidays, and every batch brings me right back to my mother’s kitchen in Los Angeles. I remember standing on a stool, watching her patiently stir the bubbling caramel until it turned that perfect golden amber color. The sweet, buttery aroma filled the room and wrapped us in warmth. Now, I make homemade caramels for my daughters, letting them stir and watch the thermometer rise—just like I once did. These candies are smooth, creamy, and perfectly chewy, with just a hint of vanilla that makes them irresistible. They’re the kind of treat that turns simple ingredients into something special and satisfying. Whenever I need a cozy kitchen moment or a last-minute edible gift, homemade caramels never disappoint. They’re pure comfort in candy form.
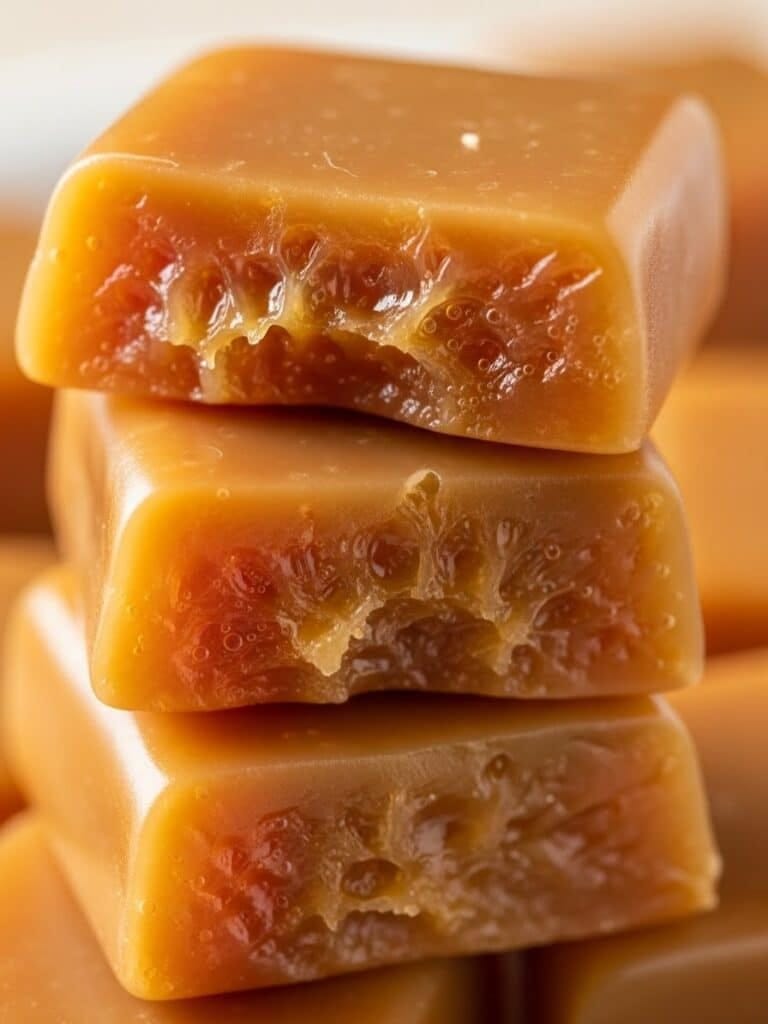
You’ll love this homemade caramels recipe because it delivers that perfect chewy texture with deep buttery richness and a hint of vanilla warmth. Every bite melts slowly, giving you that smooth, velvety finish that candy lovers dream of. The best part? It’s surprisingly simple and foolproof, making it ideal for both beginners and seasoned cooks. Perfect for gifting or indulging, these golden squares taste like nostalgia wrapped in sweetness.
Table of Contents
Key Ingredients
Making homemade caramels is all about balance—the right mix of sweetness, creaminess, and texture. Each ingredient plays a crucial role in creating that silky, melt-in-your-mouth perfection that defines great caramel candy.
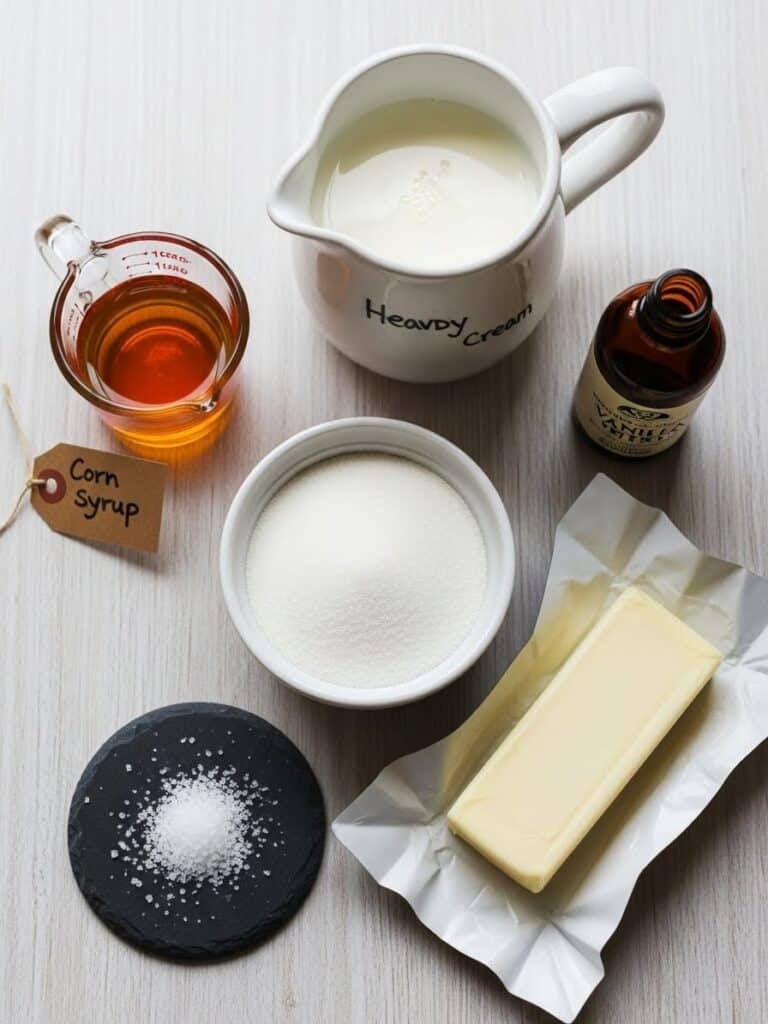
Granulated Sugar & Brown Sugar: These two work together to create depth and body. The white sugar provides the pure sweetness and that classic caramel color once it melts, while the brown sugar adds a subtle molasses note and a touch of moisture that keeps the caramels soft rather than brittle.
Corn Syrup: This humble ingredient is your secret weapon against graininess. It prevents the sugars from crystallizing, ensuring your homemade caramels turn out smooth and glossy. It also contributes to the candy’s elasticity and chew.
Unsalted Butter: Butter adds richness and a creamy mouthfeel that elevates the flavor to pure indulgence. Always choose high-quality butter—it truly makes a difference.
Heavy Cream: This is where the magic happens. The cream adds fat and moisture, transforming molten sugar into a luxurious, velvety caramel. Using room-temperature cream helps it blend seamlessly without seizing.
Salt: A small but mighty player. Salt enhances the sweetness and brings out the complex caramel flavor. You can sprinkle flaky sea salt on top for a perfect sweet-salty finish.
Vanilla Extract: Stirred in at the end, vanilla deepens the aroma and adds that comforting homemade touch.
Why are my homemade caramels hard instead of soft?
If your homemade caramels turned out hard, the mixture was likely cooked a bit too long or reached a higher temperature than intended. Aim for 245°F to 248°F on your candy thermometer for that perfect chewy texture. Always use a reliable thermometer and test the caramel by dropping a small bit into cold water—it should form a firm but pliable ball.
Pro Tips for Success
Making homemade caramels is simple once you understand a few key techniques that guarantee success every time.
- Choose the right pan: Always use a heavy-bottomed 4- to 5-quart saucepan. Thin pans can cause uneven heating, leading to scorching or burning before the sugars fully melt.
- Keep your thermometer accurate: Candy thermometers can drift over time. Test yours by dipping it in boiling water—it should read 212°F. If not, adjust mentally while cooking.
- Stir steadily, not frantically: Constant but gentle stirring prevents hot spots and ensures even cooking. Too much agitation introduces air bubbles, making your caramels grainy.
- Add the cream slowly: When adding the cream, pour it in a slow, steady stream while whisking continuously. Adding it too quickly will cause the sugar to seize and bubble over.
- Control the heat: Caramels can jump from perfect to burnt within seconds once they reach 240°F. Lower the heat slightly as you approach your target temperature of 245–248°F.
- Let it rest: Cooling completely is essential. Cutting too soon causes spreading and loss of shape.
- Finish with sea salt: For gourmet flair, sprinkle flaky sea salt about 30 minutes into cooling—it enhances flavor beautifully.
How to Make Homemade Caramels
Making homemade caramels might look intimidating, but when you follow the steps carefully, it’s easy, fun, and incredibly rewarding. Here’s exactly how I make them in my kitchen:
1. Prepare your pan.
Lightly butter a 9×13-inch baking dish and line it with parchment paper, leaving some overhang on the sides. This makes it easy to lift the caramel slab out later. Lightly butter the paper too—sticky candy won’t stand a chance.
2. Combine base ingredients.
In a large, heavy-bottomed saucepan (4–5 quarts), combine granulated sugar, brown sugar, corn syrup, butter, and salt. Set the pot over medium heat and stir constantly until everything melts and begins to bubble gently—about 5 minutes.
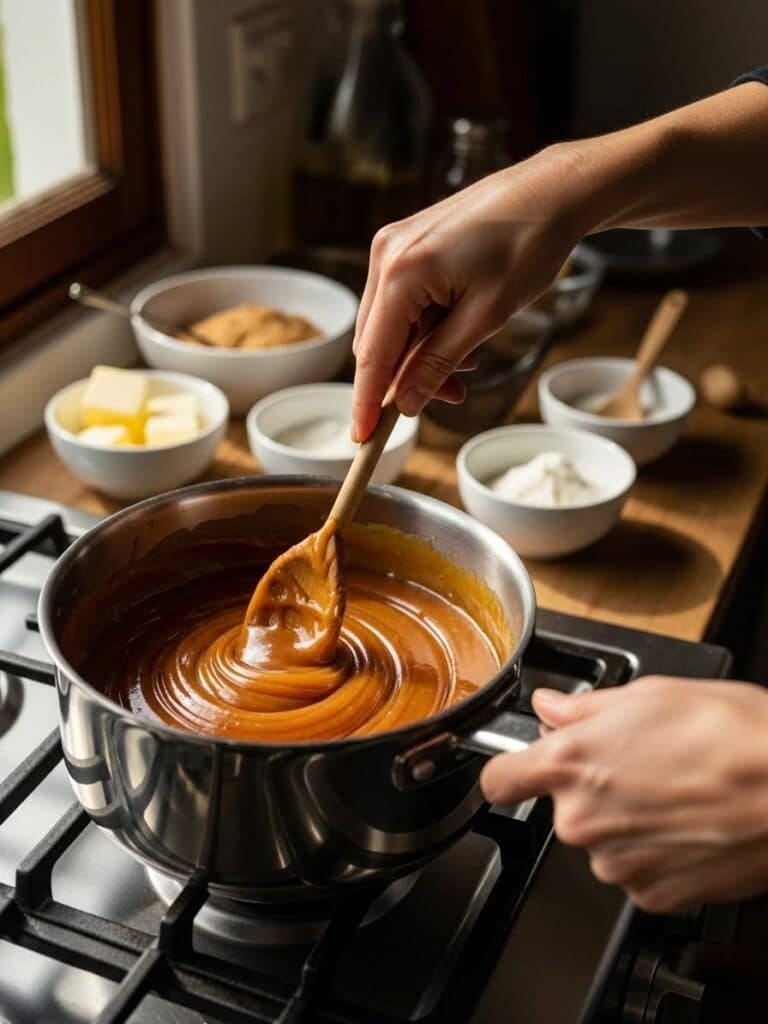
3. Add the cream slowly.
While whisking, gradually pour in the heavy cream over 1 minute. This helps the mixture stay smooth without clumping. Attach a candy thermometer to the side of the pot.
4. Cook to perfection.
Continue stirring constantly until the caramel reaches 245°F to 248°F. This usually takes about 20–25 minutes. If you don’t have a thermometer, use the “firm ball” test: drop a small bit of caramel into cold water—it should form a ball that’s firm but still moldable.
5. Add flavor and cool.
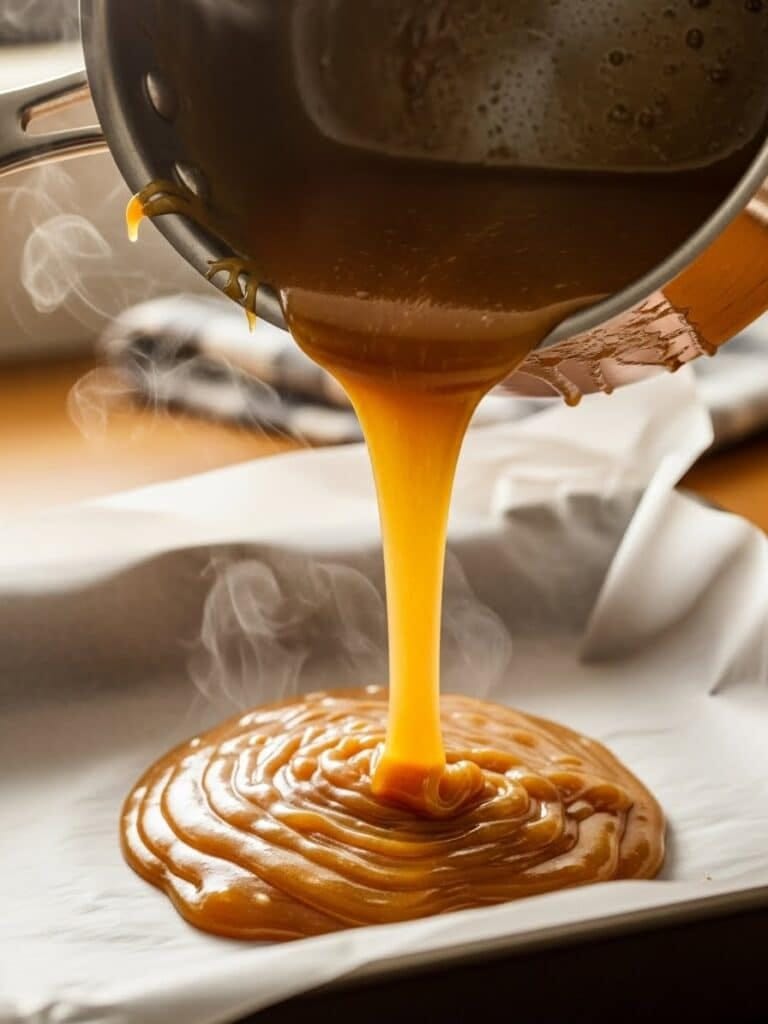
Once it hits temperature, remove from the heat immediately and stir in vanilla extract. Pour the caramel into your prepared pan. Let it cool completely for about 4 hours at room temperature, or chill it in the fridge for faster setting.
6. Slice and store.
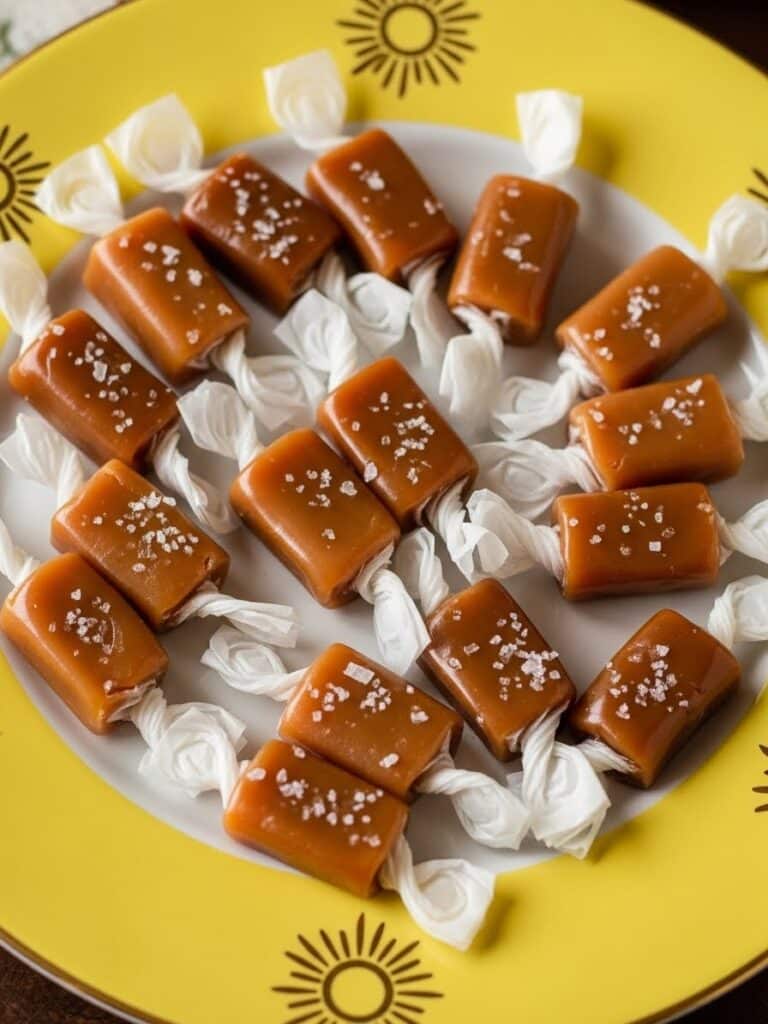
When fully cooled, lift the slab from the pan, peel off the parchment, and cut into bite-sized squares. Wrap each piece in wax paper to keep them fresh.
Pro tip: These caramels stay soft at room temperature for up to a month or refrigerated for several weeks.
Serving Suggestions
Homemade caramels are endlessly versatile, and that’s part of their charm. You can serve them simply—cut into squares and wrapped in wax paper for easy sharing—or elevate them with a sprinkle of flaky sea salt for a sweet-and-salty balance. Melt a few cubes and drizzle over apple pie, vanilla ice cream, or brownies for an instant upgrade. For the holidays, I package them in parchment-lined tins alongside Chocolate Peppermint Bark or Cranberry Walnut Fudge to create beautiful, edible gifts that never fail to impress.
Storage & Make-Ahead Tips
Proper storage is key to keeping your homemade caramels soft, fresh, and perfectly chewy. Once cooled and cut, wrap each piece individually in wax or parchment paper to prevent sticking. Store the wrapped candies in an airtight container at room temperature for up to 1 month—they’ll stay buttery and delicious. If your kitchen runs warm, refrigerate them for longer shelf life (up to 6 weeks). For long-term storage, freeze the wrapped caramels in a freezer-safe bag for up to 3 months. Thaw at room temperature before serving to maintain their silky, smooth texture.
Sienna’s Touch
Every time I make homemade caramels, my kitchen fills with that buttery, golden aroma that reminds me why I love cooking. It’s about patience, joy, and creating something from scratch that brings smiles all around. I hope your batch turns out just as smooth and sweet. Share them, gift them, and let your kitchen be filled with love.
Get ready for festive flavors and sweet, homemade treats perfect for sharing with friends and family. From classic Rum Balls Recipe to irresistible Christmas Crack Recipe and rich, buttery Homemade Caramels, this collection highlights easy dessert recipes that deliver big on taste with simple ingredients and step-by-step instructions.
FAQ
1. Why are my homemade caramels hard instead of soft?
If your homemade caramels turn out hard, they were likely cooked to too high a temperature. The perfect range is 245°F to 248°F. Anything higher results in firm or brittle caramels. Using a reliable candy thermometer and testing with the “firm ball” method ensures that ideal chewy texture every time.
2. How do you keep homemade caramels from being grainy?
Grainy caramels happen when sugar crystals form on the pan’s edges. To prevent this, use a wet pastry brush to dissolve crystals while cooking, and avoid stirring once the mixture starts boiling. Corn syrup also helps keep the texture silky smooth.
3. Do homemade caramels need to be refrigerated?
Not necessarily. Wrapped and stored in an airtight container, homemade caramels stay soft at room temperature for about a month. However, in warmer climates, refrigeration extends their shelf life. Just let them return to room temperature before serving.
4. How long do homemade caramels last?
Properly wrapped, your caramels will keep for up to 1 month at room temperature, 6 weeks in the refrigerator, or 3 months in the freezer. Always store them in airtight containers to protect their flavor and texture.
Homemade Caramels
These buttery, soft, and chewy homemade caramels are made with simple pantry ingredients and perfect for gifting. Each bite delivers rich caramel flavor with a smooth, melt-in-your-mouth texture.
- Prep Time: 10 minutes
- Cook Time: 25 minutes
- Total Time: 4 hours 35 minutes
- Yield: 60 caramels 1x
- Category: Candy, Dessert
- Method: Stovetop
- Cuisine: American
- Diet: Vegetarian
Ingredients
2 cups granulated sugar (400g)
1 cup packed light or dark brown sugar (220g)
1 cup light corn syrup (240ml)
1 cup unsalted butter, cubed (226g)
1 teaspoon salt
2 cups heavy cream, room temperature (480ml)
2 teaspoons vanilla extract
Instructions
1. Lightly butter a 9×13-inch pan and line it with parchment paper, letting the excess come up the sides. Lightly butter the paper.
2. In a large heavy-bottomed saucepan (4 to 5-quart capacity), combine sugars, corn syrup, butter, and salt. Stir constantly over medium heat until melted and bubbling, about 5 minutes.
3. While whisking, slowly pour in the heavy cream over 1 minute. Attach a candy thermometer and bring to a boil.
4. Cook, stirring constantly, until the caramel reaches 245°F to 248°F (about 20–25 minutes). Alternatively, drop a small bit into cold water—it should form a firm yet moldable ball.
5. Remove from heat and stir in vanilla. Pour into the prepared pan and let cool completely for about 4 hours.
6. Optional: Sprinkle flaky sea salt on top after cooling for 30 minutes. Chill to speed up setting if needed.
7. Once firm, lift the slab, remove parchment, and cut into squares. Wrap each caramel in wax paper and store.
Notes
Store wrapped caramels in an airtight container for up to 1 month at room temperature or up to 6 weeks in the refrigerator. For long-term storage, freeze for up to 3 months and thaw at room temperature before serving.
Nutrition
- Serving Size: 1 caramel
- Calories: 90
- Sugar: 12g
- Sodium: 35mg
- Fat: 4g
- Saturated Fat: 3g
- Unsaturated Fat: 1g
- Trans Fat: 0g
- Carbohydrates: 13g
- Fiber: 0g
- Protein: 0.3g
- Cholesterol: 10mg
Keywords: homemade caramels, chewy caramels, soft caramels, caramel candy