
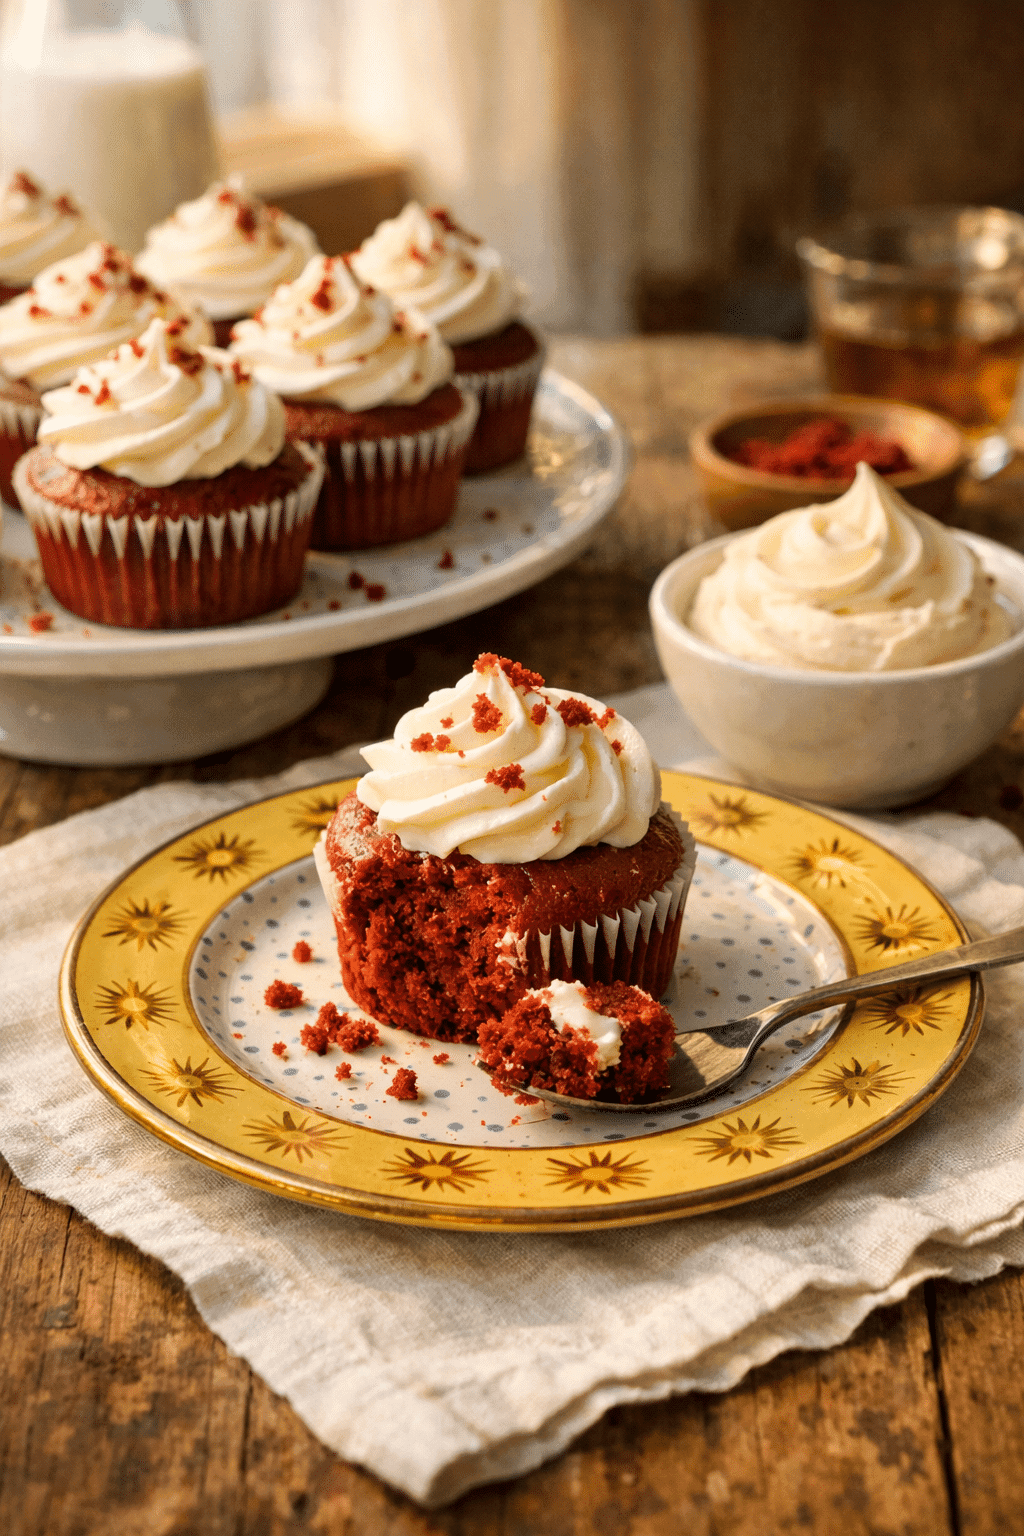
Red Velvet Cupcakes have always been one of my favorite bakes to make for family celebrations. I still remember the first time I baked them for my daughter’s birthday—the kitchen smelled like vanilla and cocoa, and the frosting swirls looked like they came straight from a bakery window.
These cupcakes are pure comfort: soft, fluffy, and balanced with just the right hint of cocoa and tangy cream cheese frosting. I love how simple yet special they feel, whether I’m baking a batch for Valentine’s Day or just a cozy weekend treat.
Every time I pull a tray of Red Velvet Cupcakes from the oven, I’m reminded that great baking doesn’t need to be complicated—it just needs care, good ingredients, and a little love.
You will love these Red Velvet Cupcakes for their soft, tender crumb and rich, buttery flavor balanced by smooth cream cheese frosting. Each bite delivers that classic red velvet magic—just a hint of cocoa, a touch of tang, and a stunning color that never fades.
Made with simple pantry staples and no special equipment, they’re an easy yet elegant treat you can whip up anytime. Perfect for birthdays, Valentine’s Day, or cozy weekends—just like my Lemon Cupcakes that brighten any dessert table.
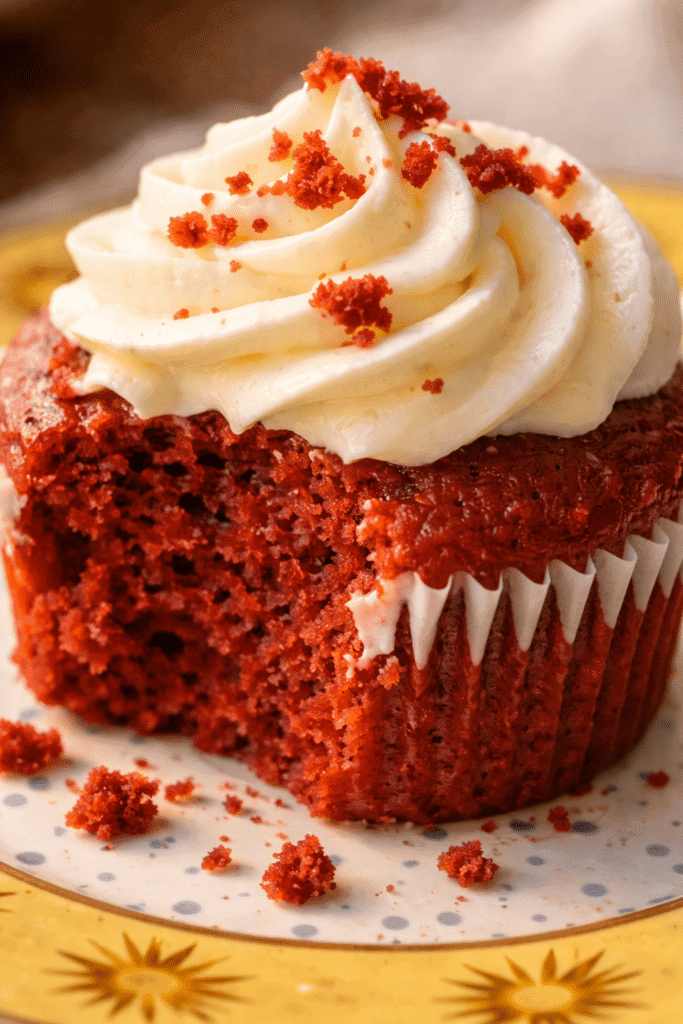
Table of Contents
Key Ingredients for the Best Red Velvet Cupcakes
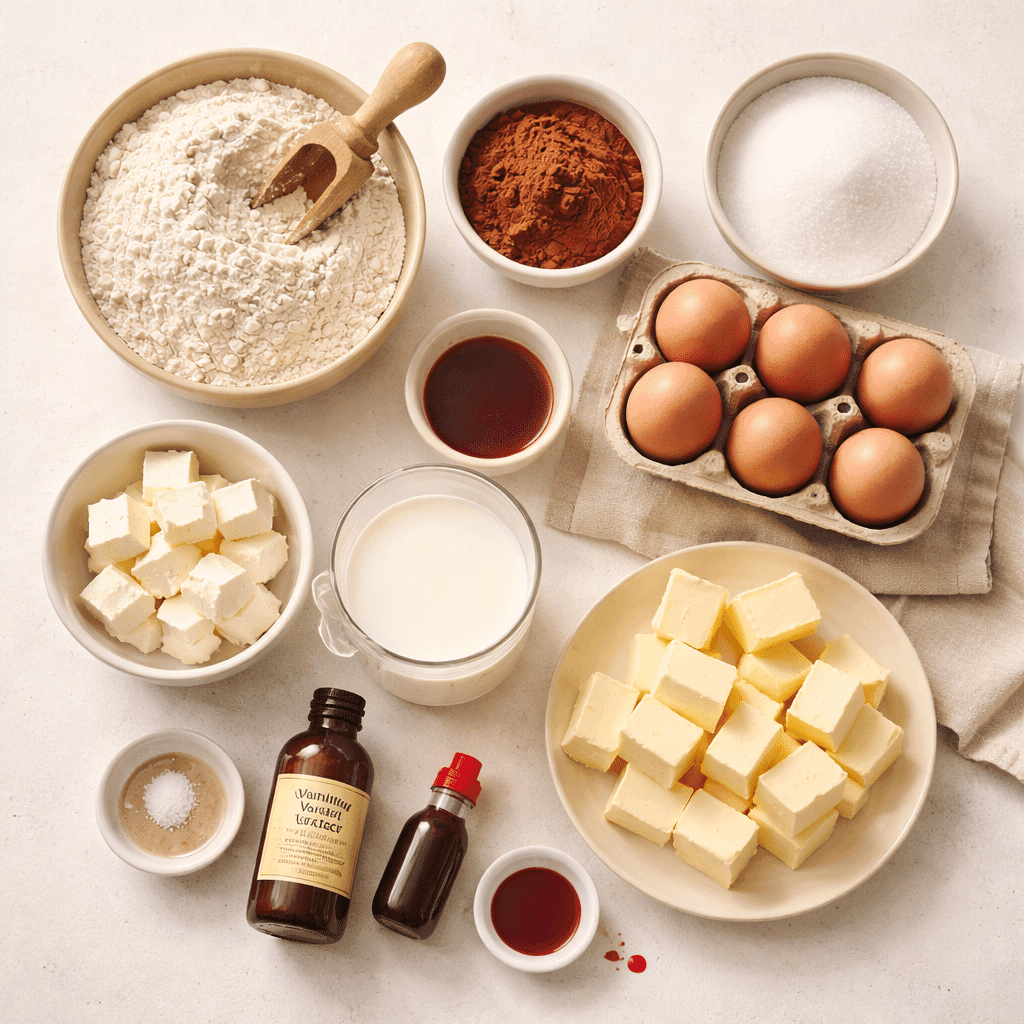
The secret to unforgettable Red Velvet Cupcakes lies in using the right ingredients—and understanding what each one brings to the recipe. Every element has a purpose, working together to create that signature velvety texture, subtle cocoa flavor, and beautiful red hue that make this classic dessert so loved. Here’s a closer look at what makes them so good (and how you can get perfect results every time).
All-Purpose Flour
The foundation of these cupcakes. It provides structure without making them dense. Always sift before mixing to keep your crumb light and fluffy.
Cocoa Powder
A small but powerful amount gives the cupcakes their signature depth of flavor. Natural cocoa (not Dutch-processed) reacts best with the acidic ingredients for that subtle chocolate note. You can also try the same tip used in my Chocolate Cupcake Recipe to enhance that cocoa aroma.
Buttermilk
The key to moisture and tenderness. Its acidity balances the sweetness and reacts with baking soda to help your cupcakes rise beautifully.
Butter
Softened, unsalted butter adds rich flavor and a smooth, creamy texture. It’s important that it’s at room temperature so it blends evenly with the sugar for a light batter.
Eggs
They hold everything together and create that soft, even crumb. Using room-temperature eggs ensures they incorporate smoothly, giving a consistent texture.
Red Food Coloring
This is what gives the cupcakes their vibrant hue. Gel coloring works best—it’s concentrated, so it doesn’t thin your batter.
Vinegar and Baking Soda
This duo creates lift and that classic red velvet tang. Vinegar reacts with baking soda for a perfect rise, while deepening the red tone.
Cream Cheese and Confectioners’ Sugar
The dream team behind that luscious frosting. Together, they whip into a creamy, tangy topping that’s silky and stable for perfect piping.
If you love classic flavors like these, you might also enjoy my Chocolate Cupcake Recipe, which shares similar rich ingredients and a tender crumb.
Why do my Red Velvet Cupcakes sink in the middle after baking?
This is one of the most common issues bakers face when making Red Velvet Cupcakes. The culprit is usually underbaking or overmixing. When cupcakes are pulled from the oven too soon, the centers collapse as they cool. Always test with a toothpick—if it comes out clean or with a few moist crumbs, they’re ready. Also, avoid overmixing your batter; doing so adds excess air, causing uneven rise and deflation. Keep your oven temperature steady, and your cupcakes will bake up perfectly domed every time.
If you’ve ever struggled with similar baking quirks, you’ll love the step-by-step guide in my Chocolate Cupcake Recipe for learning how to achieve even, bakery-style cupcakes with a tender crumb.
Pro Tips for Success
- Use room-temperature ingredients. Cold butter, eggs, or buttermilk can cause your batter to curdle or bake unevenly. Room-temperature ingredients blend better and trap the right amount of air for that soft, velvety crumb.
- Don’t overmix the batter. Mix only until the dry ingredients disappear. Overmixing activates the gluten in the flour, making your cupcakes dense instead of fluffy.
- Check your oven temperature. Even a slight difference can change the texture. Use an oven thermometer to make sure it’s at a steady 350°F for consistent baking.
- Use gel food coloring. It gives a deeper, richer red without thinning the batter like liquid coloring can. A few drops go a long way.
- Cool cupcakes completely before frosting. Even a bit of warmth will cause the cream cheese frosting to soften or slide. Let them cool fully on a wire rack.
- Chill your frosting briefly before piping. Ten minutes in the fridge helps it hold beautiful, firm swirls when decorating.
- Wipe the piping tip between cupcakes. This small trick keeps every swirl neat and picture-perfect, just like a bakery display.
How to Make Red Velvet Cupcakes
Making Red Velvet Cupcakes at home is easier than you might think. This step-by-step guide walks you through every detail so you get perfect results every single time—fluffy cupcakes, vibrant color, and creamy frosting that pipes beautifully. Whether you’re baking for a special occasion or just a weekend treat, this recipe guarantees success.
1. Preheat and Prepare
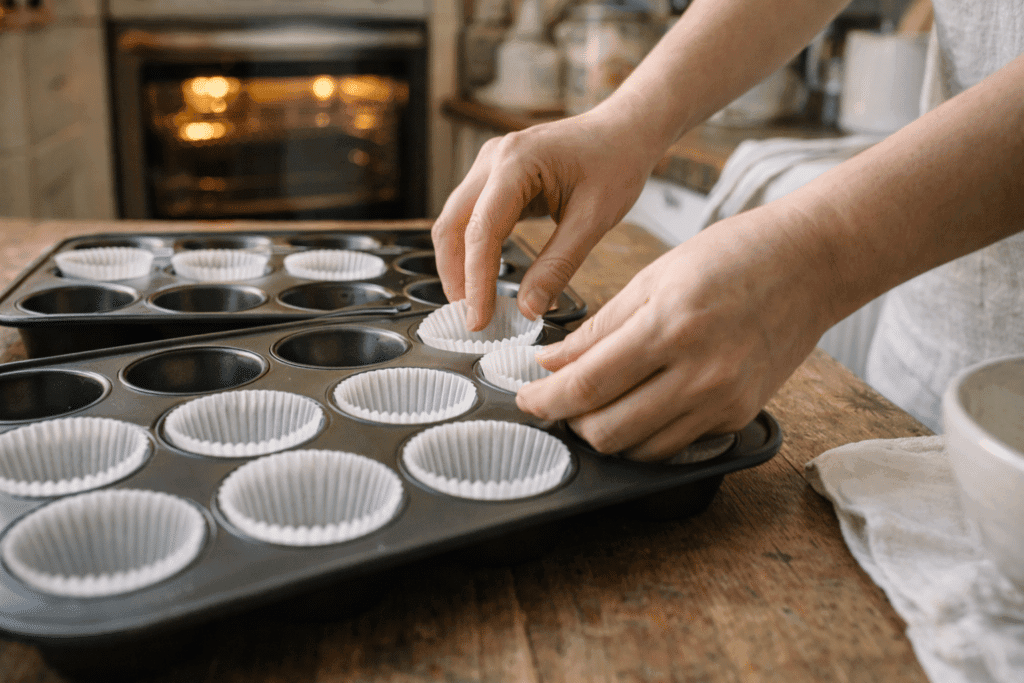
Start by preheating your oven to 350°F (175°C). Line two muffin pans with 16 paper cupcake liners. This ensures your cupcakes bake evenly and lift easily once cooled.
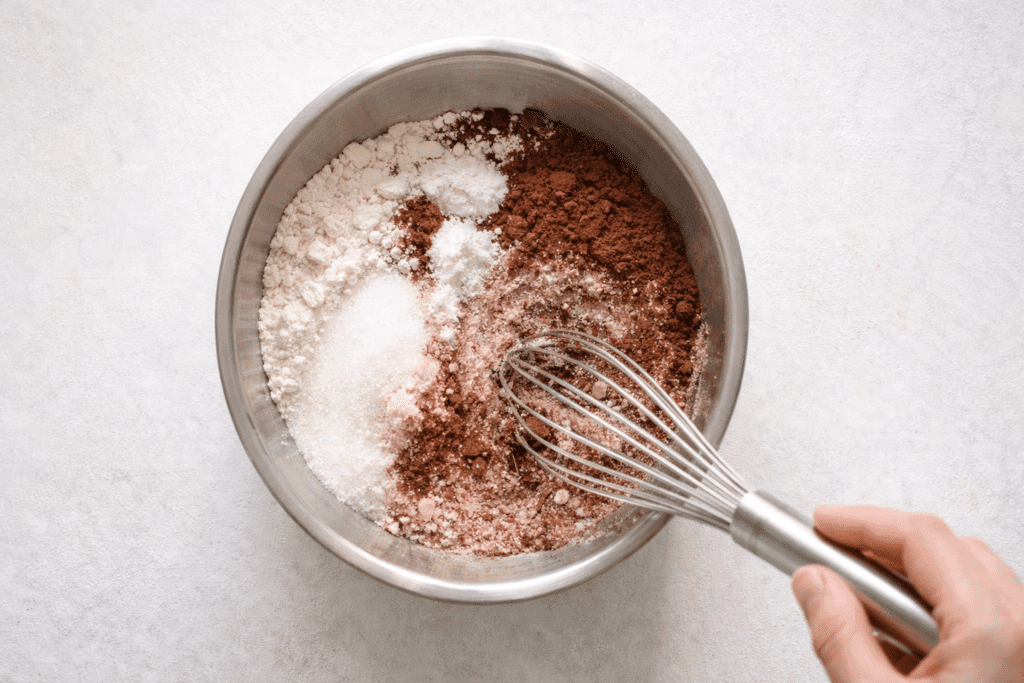
2. Mix the Dry Ingredients
In a large mixing bowl, whisk together the flour, cocoa powder, sugar, baking powder, baking soda, and salt. Sifting the dry ingredients helps prevent lumps and keeps your cupcake crumb fine and smooth.
3. Add the Butter
Cut the room-temperature butter into tablespoon-sized pieces and add them to your dry mix. Use a stand mixer with a paddle attachment or an electric hand mixer on low speed until the mixture resembles soft sand. This “reverse creaming” technique gives your cupcakes a tender, melt-in-your-mouth texture.
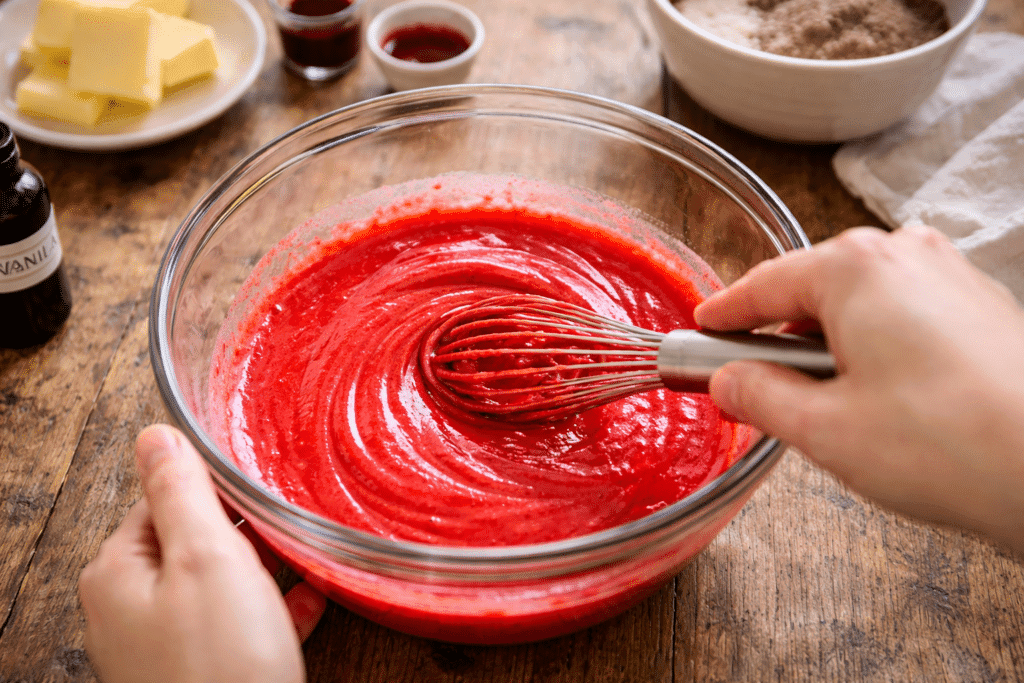
4. Combine the Wet Ingredients
In a separate bowl, whisk the eggs, buttermilk, vanilla extract, and red food coloring together. Gel coloring gives a deep, beautiful red hue without thinning your batter. Slowly pour this mixture into your dry ingredients while mixing on low speed.
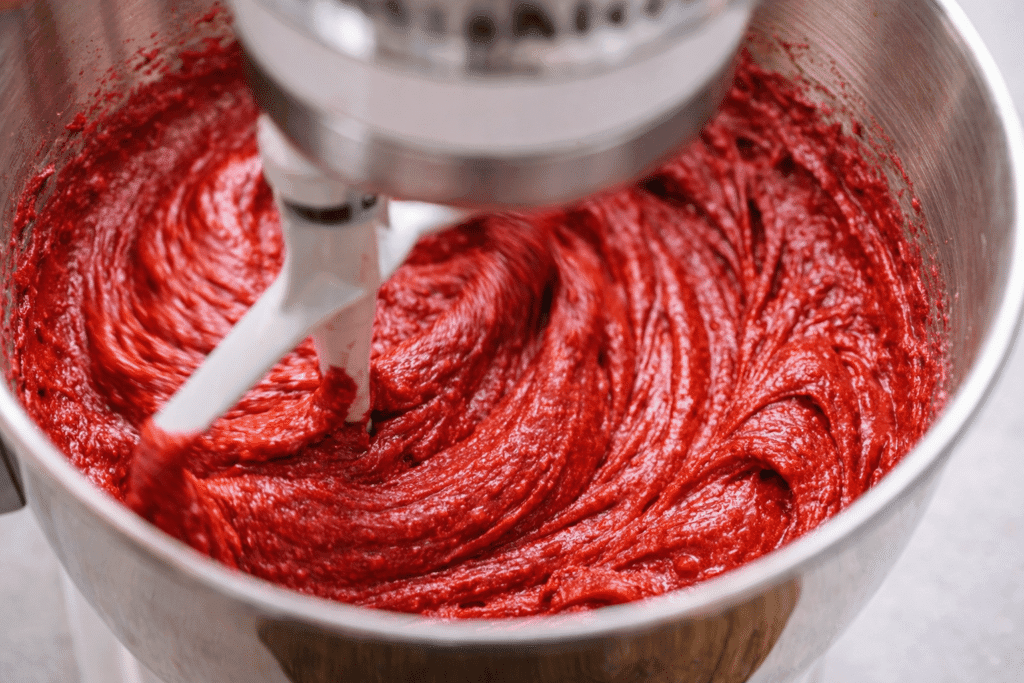
5. Blend Until Smooth
Scrape the sides and bottom of the bowl to make sure everything’s evenly mixed. Continue beating on low just until you have a creamy, lump-free batter. Don’t overmix—this can make cupcakes dense instead of soft.
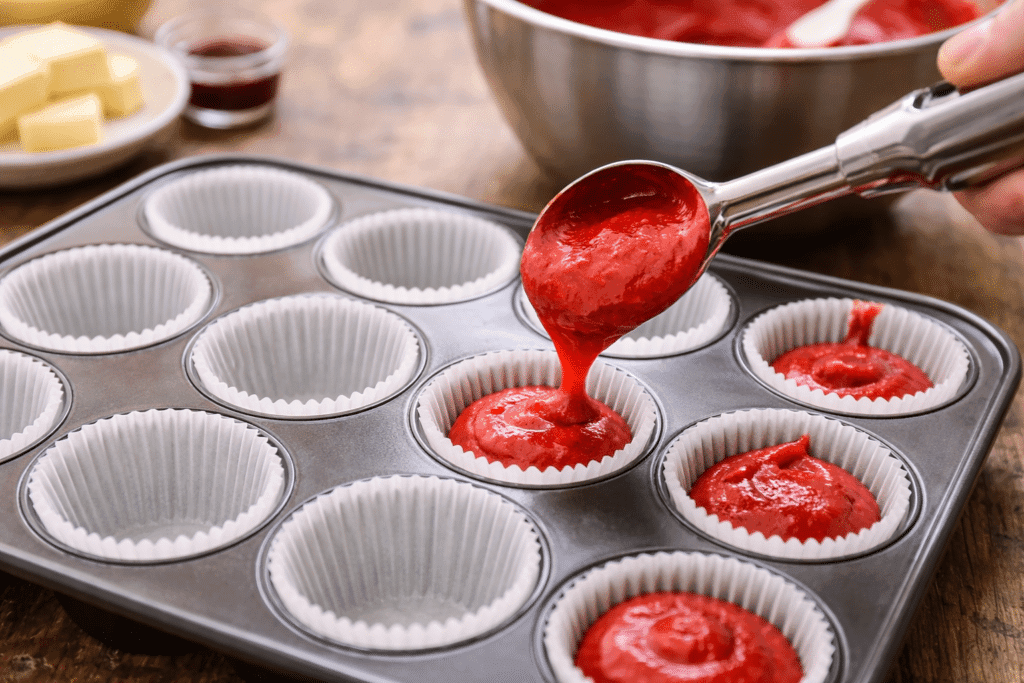
6. Fill and Bake
Divide the batter evenly into the cupcake liners, filling each about two-thirds full. Bake for 15–20 minutes or until the tops spring back when lightly touched. A toothpick inserted into the center should come out clean.
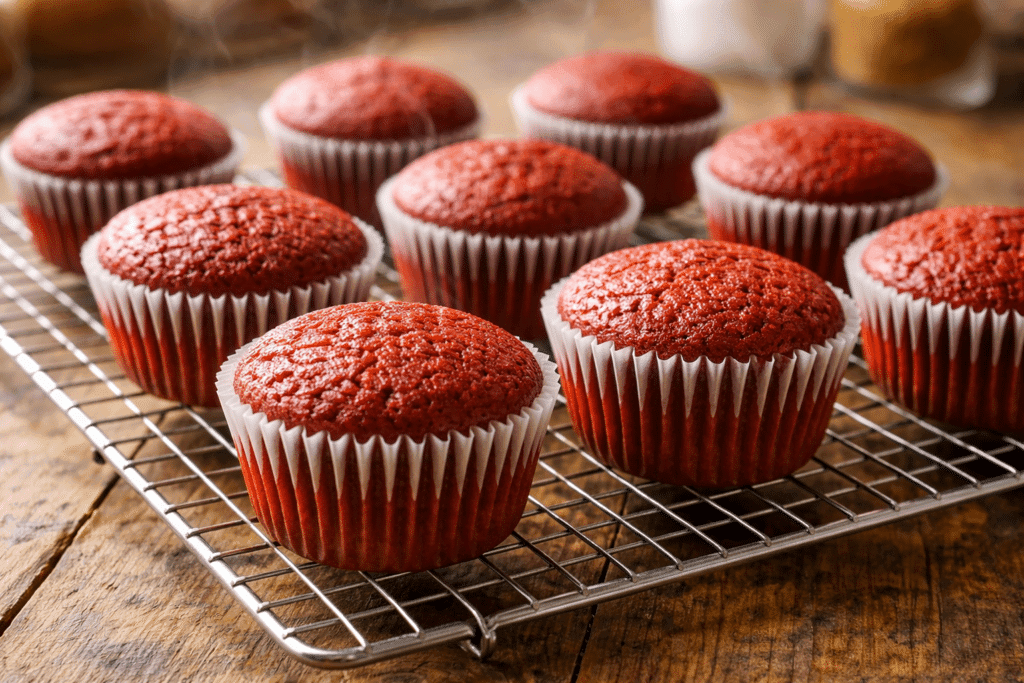
7. Cool Completely
Let cupcakes cool in the pan for 5 minutes before transferring them to a wire rack. Cool completely before frosting; otherwise, the buttercream will melt.
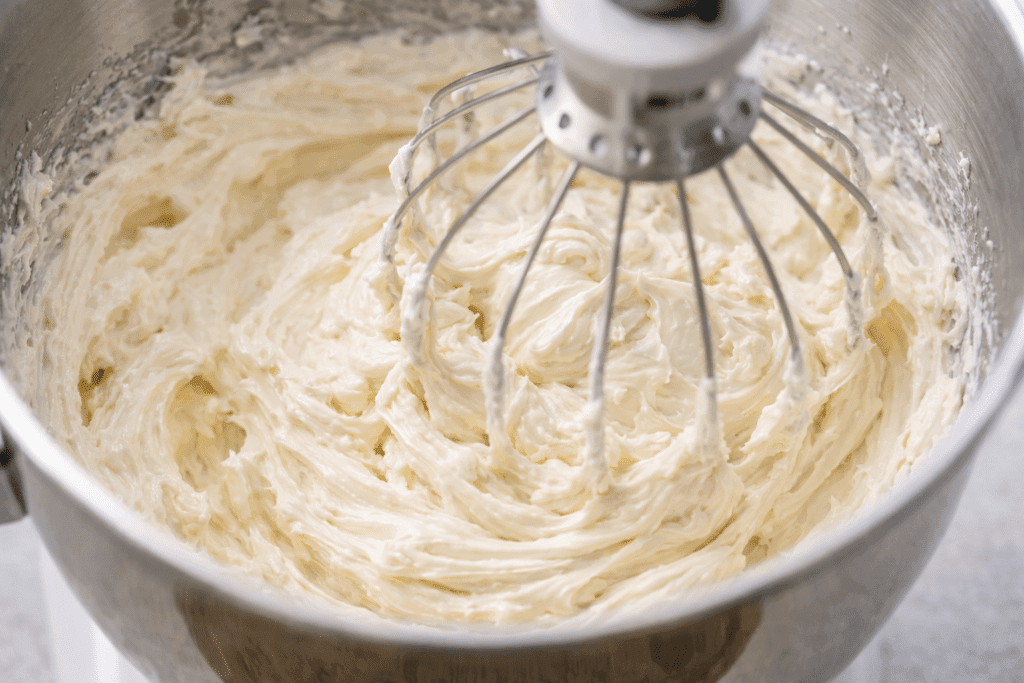
8. Make the Cream Cheese Frosting
Beat the butter until smooth, then add the cream cheese, vanilla, and salt. Gradually add sifted confectioners’ sugar a cup at a time until creamy and fluffy. Chill slightly if you want a stiffer texture before piping.
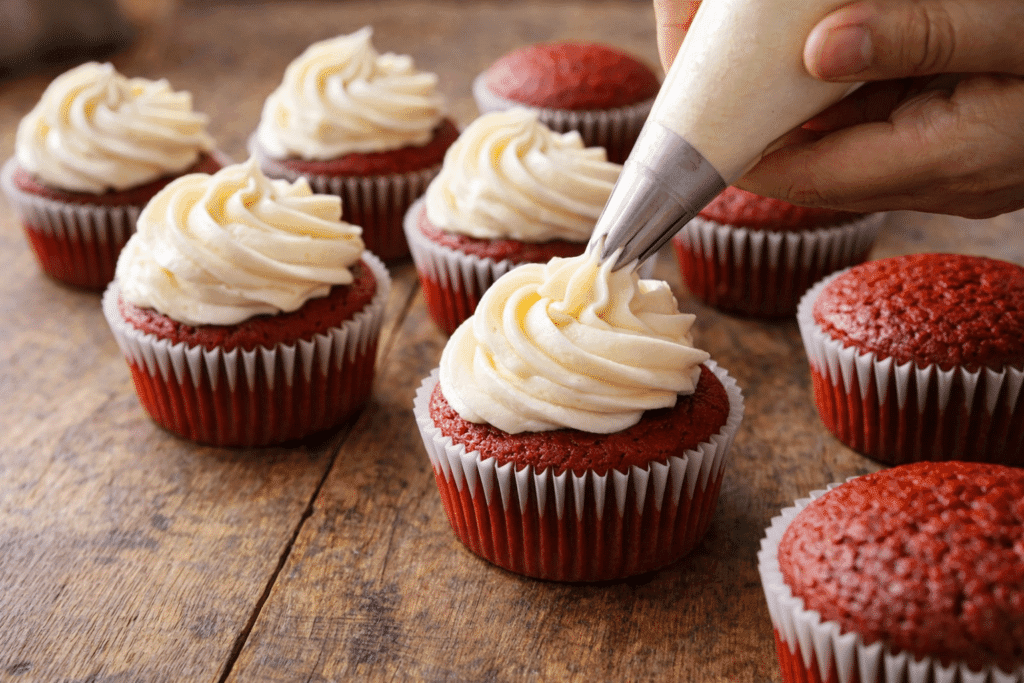
9. Pipe and Decorate
Transfer frosting to a piping bag fitted with a star tip. Swirl generous dollops on top of each cooled cupcake. For a festive touch, sprinkle with red crumbs or candy hearts—just like I do in my Homemade Funfetti Cupcakes for colorful celebrations.
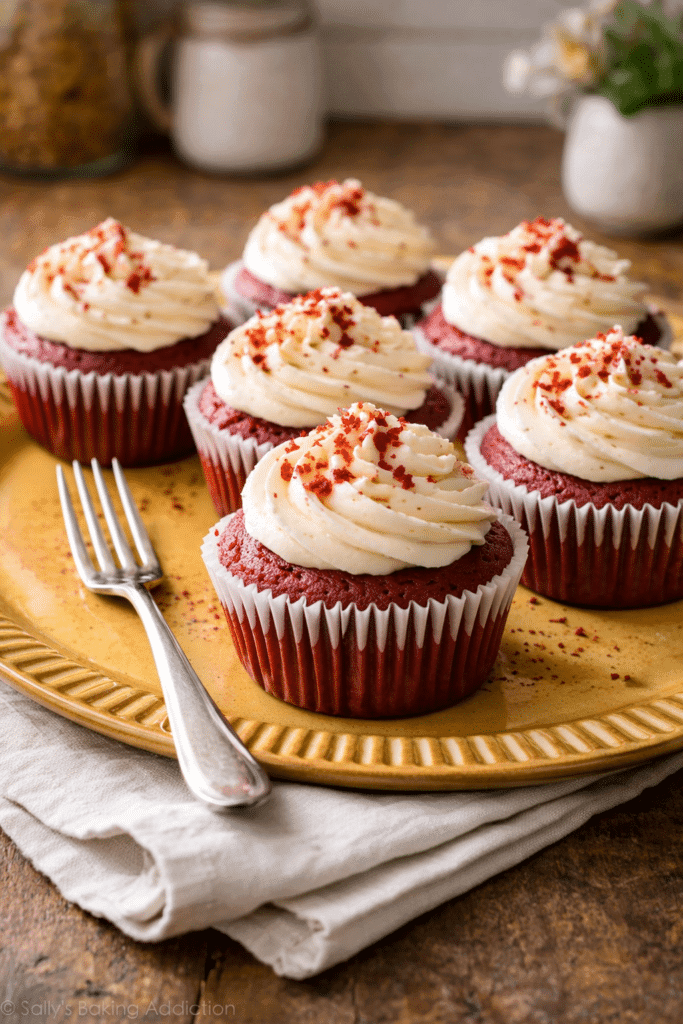
10. Serve and Enjoy
Your Red Velvet Cupcakes are now ready to enjoy! The texture should be moist and velvety, with a perfect balance of cocoa and tang. Serve them at room temperature for the best flavor and texture.
Serving Suggestions
Red Velvet Cupcakes shine on any dessert table, and how you serve them makes all the difference. For special occasions, arrange them on a tiered stand and top each swirl with a few white chocolate shavings or a light dusting of cocoa powder. These cupcakes pair beautifully with a cup of coffee, a glass of cold milk, or even a sweet dessert wine. I often serve them alongside my Homemade Funfetti Cupcakes for a mix of colors and flavors that guests love. They’re perfect for birthdays, bridal showers, and Valentine’s Day gatherings—simple, stunning, and absolutely crowd-pleasing.
Storage & Make-Ahead Tips
The beauty of these Red Velvet Cupcakes is how well they store without losing their soft, velvety texture. Once frosted, place them in an airtight container and keep them at room temperature for up to 24 hours if your kitchen isn’t too warm. For longer storage, refrigerate for 3–4 days—just let them come to room temperature before serving so the frosting turns creamy again.
If you’d like to prepare ahead, bake the cupcakes, cool them completely, and store unfrosted cupcakes in an airtight container at room temperature for up to 2 days or in the freezer for up to 2 months. When ready to serve, thaw overnight in the fridge, bring to room temperature, and frost fresh. Avoid freezing frosted cupcakes, as cream cheese frosting can become grainy once thawed.
This simple storage plan ensures every bite stays moist, flavorful, and bakery-perfect—even days later.
Skylar’s Touch
Baking these Red Velvet Cupcakes always feels a little magical to me. The first time I made them, I remember watching the rich red batter rise in the oven and the kitchen filling with that warm, buttery cocoa aroma—it’s the kind of bake that instantly makes any day feel special. Whether you’re sharing them with friends, surprising someone you love, or simply treating yourself, each cupcake feels like a tiny celebration.
I hope this recipe brings that same sense of joy to your kitchen. Don’t forget to share your own cupcake moments—I’d love to see how your Red Velvet creations turn out.
Frequently Asked Questions
1. Can I use oil instead of butter?
Yes, you can replace half or all of the butter with vegetable oil for extra moisture. However, butter gives a richer flavor and a more traditional texture.
2. What makes red velvet different from chocolate cupcakes?
Red velvet contains less cocoa and uses buttermilk and vinegar, which give it a tangy flavor and velvety texture that sets it apart from chocolate cupcakes.
3. Can I make these as mini cupcakes?
Absolutely! Bake mini versions for 12–14 minutes instead of 20. Just keep an eye on them after 10 minutes to prevent overbaking.
4. How do I fix overly sweet frosting?
Add a pinch of salt or a little extra cream cheese to balance the sweetness. You can also chill the frosting for a few minutes—it firms up and tastes less sugary when cold.
Red Velvet Cupcakes
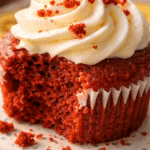
Soft, buttery Red Velvet Cupcakes with a tender crumb and luscious cream cheese frosting. Perfect for holidays, birthdays, and special occasions.
- Prep Time: PT20M
- Cook Time: PT20M
- Total Time: PT40M
- Yield: 16 cupcakes
- Category: Dessert
- Method: Baking
- Cuisine: American
- Diet: Vegetarian
Ingredients
For the Cupcakes:
All-purpose flour
Cocoa powder
Granulated sugar
Baking powder
Baking soda
Kosher salt
Unsalted butter, room temperature
Eggs, room temperature
Vanilla extract
Buttermilk
Red food coloring
For the Cream Cheese Frosting:
Unsalted butter, room temperature
Cream cheese, room temperature
Vanilla extract
Kosher salt
Confectioners’ sugar, sifted
Instructions
Step 1: Preheat the oven to 350°F (175°C). Line 16 cupcake liners in muffin pans.
Step 2: In a large bowl, sift together flour, cocoa powder, sugar, baking powder, baking soda, and salt. Whisk to combine.
Step 3: Add room-temperature butter pieces and mix on low until a sandy texture forms.
Step 4: In a separate bowl, whisk together eggs, buttermilk, vanilla, and red food coloring.
Step 5: Slowly pour the wet mixture into the dry ingredients, mixing on low until just combined. Do not overmix.
Step 6: Fill each cupcake liner two-thirds full with batter.
Step 7: Bake for 15–20 minutes or until a toothpick inserted in the center comes out clean.
Step 8: Let cupcakes cool in the pan for 5 minutes, then transfer to a wire rack to cool completely.
Step 9: In a large bowl, beat butter until smooth and fluffy. Add cream cheese, vanilla, and salt; beat until creamy.
Step 10: Gradually add sifted confectioners’ sugar, mixing until smooth. Chill for 10 minutes if needed for firmer texture.
Step 11: Pipe frosting onto cooled cupcakes using a star tip and decorate as desired.
Notes
• Use gel red food coloring for vibrant color without thinning the batter.
• For a lighter crumb, avoid overmixing after adding the wet ingredients.
• Store frosted cupcakes in the refrigerator for up to 4 days.
• Unfrosted cupcakes can be frozen for up to 2 months. Thaw before frosting.
Nutrition
- Serving Size: 1 cupcake
- Calories: 320
- Sugar: 28
- Sodium: 170
- Fat: 18
- Saturated Fat: 10
- Unsaturated Fat: 6
- Carbohydrates: 38
- Fiber: 1
- Protein: 4
- Cholesterol: 45
Keywords: Red Velvet Cupcakes, cream cheese frosting, easy dessert, Skylar Whitman