
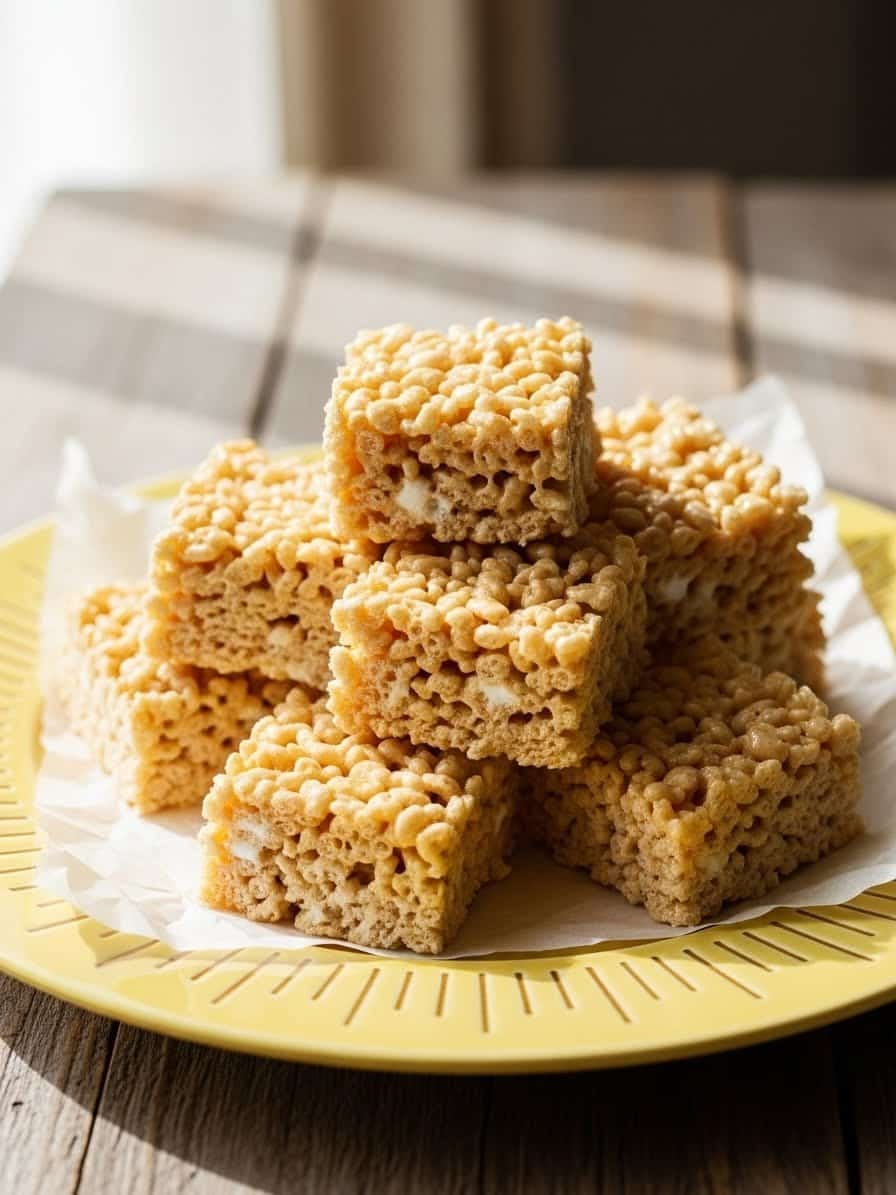
Rice Krispie Treats have always been one of my go-to recipes when I need something quick, sweet, and crowd-pleasing.just like my Millionaire’s Shortbread, these treats are rich, buttery, and loved by both kids and adults.
I first made them with my daughters one rainy afternoon—our kitchen smelled like vanilla, melted butter, and memories in the making. I remember how proud they were pressing the sticky mixture into the pan, waiting (somewhat impatiently) for them to cool. What I love most about these treats is how forgiving they are—simple ingredients, minimal prep, and maximum reward. Whether it’s a school bake sale, a movie night, or just a cozy craving, this recipe brings a little joy to every bite. Soft, chewy, and rich with marshmallow flavor, these Rice Krispie Treats have become a family staple we make all year long.
Why You’ll Love This Recipe
- They’re quick—ready in under 30 minutes.
- Perfectly soft and chewy with gooey marshmallow pockets.
- No baking required and only a few pantry staples.
- Great for kids, parties, or gifting.
- Easily customizable—add chocolate chips, sprinkles, or flavored cereal!
Table of Contents
Key Ingredients
The secret to truly irresistible Rice Krispie Treats lies in using the freshest, highest-quality ingredients and understanding how each one works together to create that signature chewy, buttery perfection.
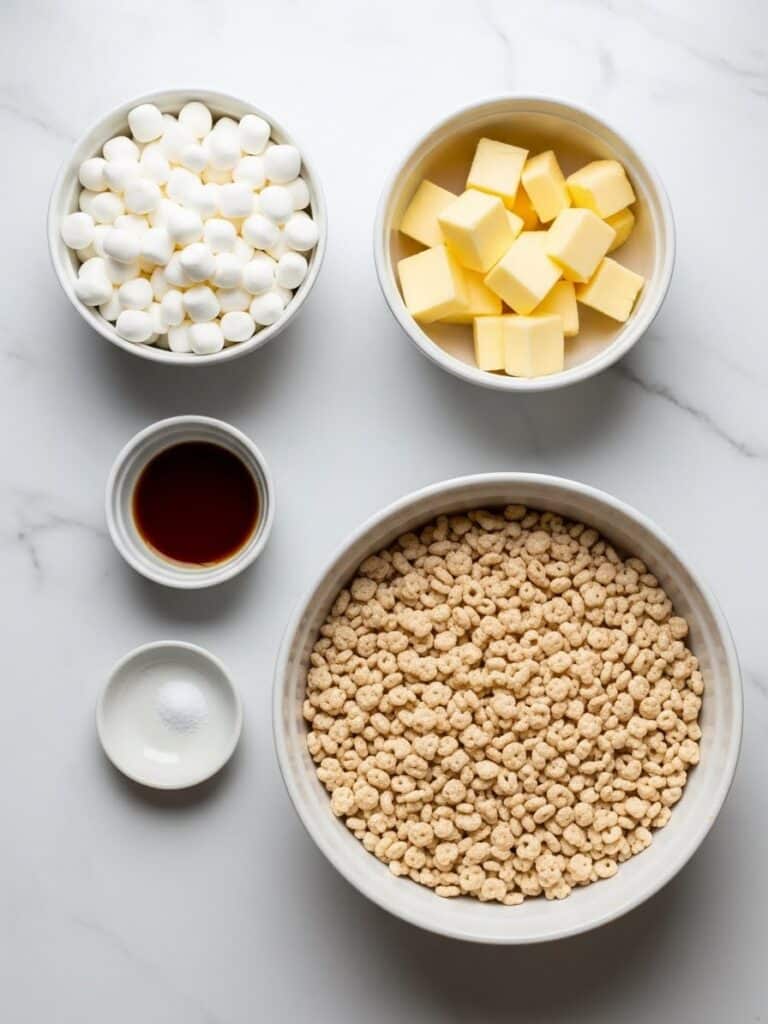
Butter: This is the foundation of flavor. Use real unsalted or lightly salted butter to add richness and depth. If you want a more sophisticated taste, brown your butter slightly until it smells nutty and golden — it transforms the sweetness beautifully.
Mini Marshmallows: Soft, fresh marshmallows melt into a velvety mixture that binds the cereal. Save a small portion to stir in at the end for those delightful gooey pockets that make every bite magical.
Vanilla Extract: Don’t skip it! Vanilla enhances the buttery flavor and rounds out the sweetness, giving your treats that comforting, bakery-style aroma.
Salt: Just a pinch balances the sugar and keeps the flavor from being one-note.
Rice Krispies Cereal: Always use fresh cereal for the best crunch. The light texture contrasts perfectly with the soft, chewy marshmallow coating.
These simple ingredients come together quickly to create a nostalgic, crowd-pleasing dessert that never fails. For extra flair, try mixing in mini chocolate chips or sprinkles after combining for a fun twist on this timeless classic.
Can I Make Rice Krispie Treats in a 9×13-Inch Pan?
Absolutely! A 9×13-inch pan is the perfect size for classic Rice Krispie Treats. This pan gives you the ideal thickness—soft, chewy centers with just enough firmness to hold their shape when sliced. If you prefer thicker, bakery-style squares, use an 8×8-inch pan instead. For thinner treats (great for kids or parties), go with the standard 9×13.
Line your pan with parchment paper or foil for easy removal and clean edges. Once cooled, lift the sheet out, slice, and enjoy your perfectly portioned squares.
Pro Tips for Success
Mastering Rice Krispie Treats comes down to texture, timing, and a few small tricks that make a big difference. Here’s how to make sure every batch turns out soft, chewy, and perfectly sweet.
- Low and Slow Melting: Always melt the butter and marshmallows on low heat. Rushing this step can make your treats hard instead of chewy.
- Fresh Ingredients Matter: Stale cereal or old marshmallows won’t give that light crunch or gooey pull you want. Use fresh ingredients every time.
- Don’t Overpack the Pan: Press the mixture gently—too much pressure makes the treats dense and tough.
- Add a Marshmallow Boost: Stir in extra mini marshmallows at the end for those melty pockets everyone loves.
- Keep Hands Buttered: Lightly grease your spatula or hands with butter to prevent sticking when pressing the mixture.
- Seal in Freshness: Once cooled, wrap tightly in plastic or store in an airtight container.
How to Make Rice Krispie Treats
Making Rice Krispie Treats from scratch is simple, quick, and incredibly rewarding. Start by lining a 13×9-inch baking pan with parchment paper or foil, leaving some overhang for easy removal. In a large, heavy-bottomed pot, melt ¾ cup of butter over medium heat. Stir occasionally to prevent scorching and let it melt completely. Reserve 2 cups of mini marshmallows for later, then add the rest to the melted butter along with 2 teaspoons of vanilla extract and ½ teaspoon of salt. Stir gently with a silicone spatula until the marshmallows are fully melted and silky smooth.
Once melted, remove the pot from the heat and immediately stir in 10 cups of Rice Krispies cereal. Fold carefully until all the cereal is evenly coated in the gooey marshmallow mixture. Add the reserved marshmallows last, folding just enough to distribute them evenly without melting them entirely—this step creates those irresistible chewy pockets.
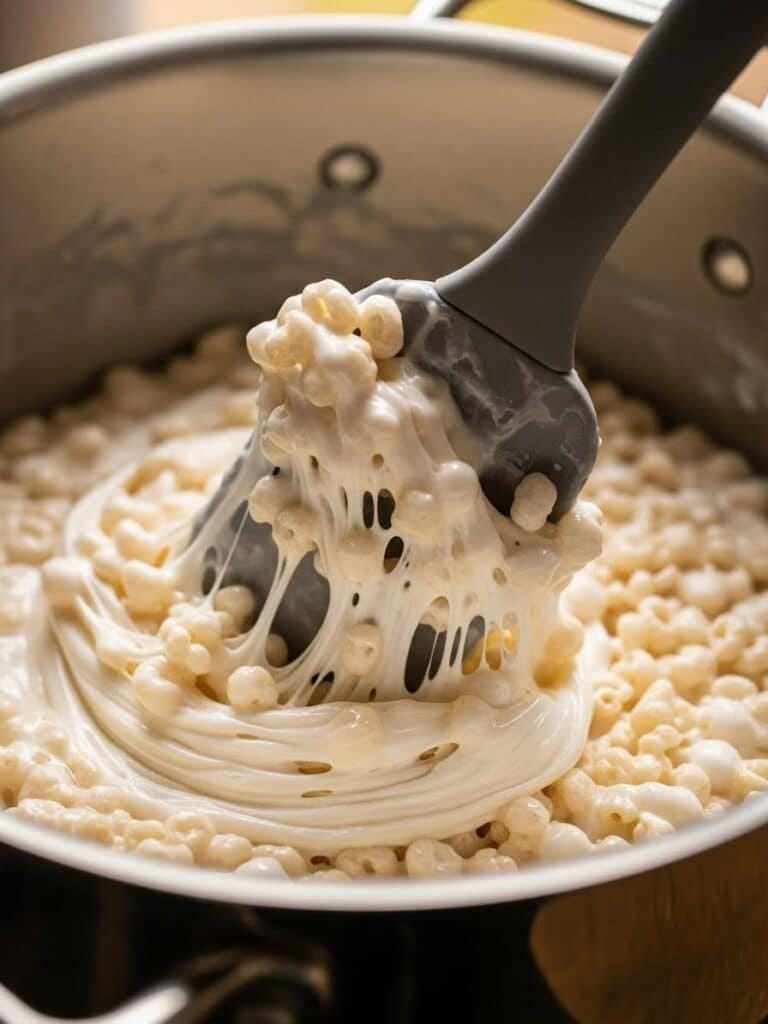
Next, pour the mixture into your prepared pan. Using a buttered spatula or clean hands coated lightly with butter, press the mixture down gently to form an even layer. Avoid pressing too firmly, as this can make the treats dense or hard.
Let the treats cool completely at room temperature for about one hour. Once set, lift them from the pan using the parchment paper and transfer to a cutting board. Grease a sharp knife lightly with butter, then cut into squares or rectangles. Enjoy the soft, chewy texture and buttery sweetness in every bite!
Serving Suggestions
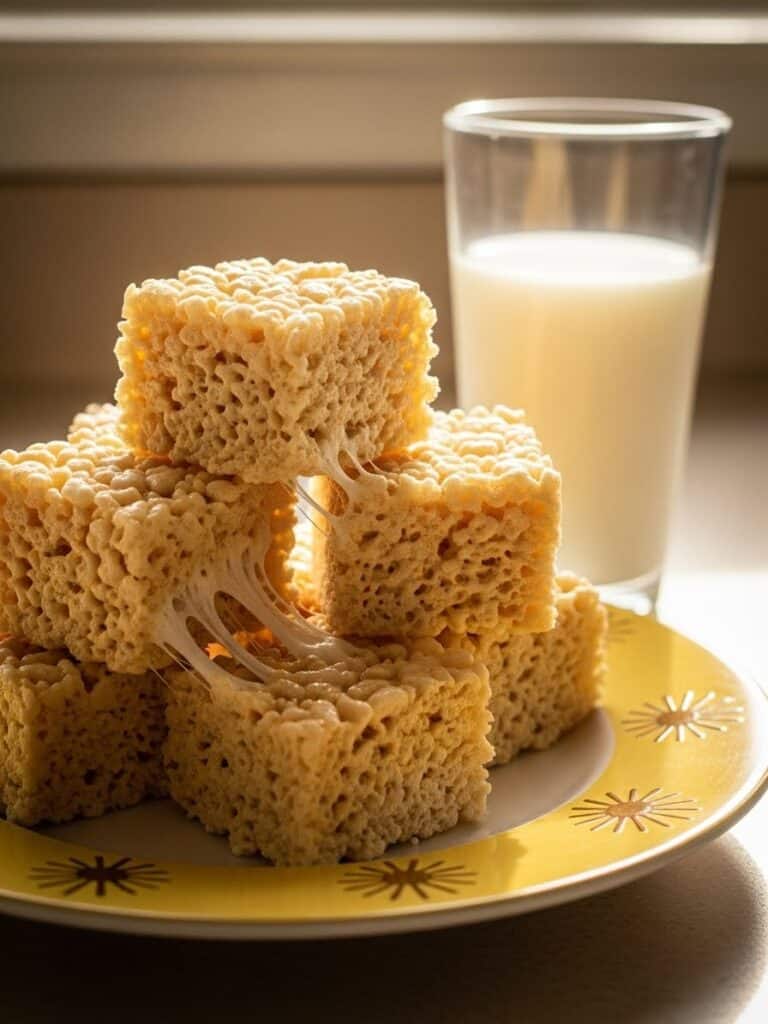
Rice Krispie Treats are the perfect dessert for almost any occasion. Serve them as a nostalgic after-school snack, wrap them individually for bake sales, or stack them on a dessert platter for parties and holidays. For an elegant twist, drizzle melted chocolate or white chocolate over the top and add a sprinkle of sea salt. You can also cut them into fun shapes using cookie cutters for themed events or kids’ parties. Pair your chewy, buttery squares with a cold glass of milk or enjoy them alongside my Nanaimo Bars for the ultimate dessert platter everyone will adore.
Storage & Make-Ahead Tips
Proper storage keeps your Rice Krispie Treats soft, chewy, and full of flavor for days. After cutting them into squares, wrap each one tightly in plastic wrap or wax paper to lock in moisture and maintain that perfect texture. Store them at room temperature in an airtight container for up to three days—never refrigerate, since cold air causes the marshmallow mixture to harden and lose its chewiness.
For make-ahead prep, these treats freeze beautifully for up to six weeks. Arrange them in a freezer-safe bag or airtight container with parchment paper between each layer to prevent sticking. When you’re ready to enjoy, simply thaw them at room temperature for about 30 minutes. They’ll taste just as soft, buttery, and delicious as the day you made them.
If gifting, wrap each treat in wax paper and tie with kitchen twine for a simple, charming homemade presentation.
FAQs About Rice Krispie Treats
1. Why are my Rice Krispie Treats hard instead of chewy?
If your marshmallows melt too quickly or you press the mixture too tightly, they’ll firm up. Always melt on low heat and press gently for a chewy result.
2. Why do my Rice Krispie Treats fall apart or feel loose?
Too much cereal or not enough marshmallow glue can cause this. Mix until fully coated, and press firmly (but not forcefully) into the pan.
3. How do I keep Rice Krispie Treats soft?
Wrap each piece in plastic and store them in an airtight container at room temperature. Avoid the fridge—it dries them out.
4. Can I make Rice Krispie Treats vegan or gluten-free?
Yes! Use vegan butter and marshmallows (like Dandies) and certified gluten-free crispy rice cereal for a safe and delicious variation.
Rice Krispie Treats
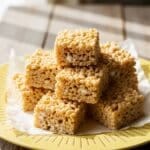
Classic, chewy Rice Krispie Treats made with melted butter, vanilla, and marshmallows for the perfect gooey, nostalgic dessert everyone loves.
- Prep Time: 10 minutes
- Cook Time: 5 minutes
- Total Time: 15 minutes
- Yield: 12 servings 1x
- Category: Dessert
- Method: No-Bake
- Cuisine: American
- Diet: Vegetarian
Ingredients
¾ cup butter (170g)
2 (10-ounce/283g) bags mini marshmallows, divided
2 teaspoons vanilla extract
½ teaspoon salt
10 cups Rice Krispies Cereal (310g)
Instructions
1. Line a 13×9-inch baking pan with parchment paper or foil.
2. In a large pot, melt butter over medium heat.
3. Reserve 2 cups of marshmallows and set aside.
4. Add remaining marshmallows, vanilla, and salt to melted butter. Stir until smooth and fully melted, about 5 minutes.
5. Remove from heat and stir in Rice Krispies cereal until evenly coated.
6. Fold in reserved marshmallows gently to create soft, gooey pockets.
7. Transfer mixture into prepared pan and press gently with a buttered spatula.
8. Cool completely for 1 hour, then cut into squares and serve.
Notes
• Use fresh marshmallows and cereal for best texture.
• Melt slowly over low heat to keep treats soft and chewy.
• Store at room temperature in an airtight container for up to 3 days.
• Freeze up to 6 weeks with parchment between layers.
Nutrition
- Serving Size: 1 square
- Calories: 160
- Sugar: 12g
- Sodium: 85mg
- Fat: 5g
- Saturated Fat: 3g
- Unsaturated Fat: 1g
- Trans Fat: 0g
- Carbohydrates: 28g
- Fiber: 0.5g
- Protein: 1g
- Cholesterol: 10mg
Keywords: Rice Krispie Treats, chewy marshmallow bars, no-bake dessert, quick family recipe