
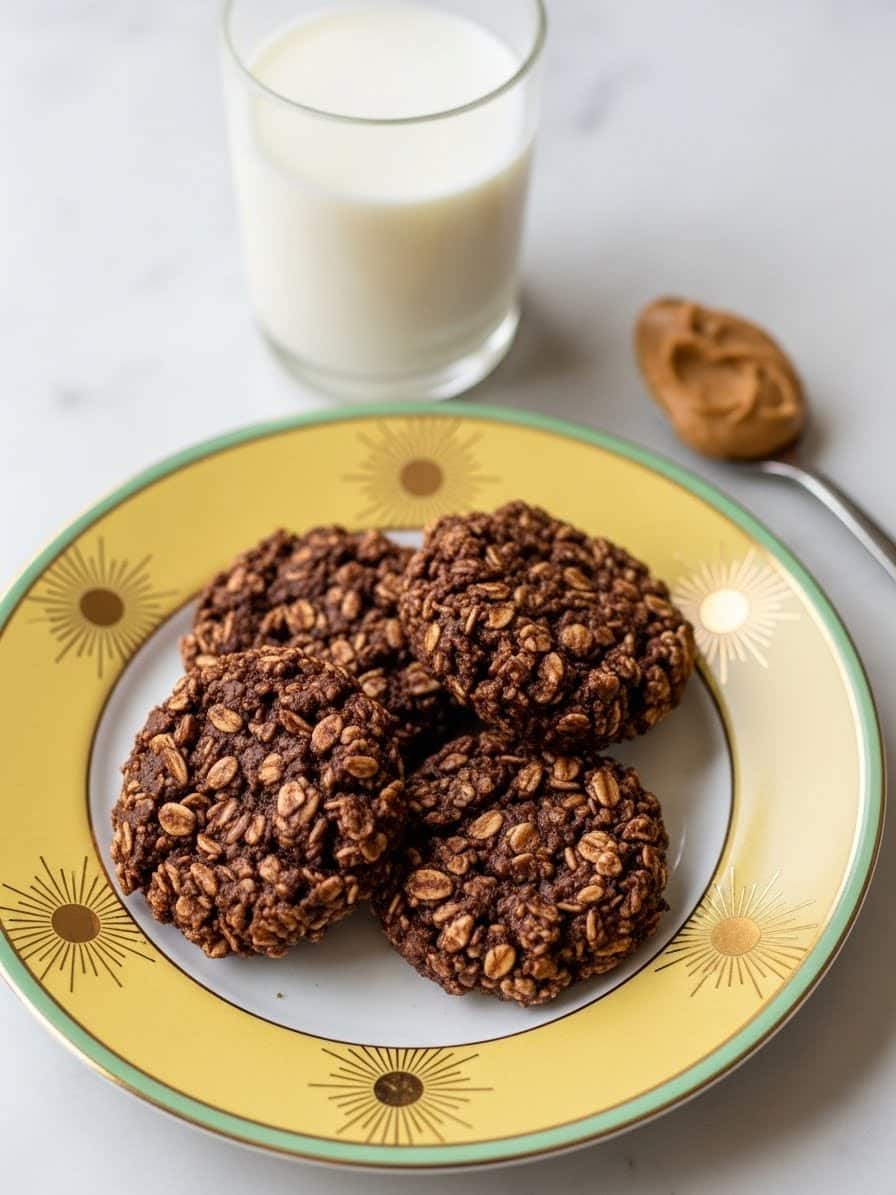
When I think of no bake cookies, I’m instantly transported back to my childhood kitchen — the scent of warm cocoa, the hum of the stovetop, and my mom’s soft laugh as we dropped spoonfuls onto parchment paper. These cookies were our “quick fix” when we wanted something sweet but didn’t want to wait for the oven. Now, decades later, my daughters Hannah and Jessica crowd around the counter, just like I did, ready to stir, scoop, and sneak a few bites. There’s something timeless about this recipe — it’s easy, chocolatey, and always comforting. Whether you’re short on time or simply craving a nostalgic treat, no bake cookies deliver joy in every chewy bite.
Table of Contents
Key Ingredients & Substitutions for Perfect Texture
These cookies are proof that simple ingredients can produce incredible results.
Below is a breakdown of what makes them work — and how you can adapt the recipe to fit your pantry.
| Ingredient | Purpose & Substitutions |
|---|---|
| Granulated Sugar | Adds sweetness and helps bind the cookie. You can swap half with brown sugar for a deeper caramel flavor. |
| Butter | Creates a rich texture. Substitute with coconut oil for a dairy-free option. |
| Milk | Provides moisture. Any milk works — 2%, whole, or almond. |
| Unsweetened Cocoa Powder | Gives deep chocolate flavor. Dutch-processed cocoa makes it richer. |
| Creamy Peanut Butter | Adds body and flavor. Use almond or cashew butter for a twist. |
| Quick Oats | Gives chewiness. Rolled oats create a heartier bite (see next section). |
| Vanilla Extract | Enhances aroma and ties flavors together beautifully. |
A few small adjustments can make these no bake cookies your own. Want extra crunch? Stir in chopped nuts or shredded coconut. Prefer a nut-free version? Swap the peanut butter for sunflower seed butter — it holds up perfectly.
Oats Matter — Can I Use Old-Fashioned Rolled Oats?
If there’s one question I get most often about no bake cookies, it’s whether you can swap quick oats for old-fashioned rolled oats. The short answer is yes — but the texture tells a slightly different story. Quick oats are the heart of the classic no bake cookie we all grew up loving. They absorb just enough of the warm cocoa mixture to form soft, fudgy bites that hold their shape beautifully once set. Old-fashioned oats, on the other hand, are thicker and take longer to absorb moisture, creating a chewier, slightly rustic cookie.
When I first tried substituting rolled oats (because, let’s face it, that’s what I had on hand), the results were surprisingly good — a bit chunkier and less smooth, but still delicious. If you love a hearty texture and want more bite in your cookies, rolled oats are a perfectly fine choice. Just remember: texture is all about balance. Too few oats and your cookies might not set; too many and they’ll crumble instead of melt in your mouth.
Choosing Between Quick Oats and Rolled Oats
Quick oats are the go-to for no bake cookies because they bind faster with the hot syrup mixture. Their finer texture helps create that smooth, melt-in-your-mouth consistency. If you only have rolled oats, pulse them a few times in a food processor to mimic the quick-oat texture — just be careful not to turn them into flour.
Here’s a simple trick from my test kitchen: add your oats last and stir just until the mixture thickens. Overmixing can make them stiff and dry. The goal is creamy, spoonable perfection that still drops neatly onto parchment paper.
How Oats Affect the Cookie’s Consistency
Oats act like tiny sponges in no bake cookies. Too much absorption and your cookies will turn dry; too little and they’ll remain sticky. Altitude, humidity, and even the type of peanut butter can affect the final texture, which is why patience matters most when boiling your sugar mixture (and yes, that one-minute timer is sacred!).
By understanding how oats behave, you’ll have more control over every batch. It’s all about knowing when the mixture “looks right” — glossy but not runny, thick but still easy to scoop. Once you master that balance, you’ll never second-guess your no bake cookies again.
Boil the Sugar Mixture for the Right Consistency
The magic of no bake cookies starts in the pot. That simple blend of sugar, butter, milk, and cocoa transforms into the fudgy base that holds everything together. It’s a quick step, but every second counts. The trick? Boil the mixture long enough to reach the right temperature — but not a second longer. My mom always said, “It’s the minute that makes the cookie,” and she was right.
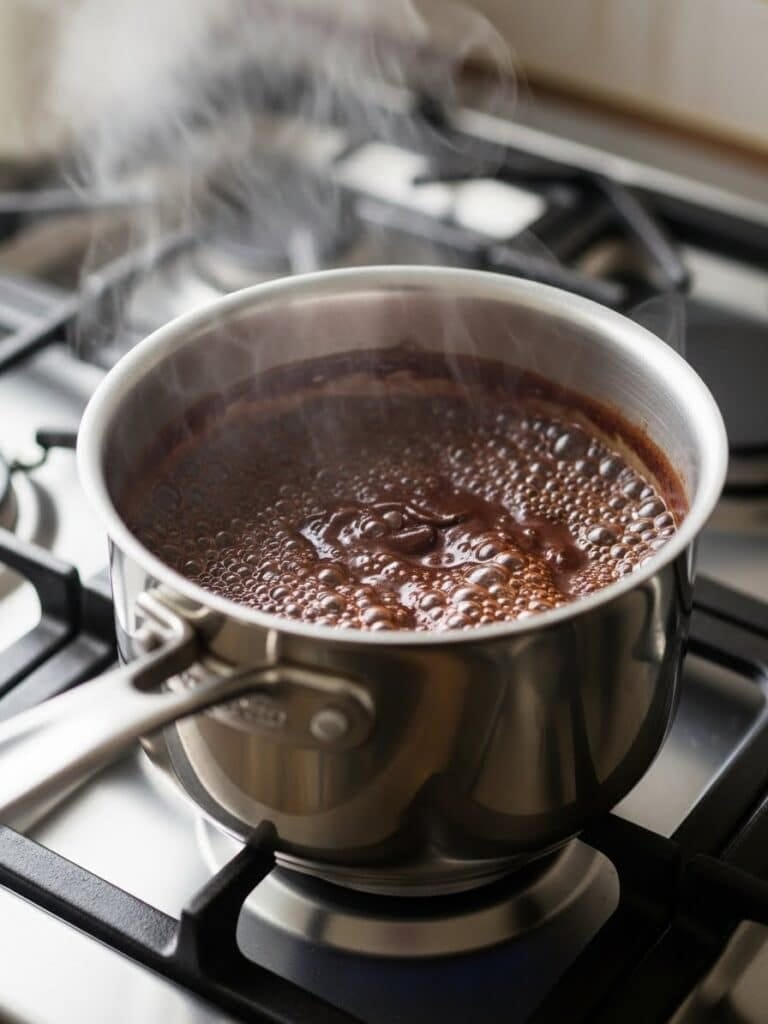
When you first bring the mixture to a boil, resist the urge to stir. This is where most bakers go wrong. Stirring disrupts the sugar’s structure and can cause grainy, dry cookies. Instead, let the bubbles do their work for exactly 60 seconds. That’s just enough time for the sugar to dissolve fully, creating that smooth, glossy base that sets beautifully as it cools. If you live at a higher altitude, you may need to adjust slightly — the mixture should hit around 230–234°F before you pull it off the heat.
Why the Boiling Stage Is Critical
During boiling, sugar moves from syrupy to soft-ball stage — the point where it can hold its shape once cooled. In no bake cookies, this is what turns a gooey mess into chewy, fudgy perfection. Undercook it, and your cookies won’t firm up; overcook it, and they’ll turn dry and crumbly. I like to keep a candy thermometer handy when I’m testing new batches, but honestly, experience is the best teacher. Once you’ve boiled a few batches, you’ll recognize that perfect sheen instantly.
Here’s a pro tip from my test kitchen: if the mixture starts to foam aggressively, lower the heat slightly without stopping the boil. You want a steady bubble, not a rolling storm. That steady consistency helps the sugar and cocoa blend evenly and prevents burning at the bottom of the pot.
Common Boiling Mistakes and Easy Fixes
| Issue | Likely Cause | How to Fix It |
|---|---|---|
| Cookies are dry or crumbly | Boiled too long or at too high heat | Reduce boil time to 60 seconds exactly or use a thermometer |
| Cookies won’t set | Mixture didn’t reach the right temperature | Boil until mixture thickens and becomes glossy |
| Grainy texture | Stirred after boiling began | Let the mixture bubble undisturbed for full 60 seconds |
If you’ve ever struggled with inconsistent results, know that it’s completely normal. The first few times I made these without a timer, I ended up with either rock-hard clusters or sticky puddles. Now, I set my phone alarm every time — it’s foolproof.
How Should I Store No Bake Cookies to Keep Them Fresh?
Storage plays a bigger role than you might think. No bake cookies keep best in an airtight container lined with wax or parchment paper between layers. At room temperature, they’ll stay soft and chewy for about a week. If you prefer a firmer texture, store them in the fridge for up to two weeks.
If your kitchen runs warm, the fridge is your friend — just let the cookies sit out for a few minutes before serving to bring back their signature fudge-like bite.
Can I Freeze No Bake Cookies?
Yes — and they freeze beautifully. Once your cookies have cooled and hardened, flash-freeze them on a tray for about two hours. Then transfer to a freezer-safe container or resealable bag, separating layers with parchment paper. Frozen no bake cookies last for up to six months without losing flavor or texture. When you’re ready to enjoy them, thaw in the refrigerator overnight or at room temperature for about 30 minutes.
I often make double batches during the holidays to have some ready for school lunches or unexpected guests.
Pro Tips for the Best No Bake Cookies
After making hundreds of batches over the years — some perfect, some hilariously disastrous — I’ve discovered a handful of simple tricks that guarantee success every time. No bake cookies might look effortless, but a few small details separate the “almost right” from the “absolutely perfect.” Whether you’re making them for a bake sale, family get-together, or a midnight craving, these pro tips will make every batch silky, fudgy, and beautifully set.
Mastering the Texture
The secret to that glossy, fudge-like texture is all about timing and temperature. Always measure your sugar, butter, and cocoa accurately — even small missteps can affect how the cookies set. Once your mixture starts boiling, set a timer for exactly 60 seconds and step back. No stirring, no peeking, no second-guessing. This one-minute rule lets the sugar reach the precise stage it needs to bind everything together without drying out.
If you want your no bake cookies to stay soft for days, avoid overcooking and use creamy peanut butter instead of the natural or oily kind. The smooth texture and stabilizers in no-stir peanut butter help the cookies hold their shape while keeping that melt-in-your-mouth bite.
Flavor Boosts and Creative Add-Ins
Once you’ve mastered the base, try dressing up your no bake cookies with a few of these flavor upgrades:
- A pinch of espresso powder deepens the chocolate flavor without making them taste like coffee.
- Flaky sea salt sprinkled on top creates the perfect sweet-salty contrast.
- Toasted coconut or chopped pecans add a nutty crunch.
- Mini chocolate chips stirred in just before dropping the cookies make them extra indulgent.
In my test kitchen, my daughters love drizzling melted white chocolate on top once the cookies cool — a trick we discovered one rainy weekend that stuck ever since.
Presentation and Serving Tips
No one ever said no bake cookies couldn’t look elegant. Use a cookie scoop for uniform sizes and place them on parchment-lined trays for that neat, rounded shape. Once cooled, arrange them on a white platter or gift tin lined with wax paper for a simple yet stunning presentation. They’re perfect for potlucks, holiday cookie exchanges, or as a last-minute dessert when guests drop by unexpectedly.
If you’re feeling extra creative, sandwich a bit of marshmallow fluff or Nutella between two cookies for an irresistible “double decker” version. It’s messy, yes, but in the best way possible.
Final Pro Tip: Let Them Rest
It’s tempting to sneak a bite while they’re still warm (guilty as charged), but giving your no bake cookies at least 20–30 minutes to fully set makes all the difference. The cooling process lets the oats absorb the perfect amount of moisture, locking in that silky texture that keeps these cookies soft but stable.
Once they’re ready, you’ll understand why I always keep an extra tray for “taste-testing” — because in my house, one batch is never enough.
How To Make No Bake Cookies
If you’ve gathered your ingredients and prepped your parchment paper, you’re already halfway there. The beauty of no bake cookies is that you don’t need fancy equipment — just a pot, a timer, and a little patience. This is a forgiving recipe, but precision during the boiling stage turns good cookies into perfect ones. Here’s exactly how I make them in my Los Angeles kitchen, with my daughters Hannah and Jessica as enthusiastic helpers (and official spoon-lickers).
Step-by-Step Directions
Line the trays:
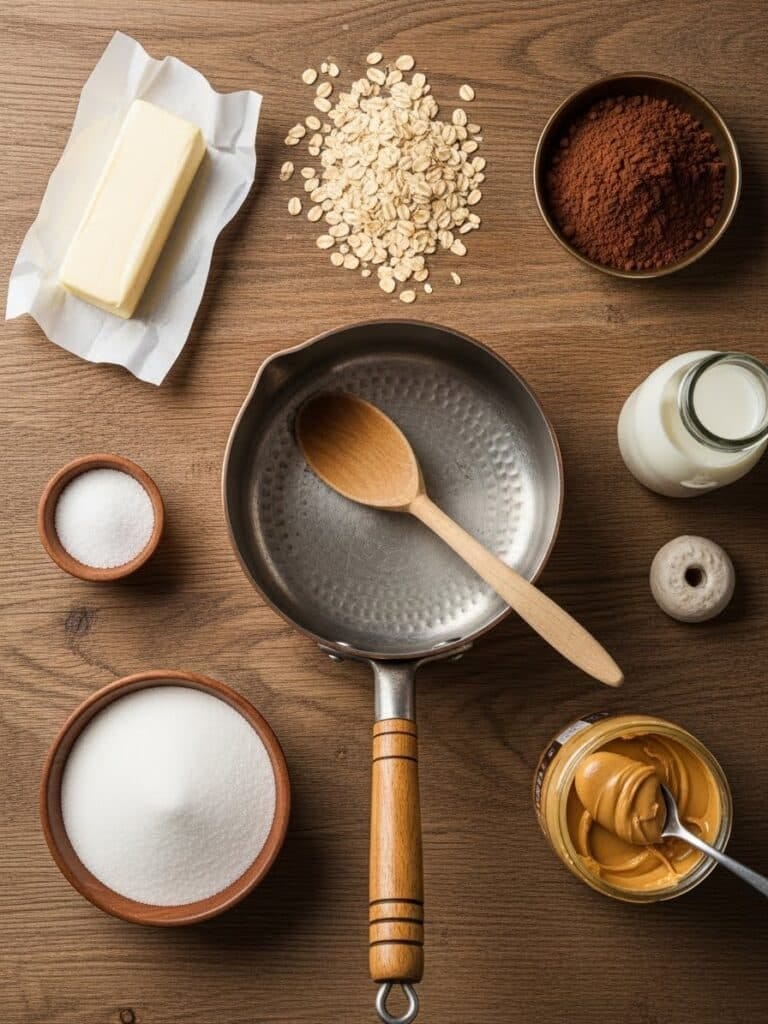
Begin by lining two baking sheets with parchment or wax paper. This prevents sticking and makes cleanup effortless.
Boil the mixture:
Combine sugar, butter, milk, and cocoa in a medium saucepan. Whisk occasionally over medium heat until the mixture reaches a rolling boil. Once it does, stop stirring and let it boil for exactly 60 seconds.
Add the mix-ins:
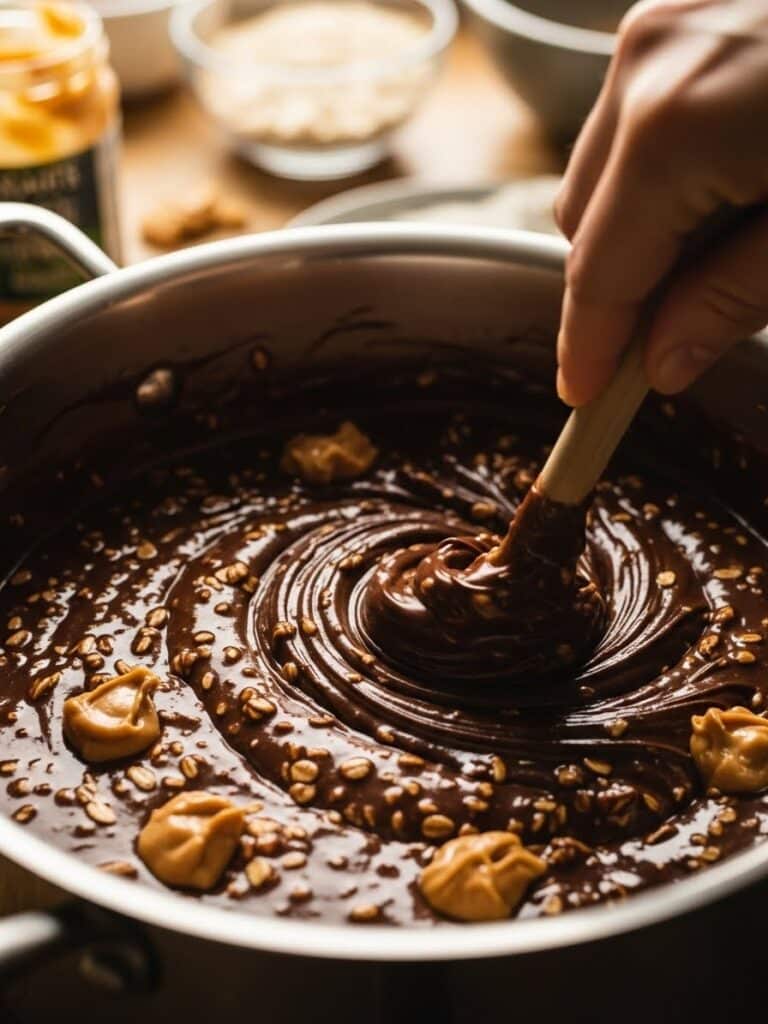
Remove from heat immediately and stir in peanut butter, vanilla extract, and oats. Mix until everything is well combined and glossy. The dough should look thick but scoopable.
Scoop and set:
Use a cookie scoop or tablespoon to drop heaping spoonfuls onto the prepared sheets. Let them rest for 20–30 minutes until firm.
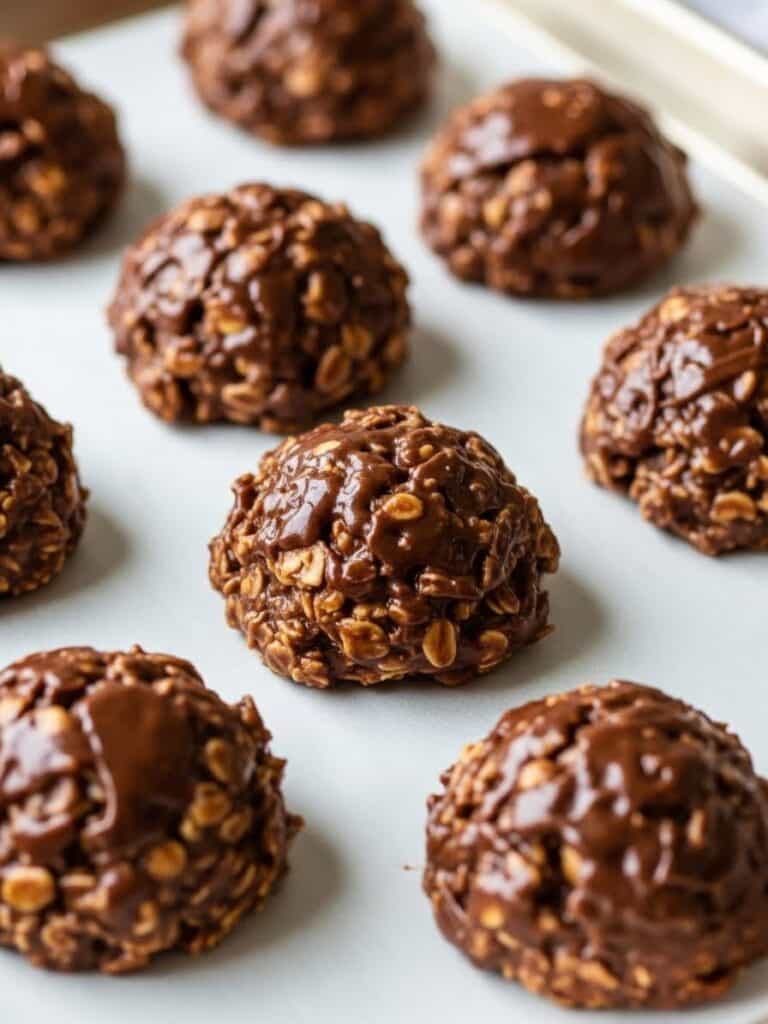
Serving Ideas
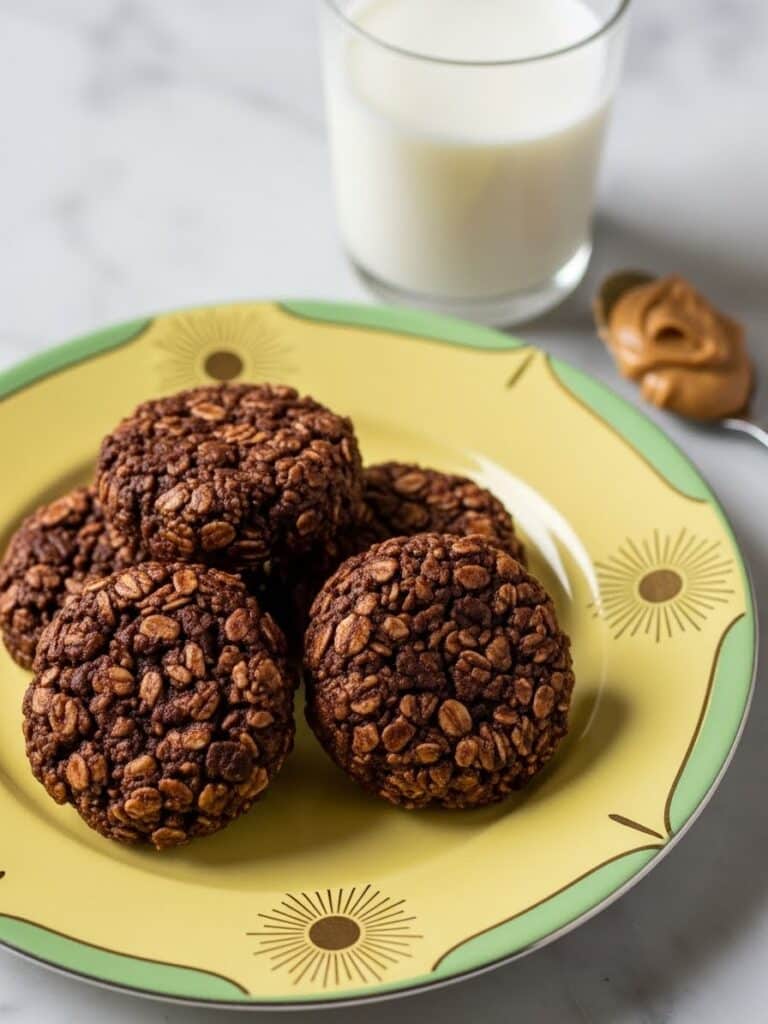
Once your no bake cookies have set, they’re ready to enjoy. Serve them as a snack with a glass of cold milk, or pair them with Homemade Hot Chocolate for the ultimate cozy treat. They also make excellent lunchbox desserts — just wrap each cookie in wax paper for easy packing.
If you’re entertaining, arrange them on a tiered dessert stand alongside Peanut Butter Bars or Chocolate Truffles for a stunning, no-bake dessert spread that looks as good as it tastes.
Visual Cue for Perfect Cookies
When the cookies set, they should look glossy but hold their shape. Too dull means they were overboiled; too shiny and sticky means they need a few more minutes to rest. Once cooled, they should peel off the parchment easily, leaving behind that signature soft, chewy texture that defines perfect no bake cookies.
How To Store and Freeze No Bake Cookies
You’ve stirred, scooped, and set your cookies — now comes the part that keeps them perfect for days (or even months). No bake cookies are wonderfully sturdy, but they’ll stay soft, chewy, and fresh only if stored properly. Whether you’re prepping for the week ahead or saving a secret stash for midnight cravings, here’s how to keep that signature chocolate-peanut butter flavor locked in.
Storage Tips for Everyday Freshness
At room temperature, no bake cookies last beautifully for about seven days. The trick is to layer them between sheets of parchment or wax paper inside an airtight container. This prevents them from sticking together and keeps moisture evenly distributed. I always store mine in a wide, shallow container rather than a tall one — it helps the cookies hold their shape.
If your kitchen runs warm, refrigeration is a great idea. Keep the container sealed, and your cookies will stay fresh for up to two weeks. Before serving, let them rest at room temperature for 10–15 minutes so they soften slightly again. They’ll taste just as rich and smooth as the day you made them.
How To Freeze No Bake Cookies
Freezing is your best friend when it comes to planning ahead. No bake cookies freeze remarkably well — their fudgy texture holds up beautifully. To freeze, place your cooled cookies in a single layer on a baking sheet and flash-freeze them for two hours. This keeps them from sticking together. Then transfer them into a freezer-safe container or resealable bag, separating each layer with parchment paper.
They’ll keep in the freezer for up to six months. When you’re ready to enjoy them, simply move them to the refrigerator overnight or let them thaw at room temperature for about 30 minutes.
I love keeping a batch frozen during the holidays so I can whip out a plate of no bake cookies at a moment’s notice — whether for a family movie night or a surprise visit from friends.
Visual Cue for Frozen vs. Fresh Cookies
A well-stored cookie should still look glossy, not frosted or dry. If you see light sugar crystals on top after freezing, don’t worry — that’s just harmless crystallization. A few minutes at room temperature will bring back their natural shine.
Get ready to satisfy your sweet tooth with a variety of delicious cookie recipes that are easy to make and perfect for any occasion. From quick and simple No-Bake Cookies to classic Molasses Cookies and rich Cream Cheese Cookies, there’s a treat for every craving. Don’t miss the fudgy goodness of Chocolate Crinkle Cookies — all tried-and-true favorites you’ll want to bake again and again.
FAQs and Troubleshooting
No matter how long you’ve been making no bake cookies, questions pop up every single time — especially when the texture doesn’t turn out just right. Over the years, I’ve fielded plenty of “What went wrong?” moments from readers, friends, and even my own girls after their first solo batch. Don’t worry — the fixes are simple once you understand the science behind them.
Why Did My No Bake Cookies Turn Out Dry or Crumbly?
Dry no bake cookies almost always come from overboiling. When the sugar mixture cooks too long or gets too hot, it loses too much moisture, leaving your cookies chalky instead of creamy. To fix this, reduce your boil time to exactly 60 seconds. If you’re cooking at a higher altitude, rely on a candy thermometer instead — aim for 230–234°F before removing the pan from heat.
If your cookies have already set and feel too firm, don’t panic. You can crumble them over ice cream or stir them into yogurt for a chocolate-peanut-butter “granola” of sorts — trust me, it’s delicious.
Why Won’t My No Bake Cookies Set Properly?
If your cookies stay sticky or never firm up, it means the sugar mixture didn’t cook long enough to reach that soft-ball stage. Try boiling for a few extra seconds next time and make sure to stop stirring once it starts bubbling. Another common culprit? Humidity. On damp days, moisture in the air can slow down the setting process — a quick fix is to refrigerate your cookies for 10–15 minutes.
And remember: patience is key. As tempting as it is to test one early, let your cookies cool completely before judging their texture.
No Bake Cookies Recipe
Classic no bake cookies made with butter, cocoa, sugar, peanut butter, and oats — perfectly chewy and rich without ever turning on the oven.
- Prep Time: 10 minutes
- Cook Time: 5 minutes
- Total Time: 30 minutes
- Yield: 24 cookies 1x
- Category: Dessert
- Method: Stovetop
- Cuisine: American
- Diet: Vegetarian
Ingredients
1½ cups granulated sugar (300g)
½ cup milk (120ml)
½ cup unsalted butter (113g)
¼ cup unsweetened cocoa powder (25g)
2½ cups quick oats (250g)
¾ cup creamy no-stir peanut butter (200g)
2 teaspoons vanilla extract
Instructions
1. Line two baking sheets with parchment paper or wax paper.
2. In a medium saucepan, whisk together sugar, milk, butter, and cocoa powder. Bring to a boil over medium heat.
3. Once boiling, stop stirring and let it boil for exactly 60 seconds. Remove from heat.
4. Add oats, peanut butter, and vanilla extract. Stir until fully combined and glossy.
5. Drop 2-tablespoon heaps onto the prepared sheets. Let cool 20–30 minutes until set.
Notes
**Milk options:** Use 2%, whole, evaporated, or nondairy (almond/oat) — avoid fat-free.
**Temperature tip:** Use a candy thermometer; ideal range 230–234°F.
**Storage:** Keep in an airtight container up to 1 week at room temperature or 2 weeks refrigerated.
Nutrition
- Serving Size: 1 cookie
- Calories: 140
- Sugar: 13g
- Sodium: 60mg
- Fat: 7g
- Saturated Fat: 3g
- Unsaturated Fat: 3g
- Trans Fat: 0g
- Carbohydrates: 17g
- Fiber: 1g
- Protein: 3g
- Cholesterol: 10mg
Keywords: no bake cookies, chocolate peanut butter cookies, quick dessert