
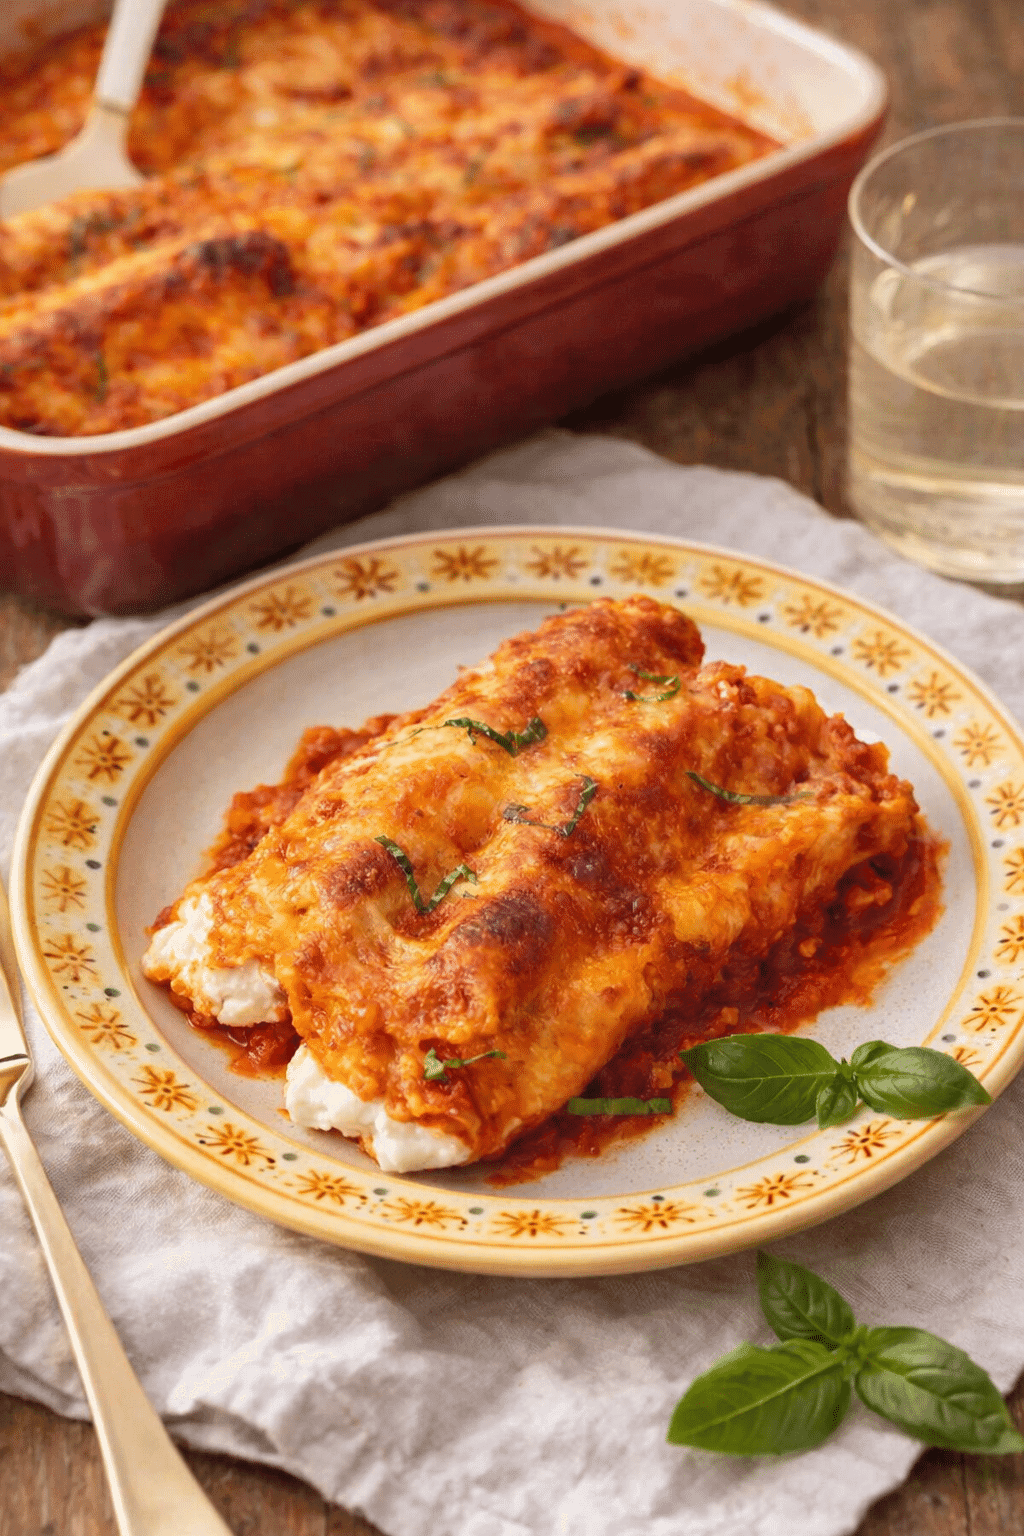
This Manicotti recipe is the kind of dinner I lean on when I want something cozy but still impressive. It delivers every time without feeling complicated or heavy.
The pasta bakes up tender without falling apart, while the ricotta filling stays creamy and rich under a blanket of bubbling sauce. Every bite feels comforting and familiar.
I started making this recipe back when my girls were little because it felt special without feeling stressful. Over time, it became our go-to choice for Sunday dinners and casual gatherings.
I love how it fills the kitchen with that familiar baked-pasta aroma. Even better, it tastes just as good reheated the next day, which makes leftovers something to look forward to.
This Manicotti recipe is the kind of dinner I lean on when I want something cozy but still impressive, and if you enjoy comforting pasta meals, this seafood pasta recipe is another great option to try.
You will love this recipe because it feels comforting yet simple to prepare. It delivers creamy filling, tender pasta, and bold tomato flavor every time.
You can assemble it ahead, bake it fresh, and serve it confidently to family or guests. The ingredients stay familiar, the steps stay clear, and the results stay consistent, making it perfect for busy nights or relaxed weekend dinners at home together.
Table of Contents
Key Ingredients
These ingredients work together to give this Manicotti its creamy center, balanced flavor, and dependable baked texture every time.
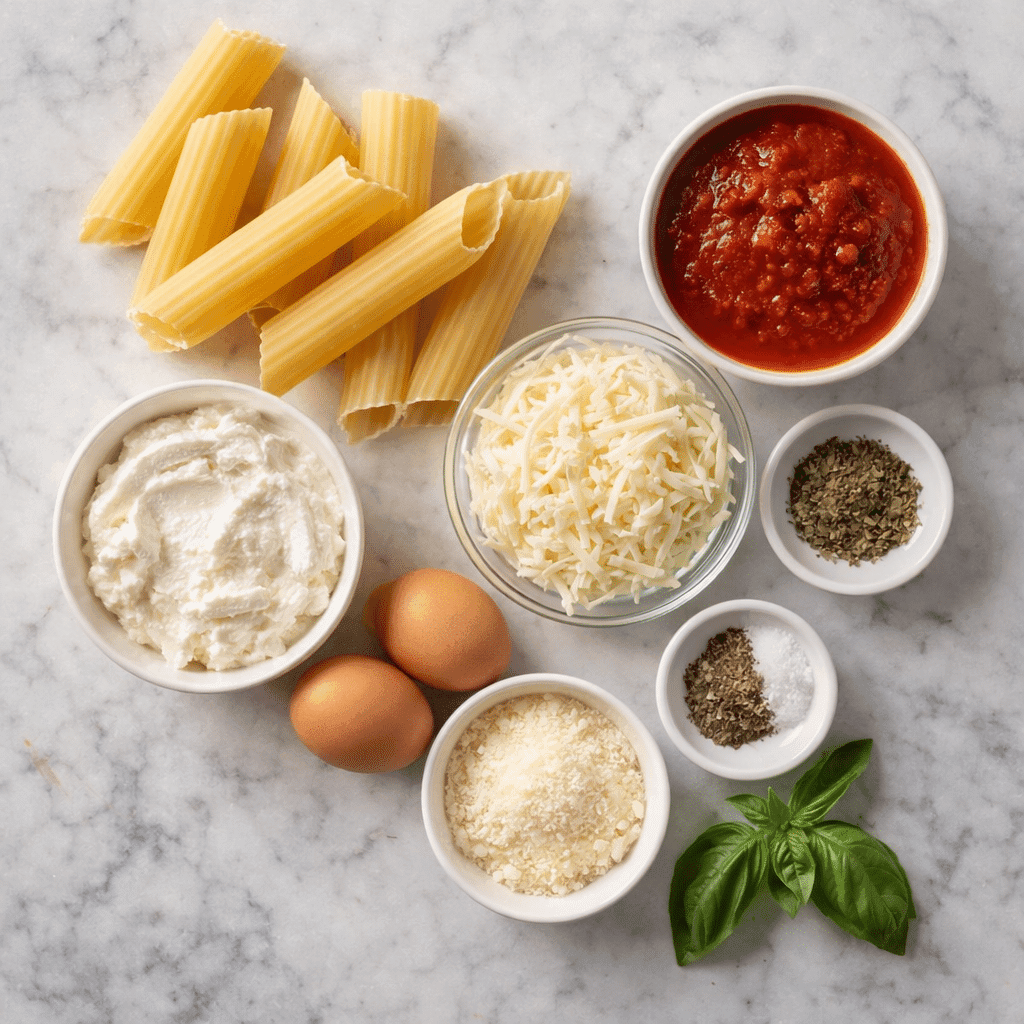
Manicotti pasta noodles create the shell of the dish, designed to hold the filling securely while baking up tender without tearing.
If you’re curious about different pasta options, you can also check out these egg noodles as another simple ingredient idea for homemade meals.
Whole milk ricotta cheese forms the base of the filling, giving the Manicotti a rich, smooth texture that stays creamy after baking.
Large eggs help the filling set gently, keeping it structured while still soft and spoonable.
Shredded mozzarella cheese melts into both the filling and topping, adding mild flavor and that familiar stretchy finish.
Grated parmesan cheese deepens the overall taste, bringing a salty, savory contrast that balances the ricotta.
Fresh basil adds brightness and a fresh herbal note that keeps the cheese filling from feeling heavy.
Italian seasoning blends classic dried herbs that reinforce traditional flavor throughout the dish.
Kosher salt sharpens every component and keeps the filling well balanced.
Black pepper adds subtle warmth without overwhelming the cheese.
Marinara sauce provides moisture and bold tomato flavor, helping the Manicotti bake evenly and stay tender.
Cooking spray prevents sticking and makes serving neat and simple.
Can I make Manicotti ahead of time without drying it out?
Yes, you can prepare this dish ahead of time, and it works very well. Assemble everything completely, cover the baking dish tightly, and store it in the refrigerator for up to 24 hours before baking. The key is making sure the pasta stays fully covered with marinara sauce so it doesn’t dry out. When you’re ready to cook, let the dish sit at room temperature for about 20 minutes, then bake as directed until hot and bubbly.
Pro Tips for Success
Cook the shells just to al dente so they stay firm enough to hold the filling without collapsing during baking.
Rinse the pasta with cool water after boiling to stop the cooking and make the tubes easier to handle and stuff.
Let the shells cool slightly before filling, since warm pasta can tear and lead to uneven portions.
Use a piping bag or zip-top bag for the filling to keep the process neat and help distribute the ricotta mixture evenly.
Spread marinara sauce fully across the bottom of the baking dish so the pasta stays moist and cooks evenly.
Cover every stuffed shell generously with sauce to prevent dry edges and keep the texture tender.
Broil briefly at the end to create a lightly golden cheese topping without overcooking the filling.
Let the baked dish rest for several minutes before serving so the filling sets and portions lift cleanly.
How to Make It Step by Step
This step-by-step method keeps the process clear and relaxed, so your Manicotti turns out creamy, tender, and evenly baked from start to finish.
Step 1: Preheat the oven and start the pasta water.
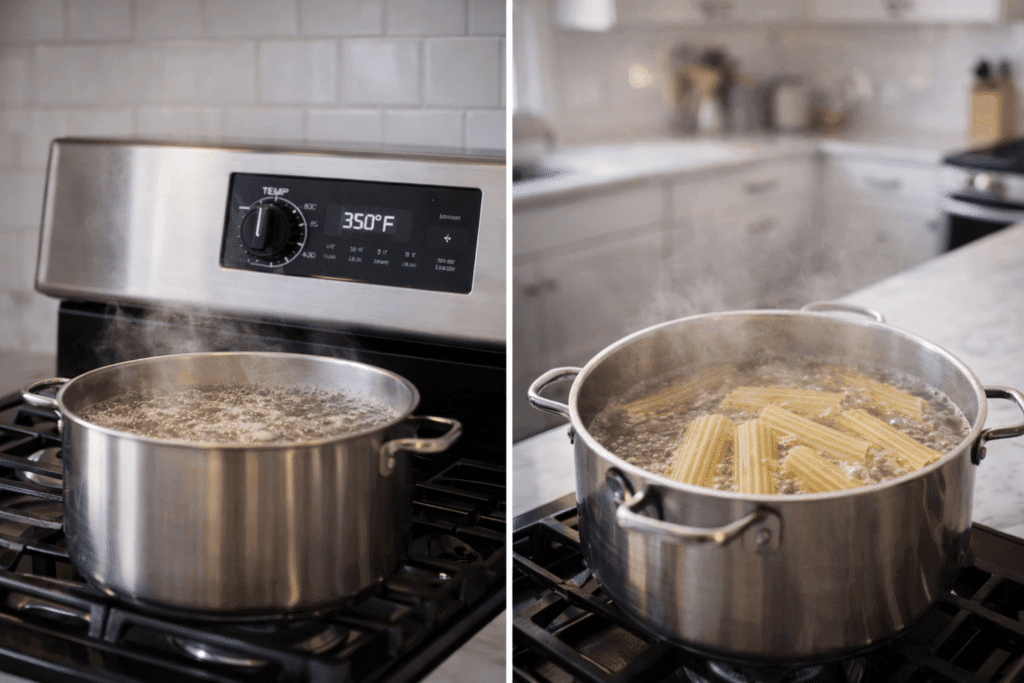
Set the oven to 350°F so it’s fully heated when the dish is ready. Bring a large pot of generously salted water to a rolling boil, which seasons the pasta as it cooks.
Step 2: Cook the manicotti shells.
Add the manicotti noodles and cook for about five minutes until just al dente. The shells should bend easily but still hold their shape. Drain carefully and let them cool for ten minutes.
Step 3: Prepare the cheese filling.
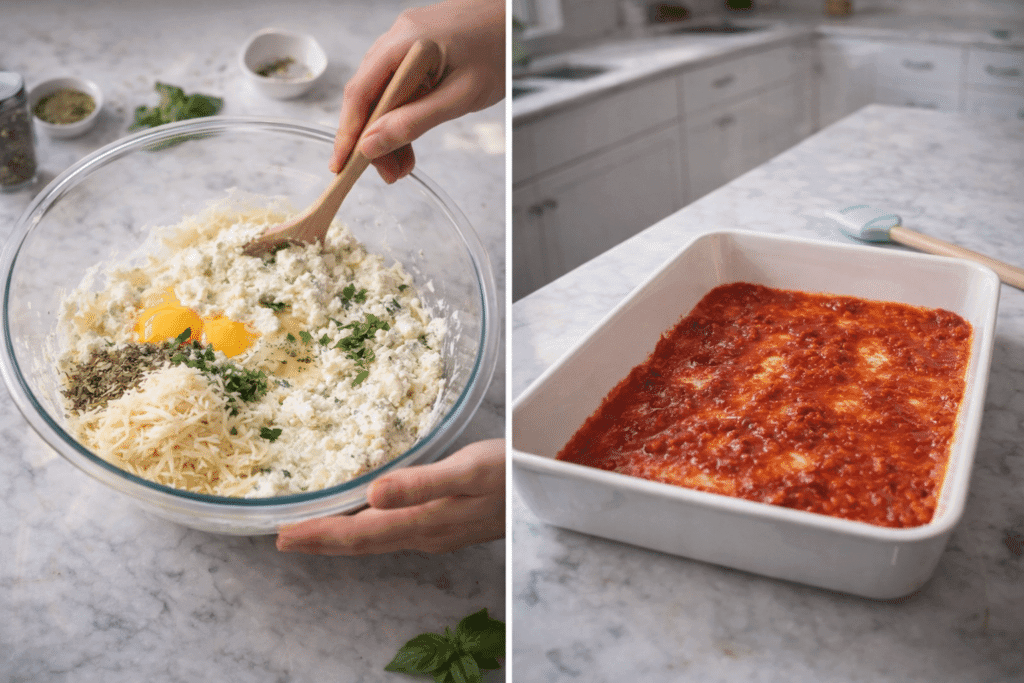
In a large bowl, mix ricotta, beaten eggs, one cup of mozzarella, half a cup of parmesan, basil, Italian seasoning, salt, and pepper. Stir until smooth and evenly blended.
Step 4: Prepare the baking dish.
Lightly spray a 9×13-inch casserole dish. Spread one cup of marinara sauce across the bottom to keep the pasta from sticking and to add moisture.
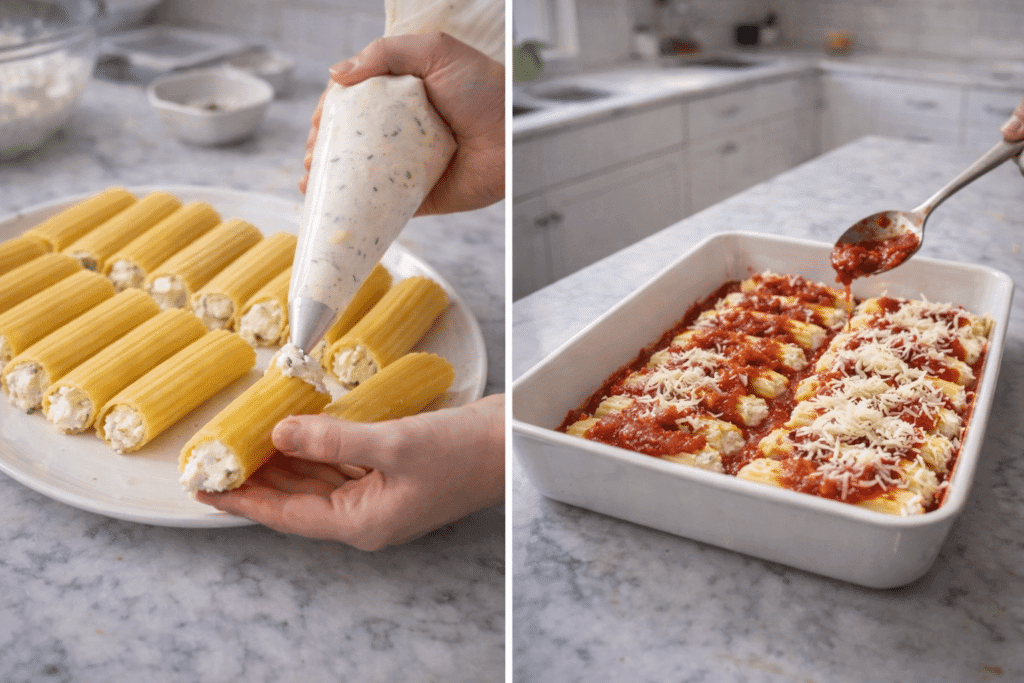
Step 5: Fill the manicotti.
Transfer the filling to a piping or zip-top bag. Pipe the mixture gently into each shell, then arrange them in a single layer in the dish.
Step 6: Add sauce and cheese.
Spoon the remaining marinara sauce over the stuffed pasta, covering all exposed edges. Sprinkle the remaining mozzarella and parmesan evenly on top.
Step 7: Bake until bubbly.
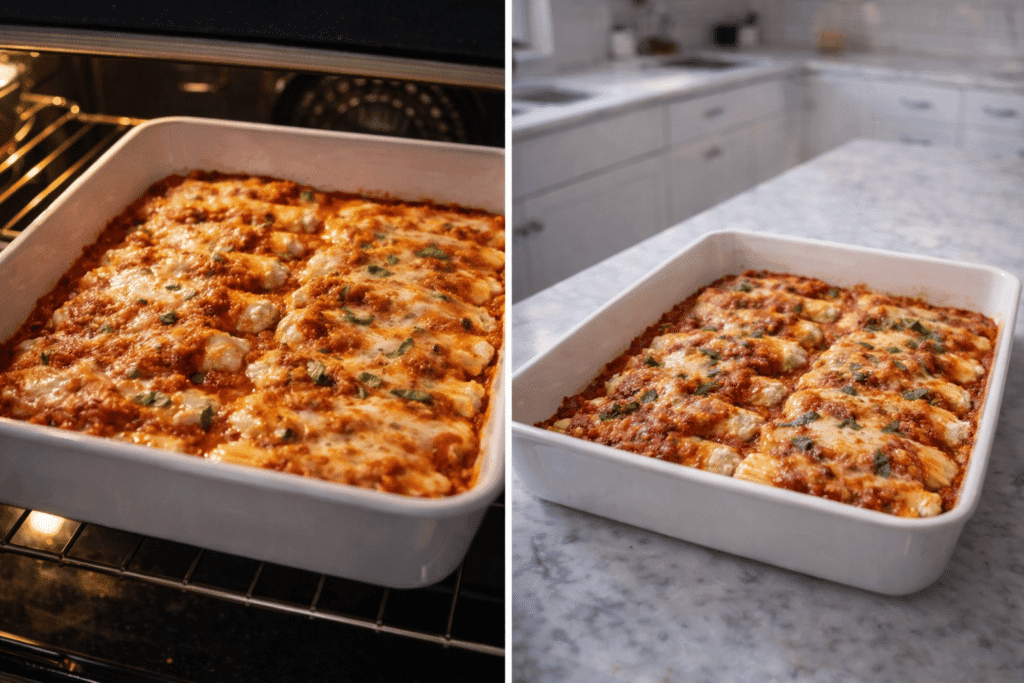
Bake for about forty minutes until the sauce bubbles and the cheese fully melts.
Step 8: Broil and rest before serving.
Broil briefly until lightly browned. Let the Manicotti rest for several minutes so the filling sets before serving.
If you like step-by-step pasta dinners, this chili mac recipe is another easy option that follows a similar, beginner-friendly cooking flow.
Serving Suggestions
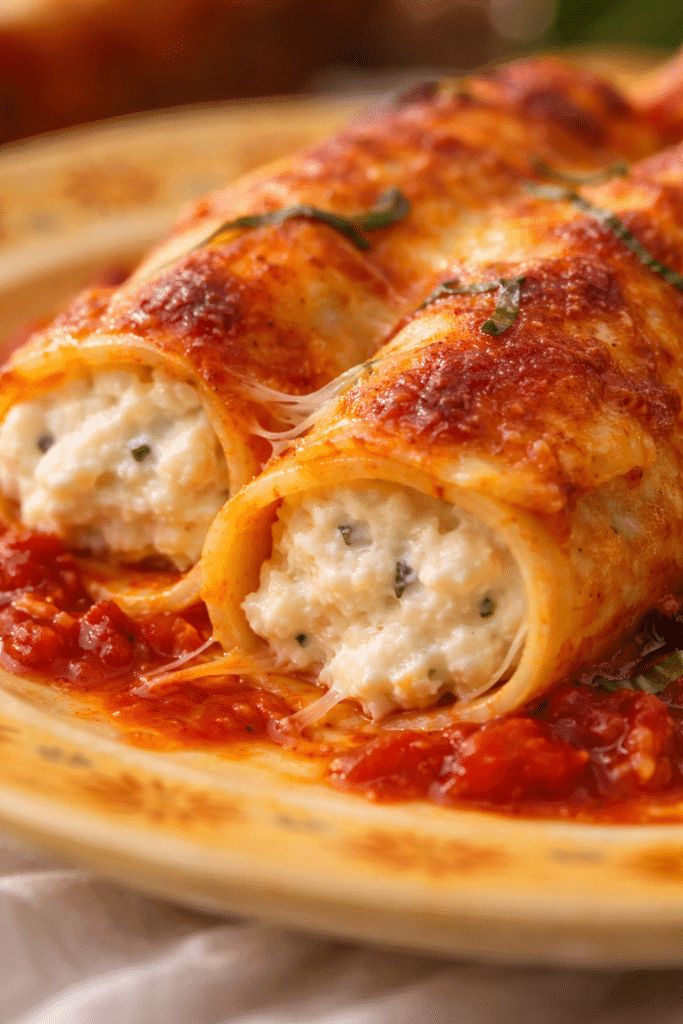
Serve Manicotti hot from the oven, allowing the cheese to stay soft and the sauce to remain rich and glossy. This dish pairs well with a crisp green salad dressed lightly with olive oil and vinegar, which helps balance the creamy filling.
Garlic bread, toasted baguette slices, or soft breadsticks make an excellent side and soak up the extra marinara on the plate. For a more complete meal, add roasted vegetables like zucchini, carrots, or bell peppers, or serve steamed broccoli for a lighter option.
Manicotti works beautifully for relaxed family dinners, weekend gatherings, or casual celebrations where you want something comforting and familiar. It also plates well for guests, making it easy to serve without fuss while still feeling special and homemade.
If you enjoy lighter pasta sides, this pasta primavera recipe pairs nicely as a fresh, vegetable-forward option alongside this dish.
Storage & Make-Ahead Tips
Manicotti stores very well, which makes it a great option for planning ahead. After baking, let it cool completely, then cover the dish tightly and keep it in the refrigerator for up to three days. Reheat individual portions in the oven or microwave until warmed through, adding a spoonful of marinara if needed to keep it moist.
You can also assemble the Manicotti ahead of time without baking it. Cover the unbaked dish tightly and refrigerate for up to twenty-four hours. When ready to cook, let it sit at room temperature briefly, then bake as directed.
For longer storage, freeze the assembled but unbaked Manicotti. Wrap it well, freeze for up to two months, and bake straight from frozen with extra time added.
Sienna’s Touch
This Manicotti always reminds me why I love sharing recipes that bring people together. It’s comforting, familiar, and meant to be enjoyed around a busy table with plenty of conversation. I hope this dish finds a place in your kitchen the way it has in mine, warming evenings and creating simple moments worth savoring and sharing.
Frequently Asked Questions
Can I use no-boil manicotti shells instead of regular ones?
Yes, you can use no-boil manicotti, but you’ll need extra marinara sauce. Make sure every shell is fully covered so the pasta softens properly while baking.
Why did my manicotti turn watery after baking?
Watery Manicotti usually comes from ricotta with too much moisture. Use whole milk ricotta and avoid overmixing the filling so it sets correctly in the oven.
Can I add meat to this manicotti recipe?
You can mix cooked ground beef or Italian sausage into the marinara sauce or fold it directly into the cheese filling for a heartier version.
What’s the easiest way to fill manicotti without breaking it?
A piping bag or zip-top bag works best. Gently pipe the filling in from both ends instead of forcing it through one side.
Manicotti Recipe
Manicotti baked with creamy ricotta filling, marinara sauce, and melted cheese for a comforting family dinner.
- Prep Time: PT20M
- Cook Time: PT40M
- Total Time: PT1H
- Yield: 6 servings 1x
- Category: Dinner
- Method: Baking
- Cuisine: Italian-American
- Diet: Vegetarian
Ingredients
10 manicotti pasta noodles
Whole milk ricotta cheese
2 large eggs
Shredded mozzarella cheese
Grated parmesan cheese
Fresh basil
Italian seasoning
Kosher salt
Black pepper
Marinara sauce
Cooking spray
Instructions
Step 1: Preheat the oven to 350°F and bring a large pot of salted water to a boil.
Step 2: Cook manicotti shells until al dente, then drain and cool slightly.
Step 3: Mix ricotta, eggs, mozzarella, parmesan, basil, and seasonings.
Step 4: Lightly grease a 9×13-inch baking dish and spread marinara on the bottom.
Step 5: Fill each manicotti shell with the cheese mixture.
Step 6: Arrange filled shells in the baking dish.
Step 7: Cover with remaining marinara and sprinkle with cheese.
Step 8: Bake until bubbly, then broil briefly and rest before serving.
Notes
Use whole milk ricotta for best texture.
Let manicotti rest before serving so the filling sets.
Nutrition
- Serving Size: 1 serving
- Calories: 420
- Sugar: 6
- Sodium: 780
- Fat: 22
- Saturated Fat: 11
- Carbohydrates: 38
- Fiber: 3
- Protein: 19
- Cholesterol: 95
Keywords: Manicotti, baked pasta, cheese manicotti